

Sanding and a fresh finish can make worn hardwood floors look new again, and refinishing costs far less than replacing the floor. That makes it a tempting weekend project for homeowners who are handy with tools.

It’s also a project where small mistakes are hard to undo. Hold a drum sander in one spot a second too long, and it leaves a dip you’ll notice for years. A rushed stain or the wrong finish can turn a beautiful oak floor blotchy or sticky.
This guide covers the mistakes that most often derail DIY refinishing, from misjudging the job to rushing the finish. It also explains when a weekend project should become a call to a flooring pro.
Screen and Recoat vs Full Sand: Which Job You Actually Have
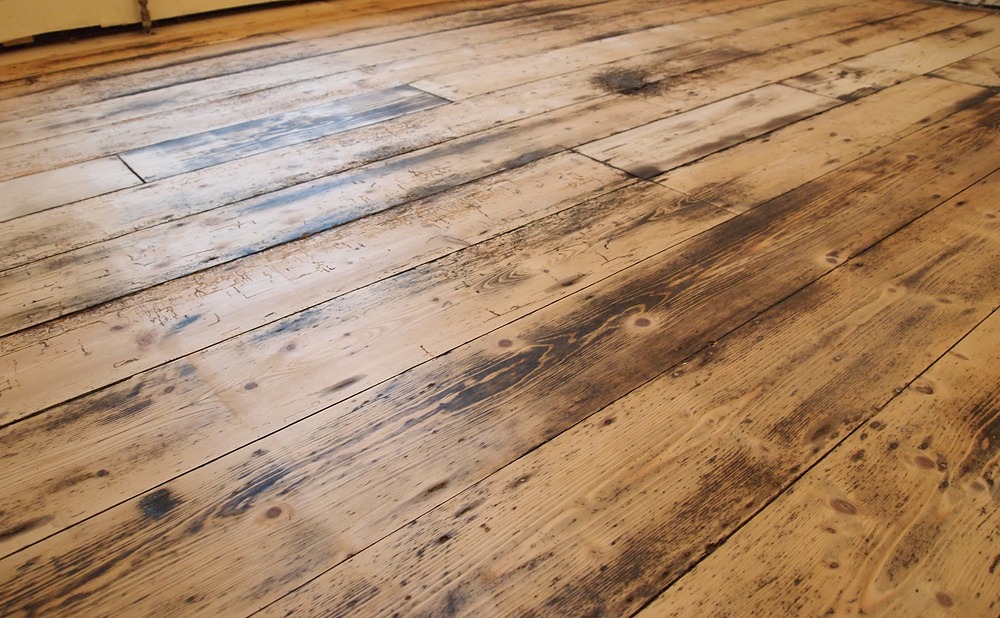
Many floors don’t need a full sand. If the finish is dull and lightly scratched but the wood itself isn’t exposed or stained, a screen and recoat may be enough. This process lightly abrades the old finish and adds a fresh topcoat, so it takes far less time and removes almost no wood.
You’ll need a full sand if you see gray, bare wood, deep scratches, or pet stains, or if you want to change the color. To check the finish, place a few drops of water on the floor. If the water soaks in and darkens the wood quickly, the finish has worn through, and a full sand is likely.
Hardwood Floor Refinishing Mistakes Beginners Make First
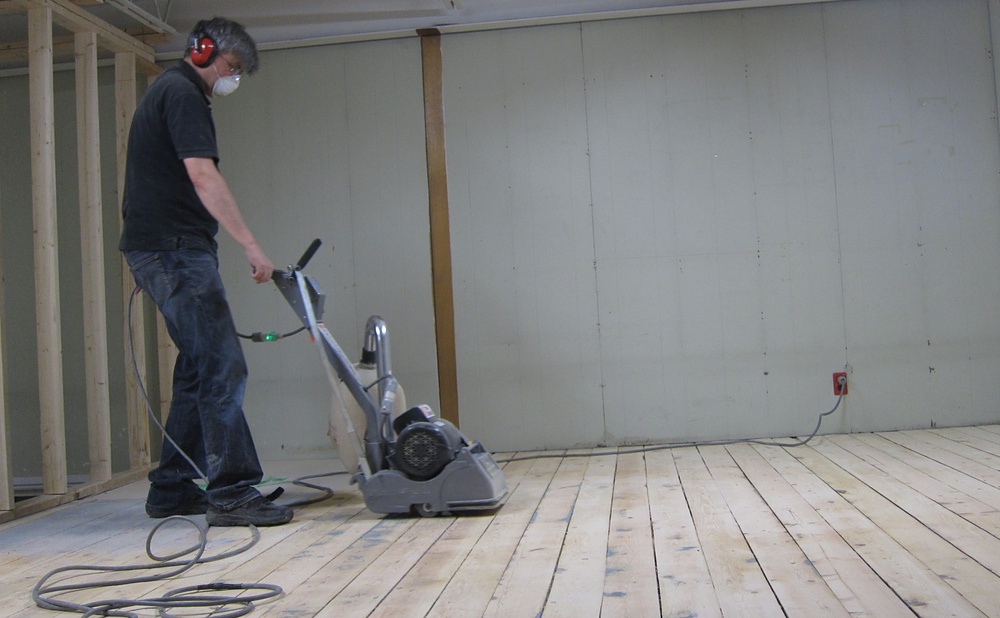
The biggest beginner mistake is learning to use the sander on the main floor. Rental drum sanders remove wood quickly, and pausing in one spot can gouge the floor. Practice on plywood or in a closet first, and always keep the machine moving whenever the drum is down.
Other early mistakes include skipping a grit, sanding against the grain, and leaving nail heads raised above the surface, where they tear the sanding paper. Some homeowners also forget to remove the shoe molding or protect HVAC returns. Slowing down on day one prevents most of the problems people regret later.
Moisture, Subfloor, and Squeaks You Must Fix Before Sanding
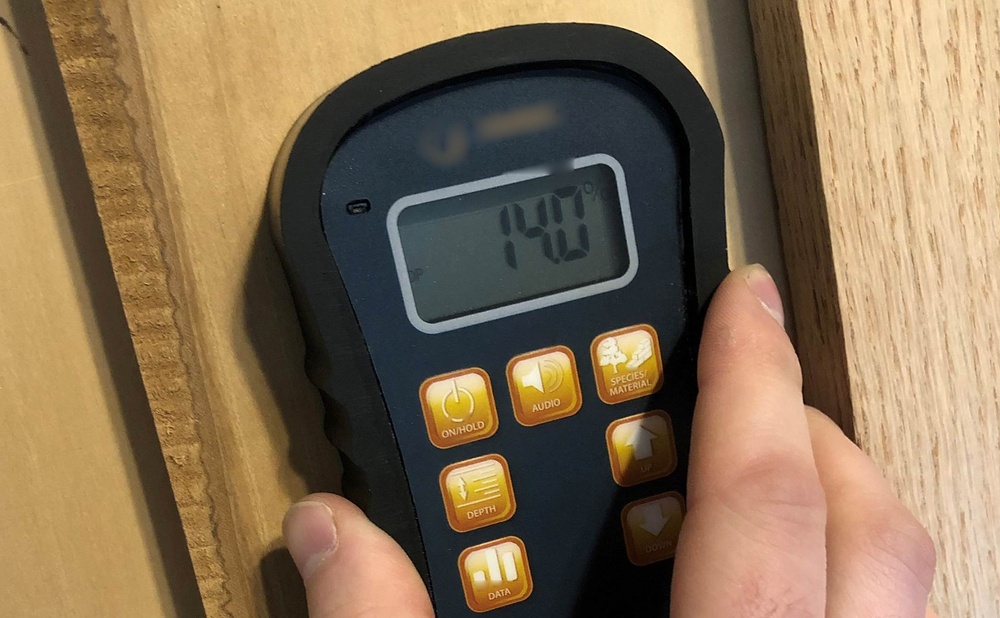
Sanding won’t fix boards that move. Before you rent equipment, check for cupping, crowning, gaps, and soft spots. Cupped or swollen boards often point to moisture from a crawlspace, basement, or leak, and you need to fix that source first. A moisture meter helps confirm the wood is ready.
Secure loose or squeaky boards with trim screws or flooring nails set below the surface, and countersink any exposed nail heads so they don’t tear the sandpaper. Replace cracked, rotten, or badly stained boards so you don’t waste a new finish on damaged wood.
Dust Control Setup for Occupied Homes and Condos
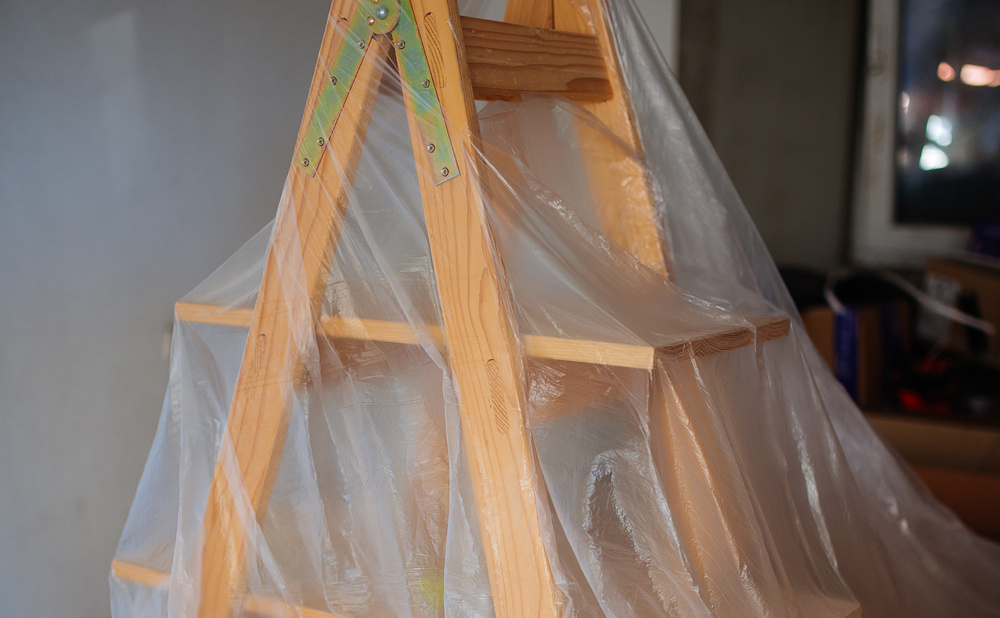
Fine wood dust will travel through the whole house if you let it. Seal doorways with plastic sheeting and tape, cover HVAC vents and returns, and turn off forced-air systems while you sand. Take down curtains, move soft furnishings out of nearby rooms, and keep a shop vacuum ready for cleanup.
Rental sanders with dust bags or vacuum attachments reduce the mess but don’t eliminate it. In condos and townhomes, check building rules on noise, work hours, and finish fumes. Before staining or coating, vacuum thoroughly, then wipe the floor with a microfiber cloth so dust doesn’t get trapped in the finish. Wear a respirator and hearing protection while sanding, and lay oily stain or finish rags flat outdoors to dry before disposal, since balled-up rags can heat up and catch fire.
Grit Sequence That Avoids Dish Out and Swirl Marks
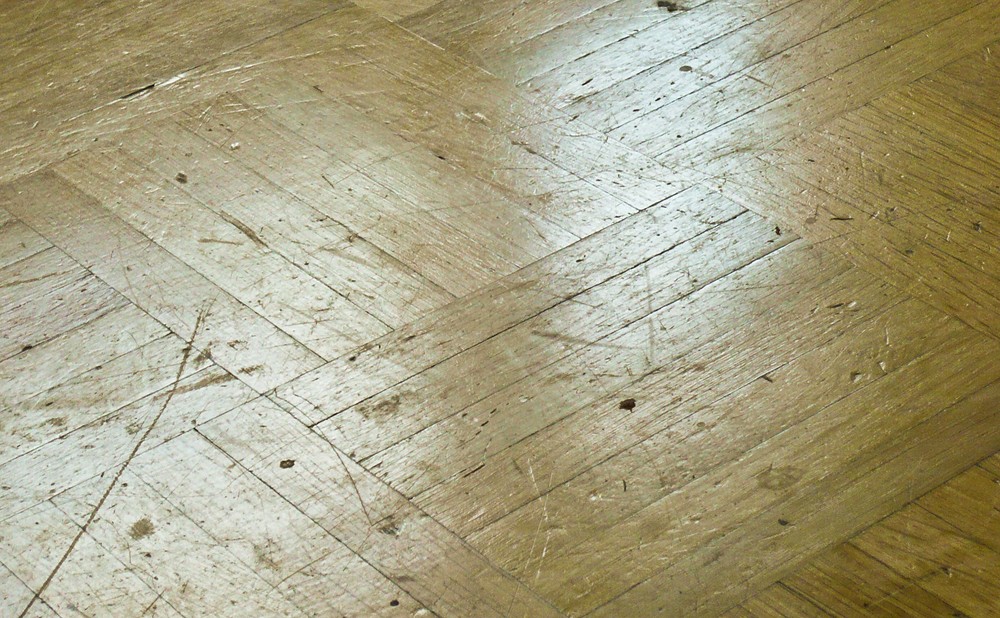
Jumping from coarse to fine paper too quickly leaves scratches that show under stain. A common sequence starts with a coarse grit to remove the old finish, moves to a medium grit, and ends with a fine grit. Each pass should remove the scratches left by the one before it.
Run the drum sander with the grain, and overlap your passes slightly. Don’t linger over soft areas, or the floor can dish out. After the final drum pass, an orbital sander or buffer helps remove chatter and swirl marks, especially if you plan to use a darker stain.
Stain Color Tests and Sample Boards That Prevent Regret
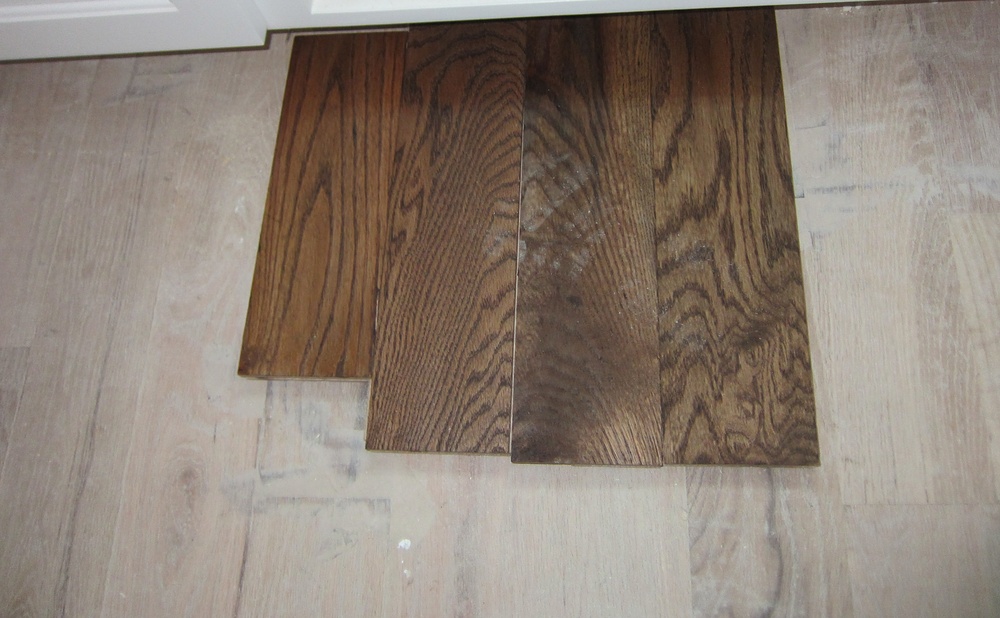
The color on the can rarely matches what you’ll see on your floor. Oak, maple, and pine all absorb stain differently, and freshly sanded wood takes color differently than a sample board from the store. After the final sanding pass, test several colors in an out-of-the-way area.
Look at the samples in daylight and again at night under your usual lighting. Maple and birch tend to blotch, so test a pre-stain conditioner on those species before you commit to a color. If you love the wood’s natural color, consider skipping stain altogether and applying a clear finish.

Oil-Based vs Waterborne Polyurethane: Pros, Cons, Dry Times
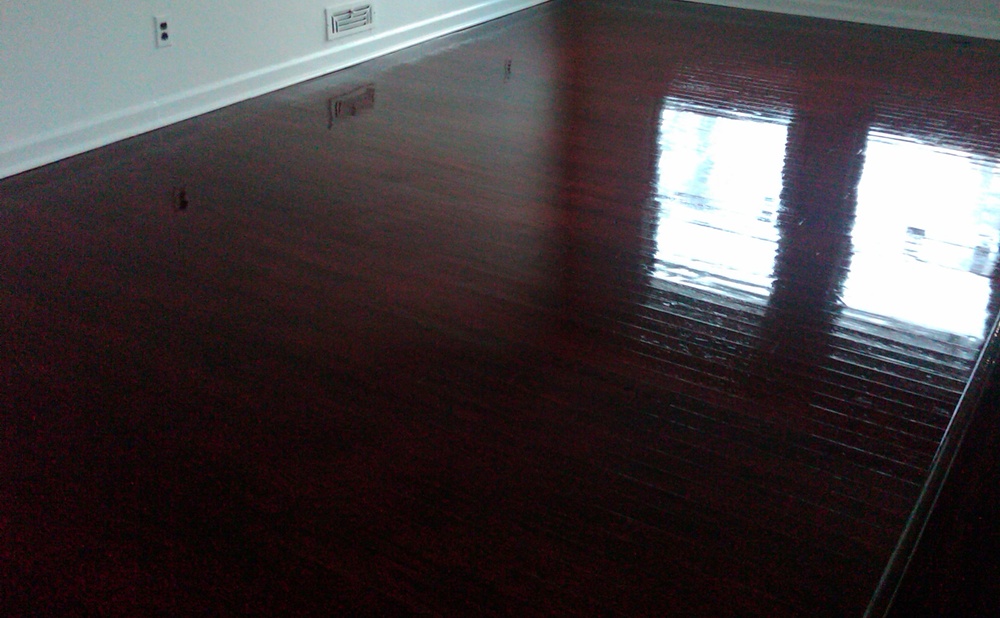
Oil-based polyurethane adds a warm amber tone that deepens over time. It’s durable and forgiving to apply, but it has a strong odor and longer dry times between coats. It can also yellow light floors, which matters if you want a clean natural or whitewashed look.
Waterborne polyurethane dries clear, has a lower odor, and allows several coats in one day. Some professional-grade waterborne finishes are very tough, though they cost more. Choose based on color, odor tolerance, and schedule, and read the label for ventilation and recoat guidance.
Edges, Corners, and Stair Nosing Without Halo Marks
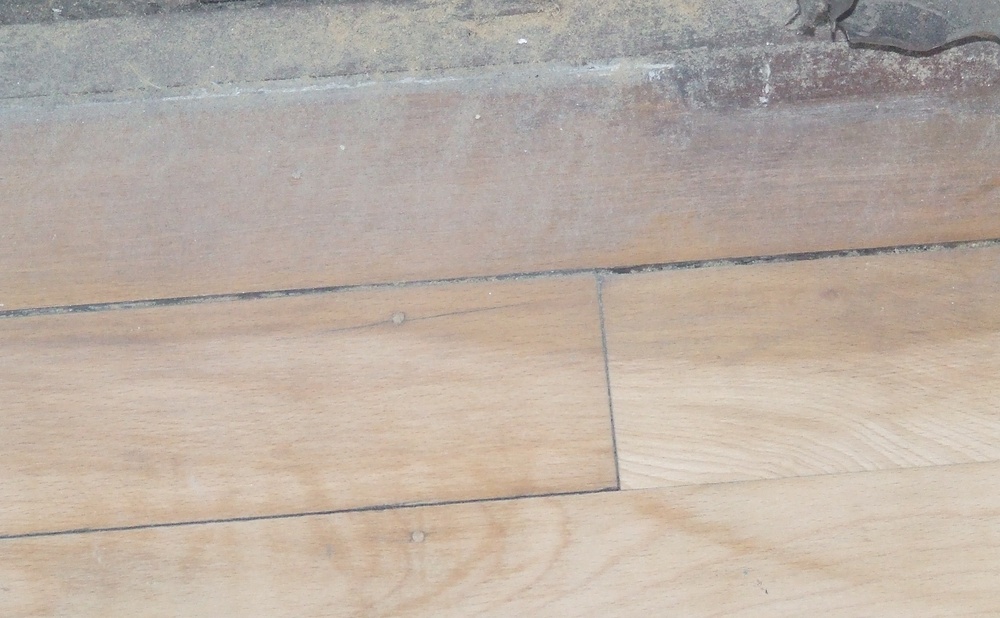
The drum sander can’t reach the last few inches along the walls, so an edger handles the perimeter. Used with a heavy hand, an edger can leave a ring of swirl marks, sometimes called a halo, around the room. Blend the edge work into the main field with a hand scraper, a detail sander, or a buffer.
Corners, closets, and stair nosing need extra patience. Hand sanding and scraping are slow, but they’re safer than forcing a machine into tight spaces. Before staining, check the edges at a low angle with a flashlight, since flaws show up much more once color goes on.
How Many Coats and When You Can Walk or Move Furniture Back
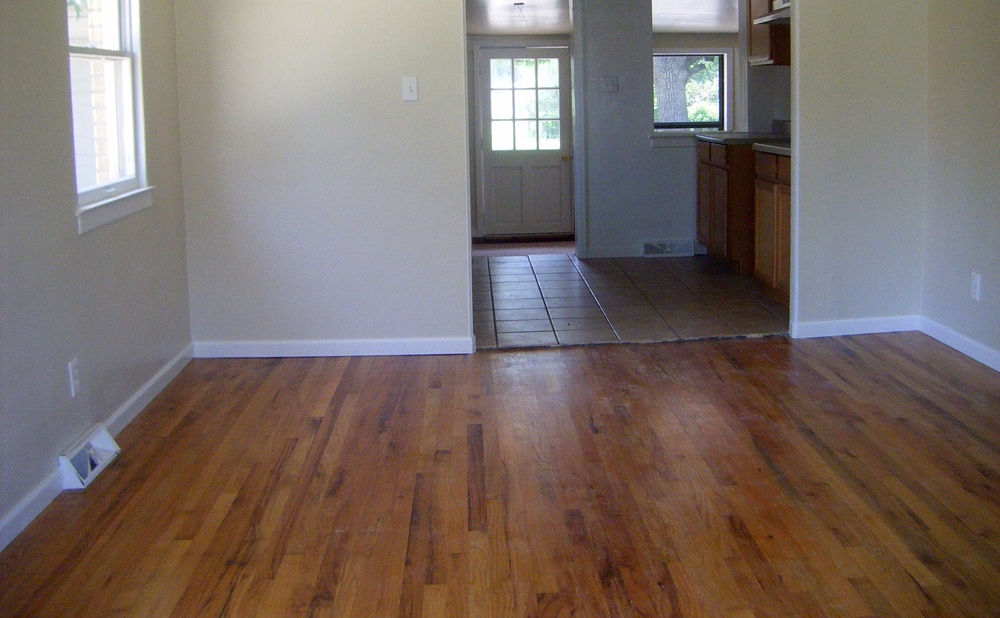
Most floors need at least two or three coats of finish, and high-traffic areas benefit from more. When the label calls for it, lightly abrade between coats, then vacuum and tack the floor again. Skipping that step can lead to poor adhesion between coats.
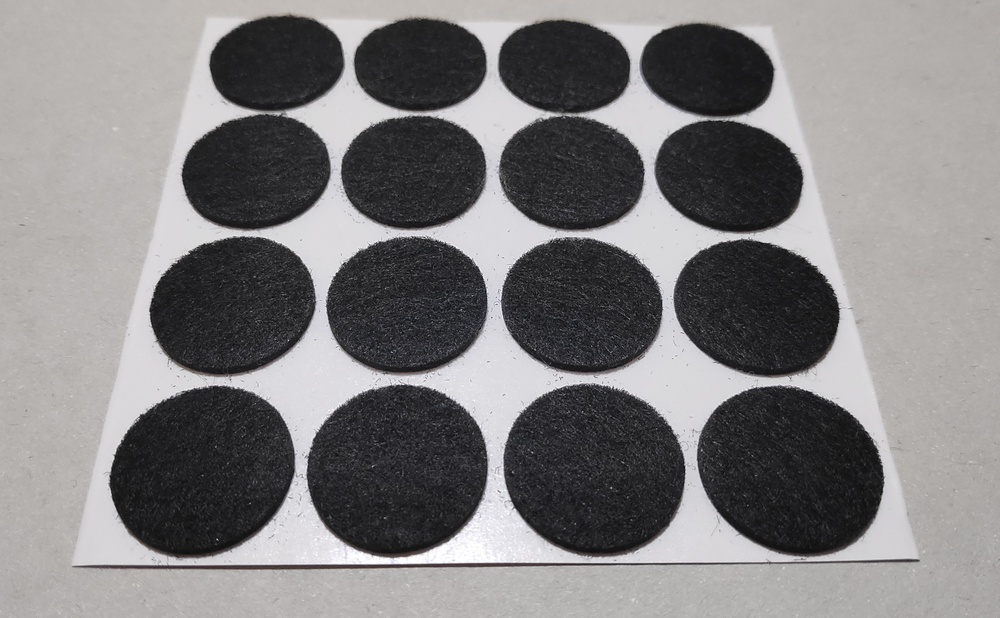
Light sock traffic is often fine once the final coat dries, but furniture and rugs need to wait longer. Full cure can take days or weeks, depending on the product and humidity. Put felt pads on furniture legs, lift pieces instead of sliding them, and hold off on rugs until the finish has fully cured.
Cost Checklist: DIY Materials vs Pro Refinishing Quotes
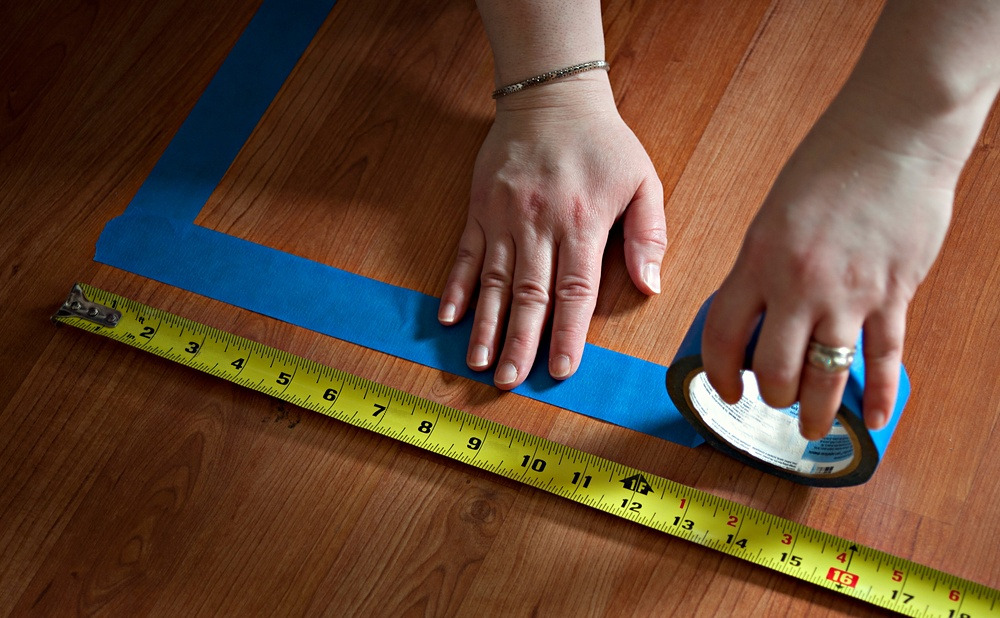
DIY costs include sander and edger rental, sanding paper in several grits, stain, finish, applicators, plastic sheeting, tape, and protective gear. Rental shops often charge for the paper you use, so measure your rooms and plan the job before you pick up equipment. Factor in your time and any lost weekend plans, too.
Pro quotes usually cover sanding, minor repairs, stain, and finish coats, with extra charges for stairs, board replacement, or moving heavy furniture. Ask each pro which grit sequence and finish they use and how many coats they apply. Then compare quotes on the same scope, not just the price.
Pets, Kids, and Allergies: Safer Finish Choices
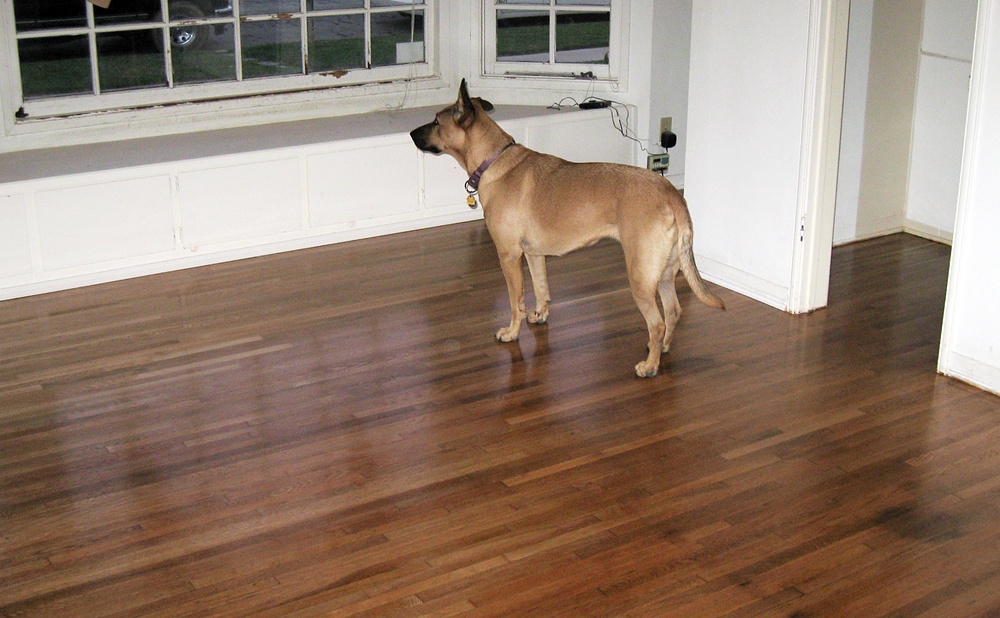
Homes with pets and children need a finish that resists scratches and cleans up easily. A satin or matte sheen hides small scuffs better than high gloss. Harder professional finishes can help in high-traffic areas, and an extra coat improves wear resistance.
If anyone in your home is sensitive to odors, look for low-odor waterborne products and plan to stay elsewhere during application and early curing. Keep pets off the floor until the label says it’s safe. Afterward, trim pet nails and add mats at entries to protect the new surface.
When DIY Stops: Cupping, Engineered Veneer, Soft Spots
Not every floor is a good DIY candidate. Engineered hardwood has a top veneer that may allow only light sanding, and some thin wear layers can’t be sanded at all. Check a plank edge at a floor vent or threshold to see how much real wood sits on top.
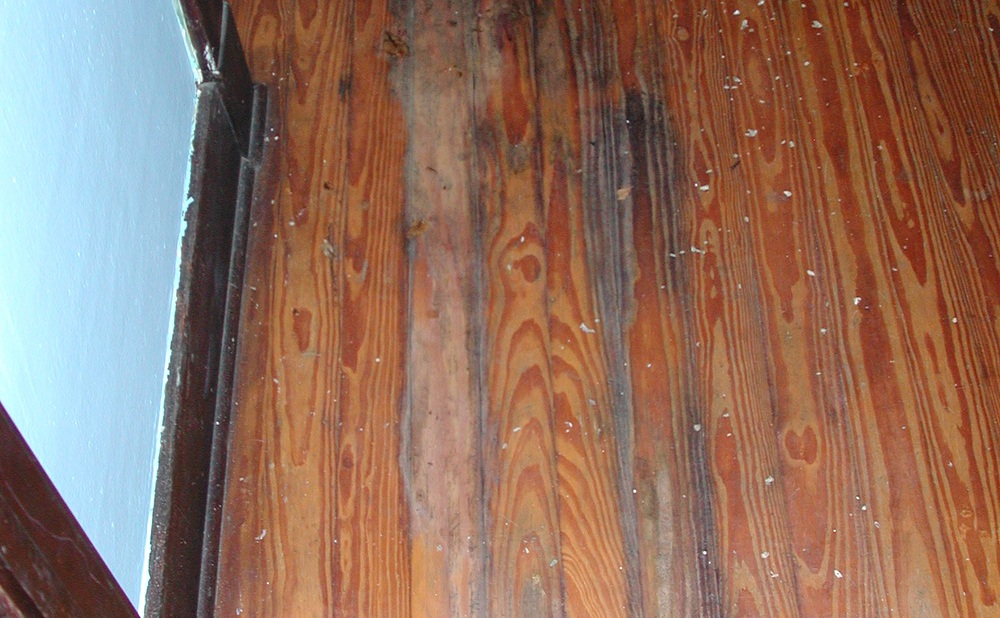
Widespread cupping, soft spots, water damage, and old finishes that may contain hazardous materials all call for a pro. Historic floors and intricate patterns like parquet also need experienced hands. A seasoned refinisher can tell you whether the floor can be sanded or repaired, or whether it should be replaced.
Maintenance Schedule After a Fresh Refinish
A good routine keeps a new finish looking fresh for years. Sweep or dust mop often to remove grit, and use a cleaner approved by the finish manufacturer. Avoid steam mops, wet mopping, and wax or oil soaps on polyurethane, since they can dull or damage the surface.
Doormats and felt pads help limit scratches. Every few years, a screen and recoat can refresh worn traffic lanes before they wear down to bare wood. Keeping up with recoats can delay the next full sand by many years, which saves both wood and money.
Grit sequences, finish dry times, and cure windows vary by product and wood species. Follow the finish manufacturer’s directions and the rental equipment instructions, and consult a flooring professional about engineered floors or moisture issues.
Amazing Builder Partners