
A small kitchen can look and work better without a six-figure gut job. The smartest remodel plans move in tiers: refresh what you see and touch, then upgrade counters and floors, and only then consider layout changes.

This guide stays practical about cost, durability, and daily function. You will not find under-one-hundred décor tricks or trend-of-the-decade styling. You will find a clear path to spend where it counts.
Match each idea to your cabinet condition, plumbing, and skill level. A calm sequence beats a scattered shopping list.
Realistic Budget Tiers for Your Remodel
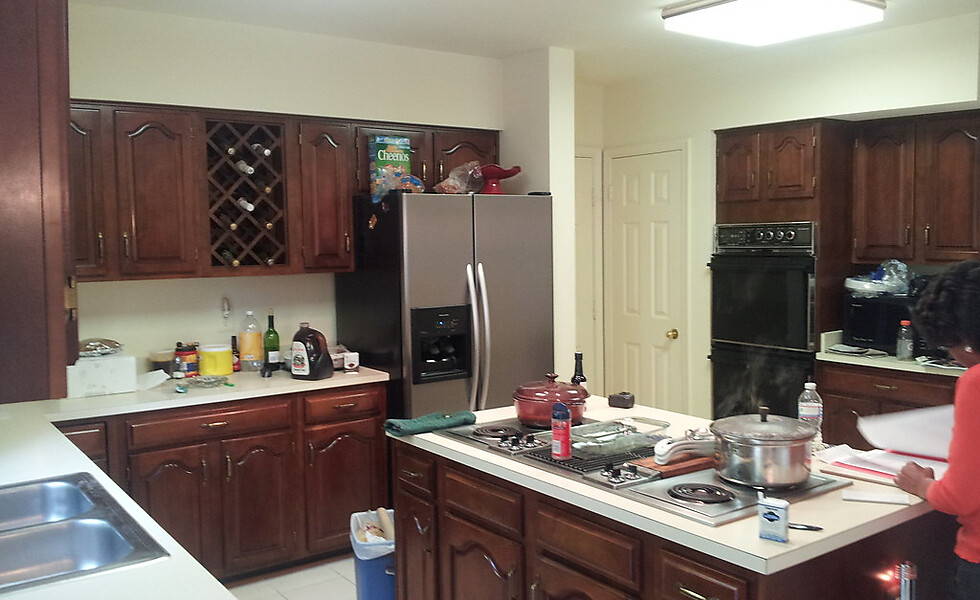
A useful kitchen budget starts with tiers, not wishful totals. Tier one covers paint, hardware, lighting bulbs, and deep cleaning, often the lowest four-figure range depending on size. Tier two adds counters, backsplash, faucet, and maybe flooring while keeping cabinets and layout. Tier three brings cabinet replacement or a modest layout shift and climbs quickly once plumbing or electrical moves.
Write your number first, then pick the tier that fits without financing surprises. Get ballpark quotes for the wet and hard trades early so finishes do not eat the contingency. A clear tier keeps the project honest and evergreen rather than chasing decade-specific trends.
Keep the Layout, Change How the Kitchen Looks
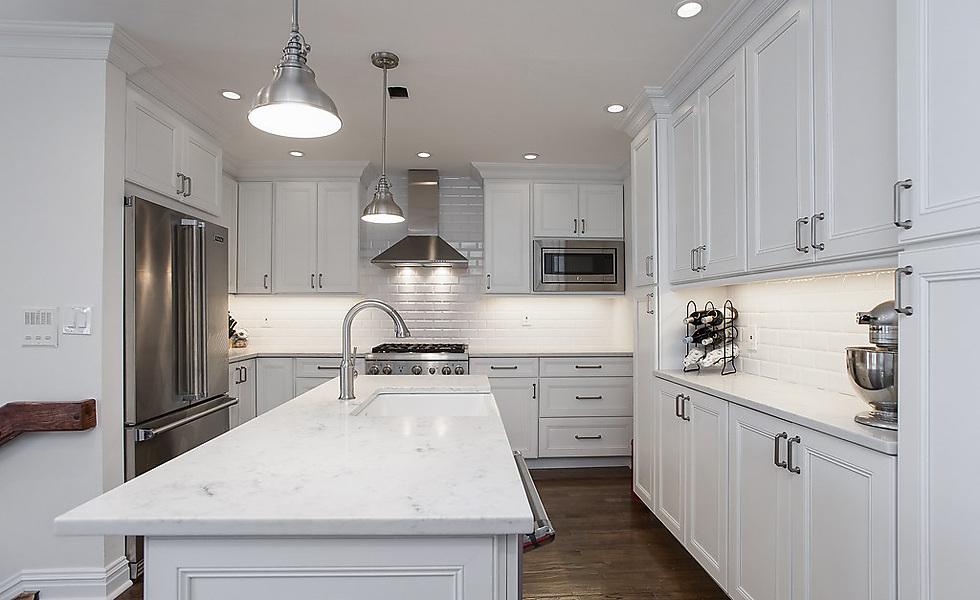
Leaving sink, range, and fridge where they are is the fastest way to stretch a modest budget. Focus spend on surfaces you touch and see every day: doors or fronts, counters, backsplash, and light. A same-layout refresh avoids permit-heavy plumbing moves and keeps cooking disruption shorter.
Walk the work triangle and confirm clearances already work before you redesign on paper. If the layout functions, invest in durability and cleanability instead of moving walls. Many small kitchens feel new when the envelope stays put and the finishes finally match how the room is used.
Cabinet Refinish Versus Full Replacement
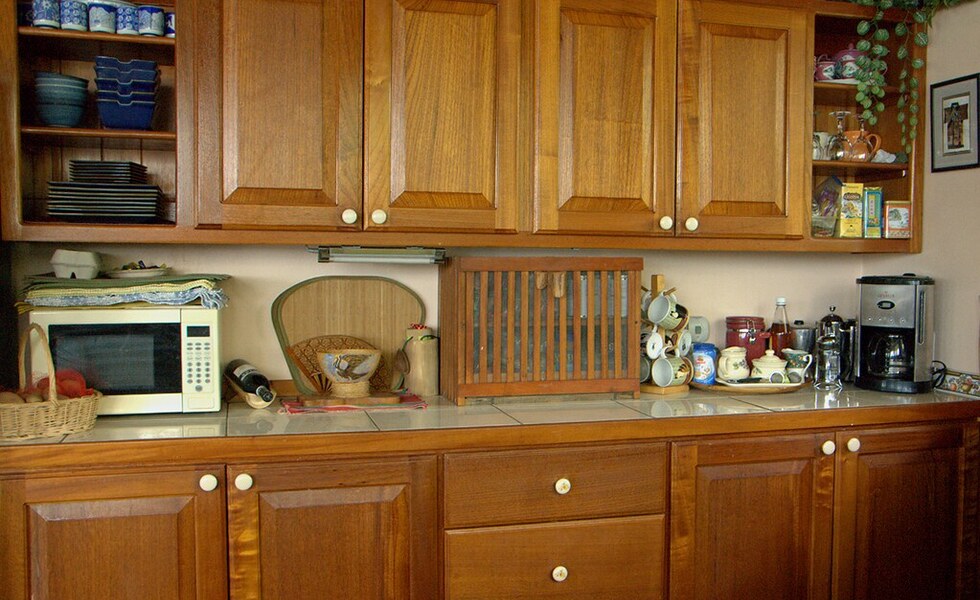
Solid boxes with tired doors are candidates for paint, spray finish, or new fronts. Replacement makes sense when boxes are swollen, out of square, or hardware holes no longer hold. Factor labor, downtime, and disposal into the replace number, not just the cabinet price tag.
Refinishing or refacing often lands between a paint weekend and a full gut, with less waste. Test adhesion and choose finishes rated for kitchen grease and cleaning. Honest assessment of box condition saves both money and a mid-project change of plan.
Hardware and Paint That Read More Expensive
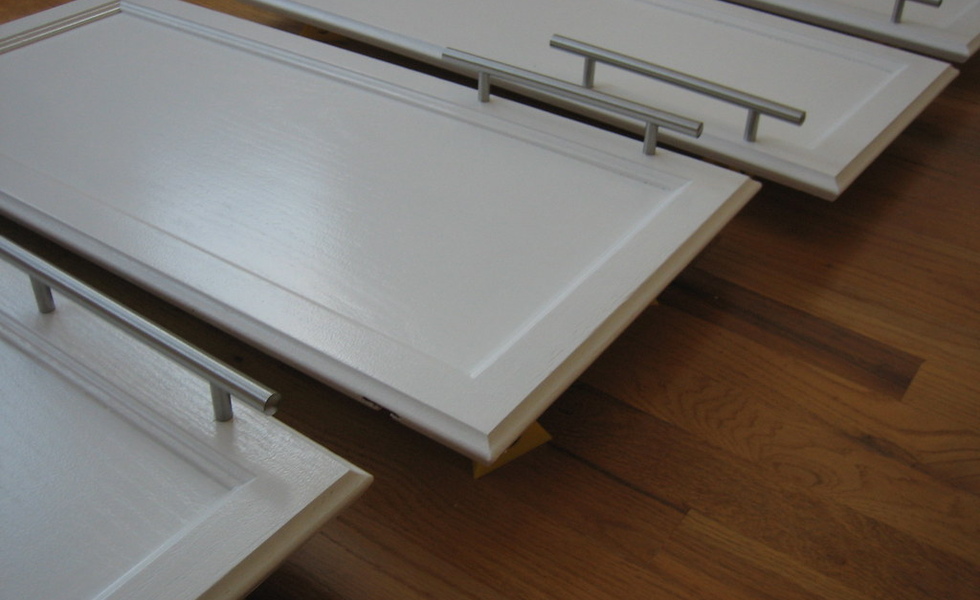
Consistent metal finishes on pulls, visible hinges, and the faucet make a small kitchen feel deliberate. Soft-close hardware upgrades comfort without changing the footprint. Crisp cabinet paint in a durable enamel, plus a calm wall color, does more than patterned décor that dates quickly.
Prep matters: degrease, sand lightly, and prime so chips do not show in six months. Choose colors that hide minor wear near handles and the trash pull-out. These are mid-tier spend items that photograph well and hold up to daily cooking.
Countertops Without a Full Tear-Out
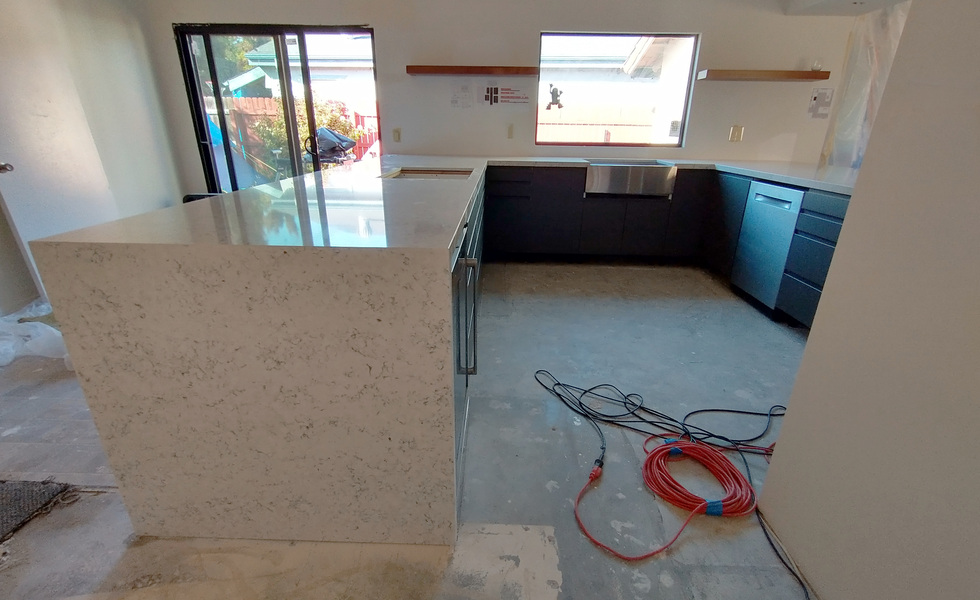
If boxes are staying, counters can often be replaced with careful templating and a short kitchen shutdown. Mid-range quartz, butcher block with a real maintenance plan, or quality laminate refresh the work surface without a six-figure package. Confirm sink and cooktop cutouts, overhangs, and dishwasher clearances before you order.
Avoid ultra-thin trends that chip at the dishwasher edge if your household is rough on counters. Ask about seams, support for heavy stone, and who disconnects plumbing. A durable counter you can clean fast beats a showpiece that needs constant babying.
Backsplash Wins That Protect Walls and Budget
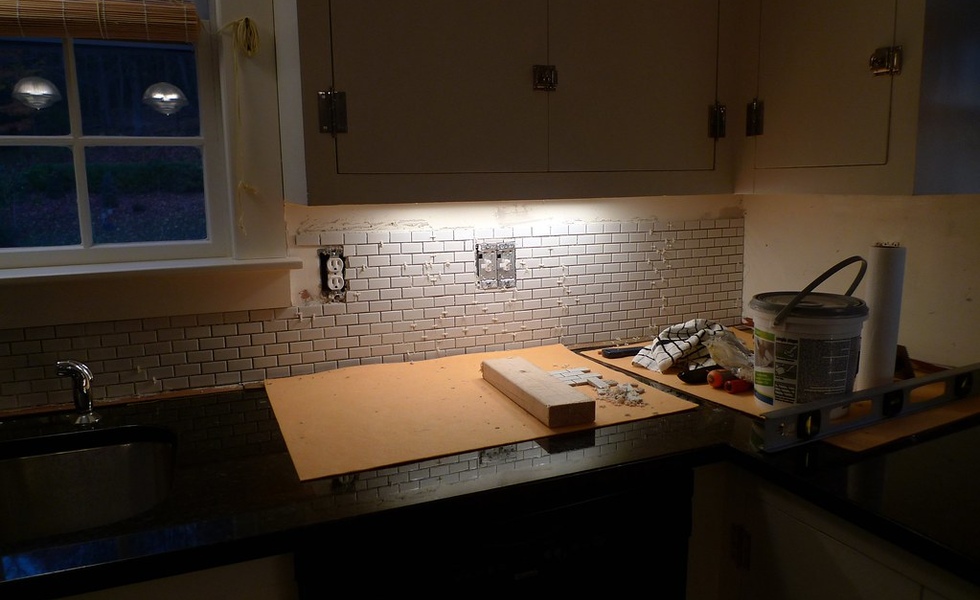
A full-height backsplash behind the range and sink protects drywall from steam and splatter while giving the kitchen a finished line. Subway-style or simple large tile with matching grout stays evergreen and is easier to keep clean than fussy mosaics. Peel-and-stick options can bridge a rental or a pending larger remodel when moisture exposure is moderate.
Run tile to a logical stop at cabinets or a window, not a random mid-wall cut. Seal grout as the maker recommends and caulk changes of plane. A tidy backsplash is high visual return per dollar when counters and cabinets already look solid.
Lighting That Transforms How the Kitchen Feels
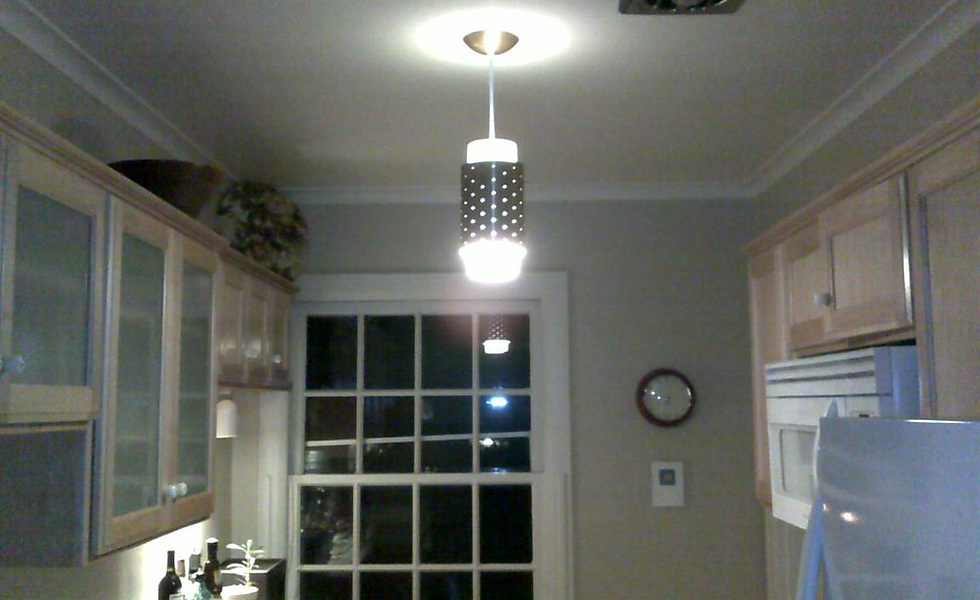
Under-cabinet LED strips erase the shadow line on counters where most prep happens. A brighter, dimmable ceiling layer plus one focused light over the sink or island zone makes evenings safer and cleaner. Swap builder-grade yellow bulbs for consistent LED color temperature so finishes look true.
Do not rely on a single harsh flush mount that leaves corners dark. If you add new fixtures on new circuits, hire an electrician. Swapping like-for-like fixtures on existing boxes can be DIY for confident homeowners. Light is often the cheapest remodel layer with the most daily payoff.
Budget Flooring Choices Including LVP
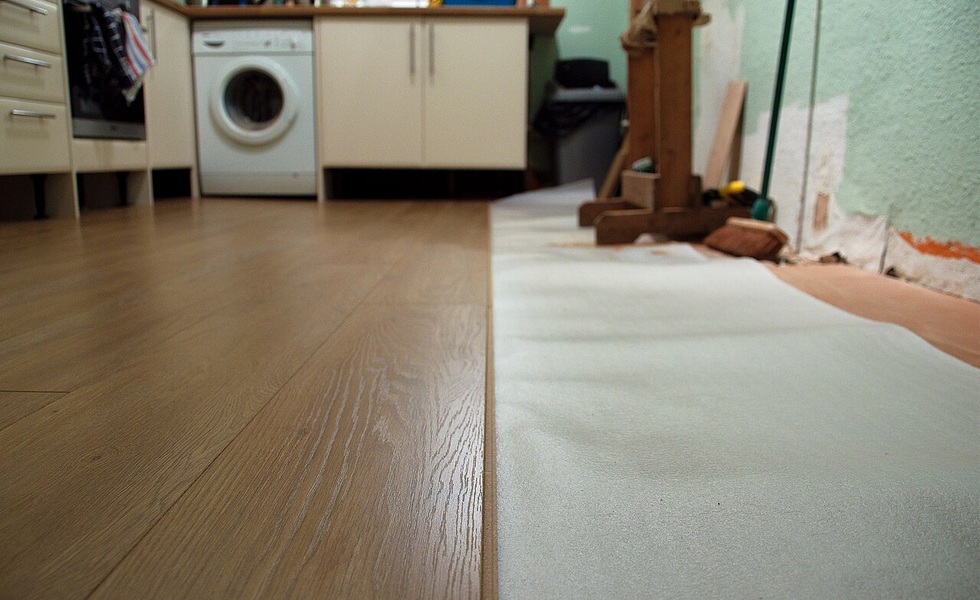
Luxury vinyl plank can handle spills better than many woods and installs floating over many flat subfloors, which suits small kitchens on a timeline. Sheet vinyl and quality laminate are other mid-budget paths when moisture and pet traffic are real. Check thickness, wear layer, and wet-area ratings rather than only the display sample color.
Prep the subfloor flat, because ridges telegraph through thin planks. Plan transitions at doorways and leave expansion gaps the maker specifies. Flooring lasts longer when you fix leaks and use mats at the sink and range, not when you chase the newest print.
Storage Ideas That Stretch a Small Footprint
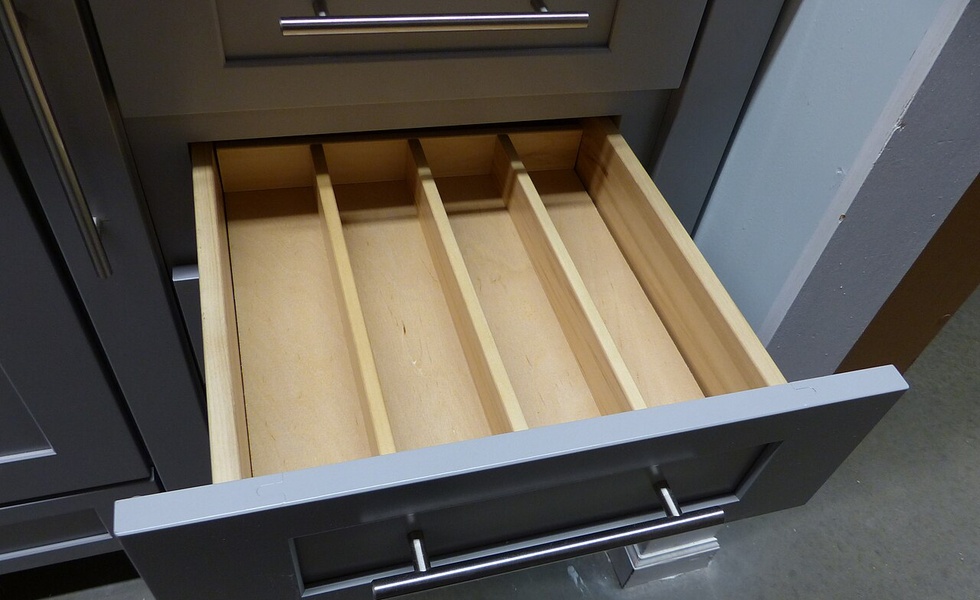
Pull-out pantry racks, tray dividers, and door-mounted spice storage reclaim dead cabinet corners. A slim rolling cart can fill a fridge gap if wheels lock and heat clearances are safe. Open shelves look airy but only work if you edit what sits out. Closed storage still wins for clutter control.
Measure diagonal pots and tall appliances before buying organizers that do not fit. Ceiling-hung racks need solid blocking and a plan for grease cleaning. Storage should speed cooking and cleaning, not merely fill empty photo-ready space.
DIY Versus Hire Cutoffs for Kitchen Work
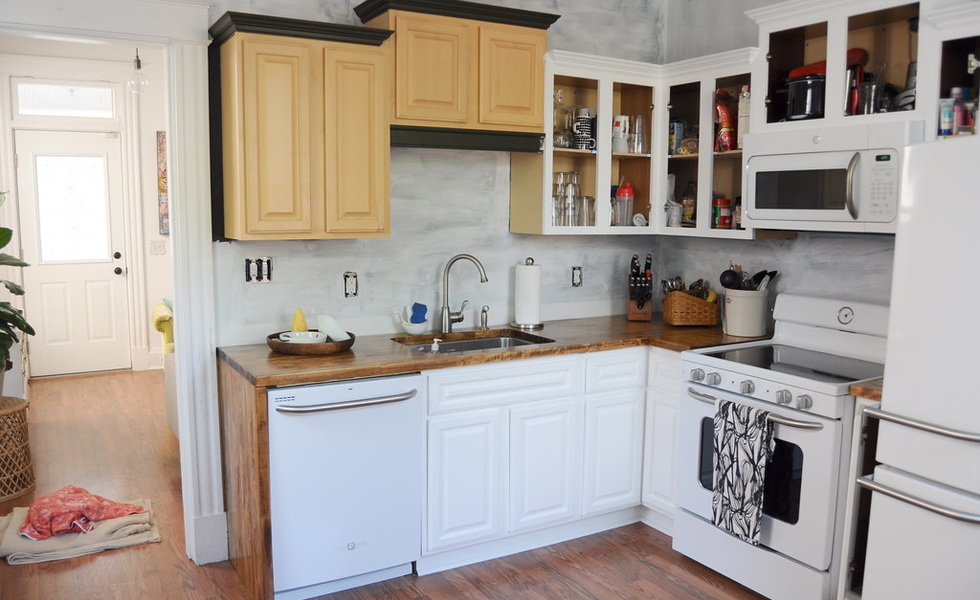
Homeowners can often handle painting, hardware, backsplash tile with practice, and simple fixture swaps. Hire out gas lines, hardwired electrical, structural cabinet installs that need shimming to stone weight, and complex plumbing. Waterproofing under a new sink base after a leak also deserves a pro eye.
Get line-item bids so you can DIY finishes after trades finish rough work. Mid-project surprises shrink when you open a few cabinet sides and check for rot before demo day. Respect the cutoff where a mistake becomes a flood or a code failure.
Where to Splurge and Where to Save
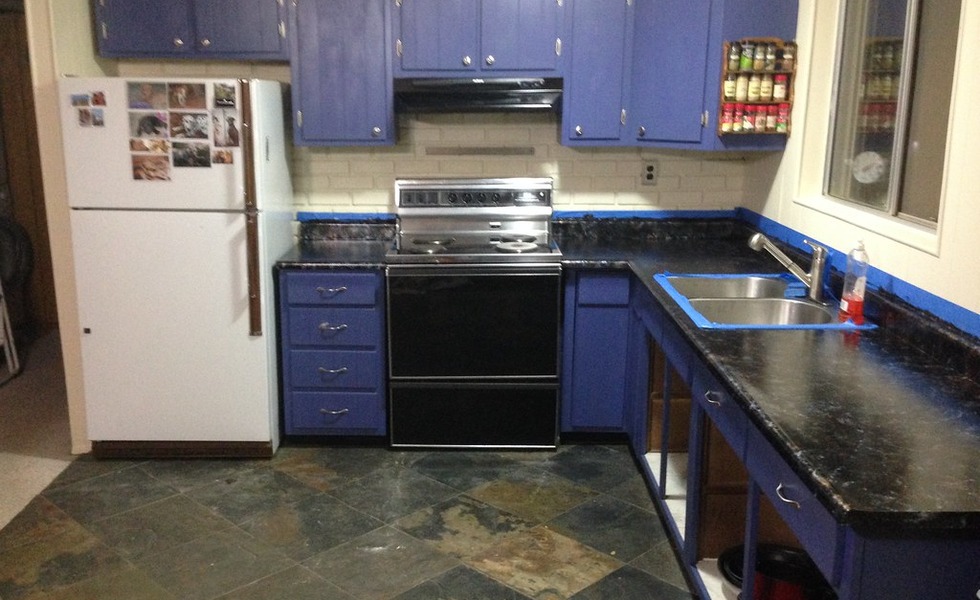
Splurge on the work triangle surfaces you touch daily: a reliable faucet, solid counters, and lighting you can see to cook by. Save on decorative glass, specialty finishes that need constant polish, and layout changes that only look good on a mood board. Mid-grade appliances that fit your cooking style beat pro-look units that sit unused.
Keep a contingency for hidden water damage and outlet upgrades. If the budget tightens, pause the island fantasy and finish the primary run well. Balanced spend reads as quality. Uneven luxury next to failing basics does not.
Project Order for Maximum Impact
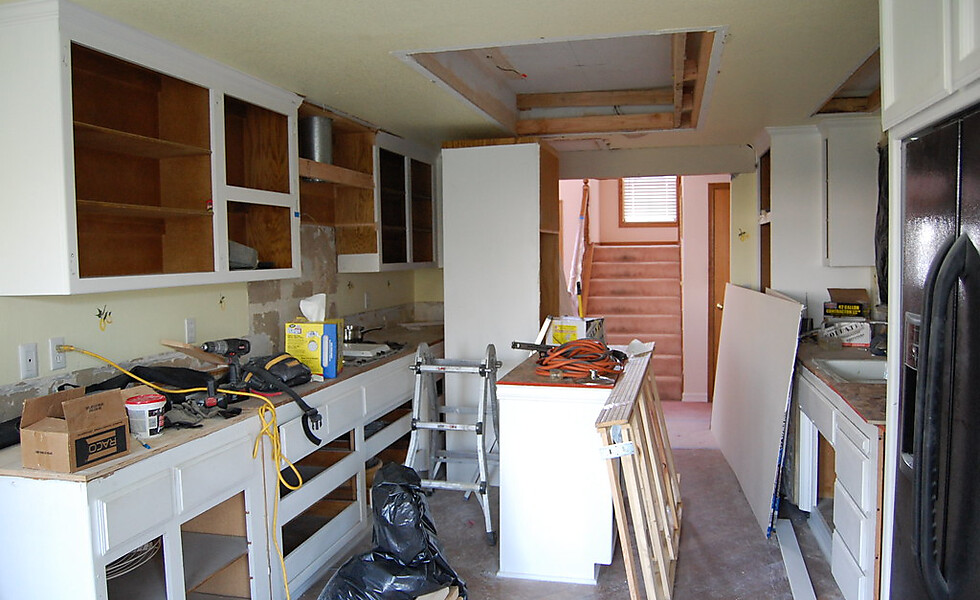
Sequence matters. Fix leaks and structure first, then floor if it runs under cabinets, then cabinets or refinish, then counters, then backsplash and final plumbing trim, then paint touch-ups and hardware. Lighting can land early if wiring is open, or late if you are only swapping fixtures. Doing backsplash before counters often creates awkward cuts, so follow a logical stack.
Plan meals and a temporary wash station so you are not living in dust longer than needed. Walk the finished room for caulk gaps and soft-close adjustments before you call it done. Order of operations protects both budget and sanity on a small remodel.
Amazing Builder Partners