Painting kitchen cabinets is one of the biggest visual upgrades you can get for the money. Fresh color on the boxes, doors, and drawer fronts can make a tired kitchen feel current without the cost and mess of replacement.

It’s also one of the easiest projects to rush. Cabinets take more abuse than almost any other painted surface in the house, from greasy fingers and banging doors to steam from the kettle. A finish that looks great on day one can chip within weeks if the prep or paint choice is wrong.
This guide walks through the full cabinet system, including boxes, doors, drawers, and hardware, along with the 12 mistakes behind most failures. Avoid them, and your painted cabinets can hold up for years.
Painting When Replacement Is the Smarter Call
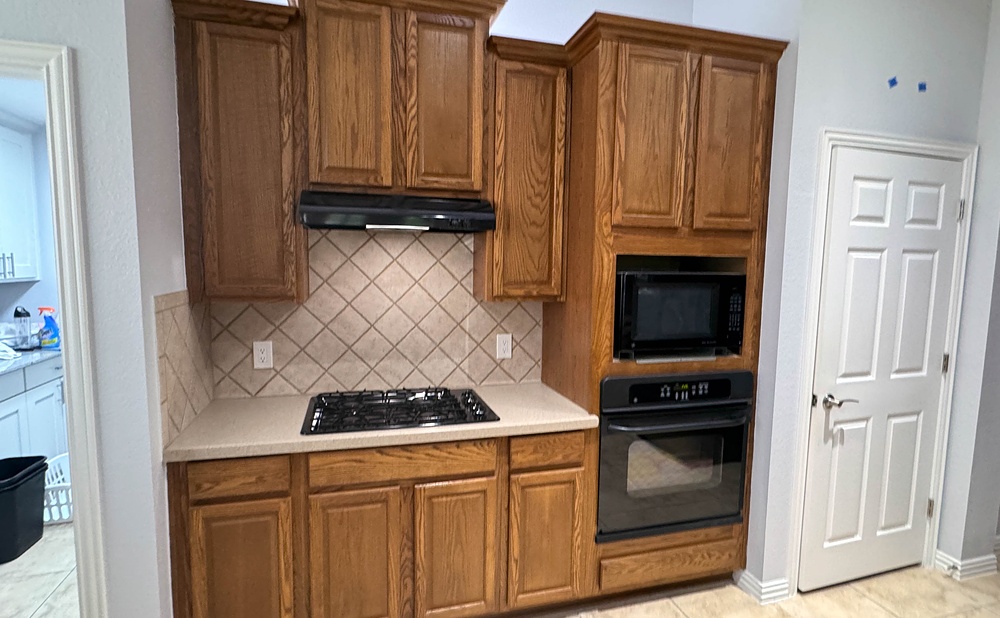
The first mistake happens before you buy any paint. Painting works best when the cabinet boxes are solid, square, and laid out the way you like. Solid wood, plywood, and sound MDF doors all take paint well, and a fresh finish plus new hardware can transform the room for a fraction of the cost of replacement.
Paint can’t fix water-damaged boxes, warped doors, or a layout that doesn’t work. Peeling thermofoil and thin veneer also cause trouble. If you’re dealing with any of those problems, put the paint budget toward refacing or new cabinets instead.
Skipping the Degrease Step
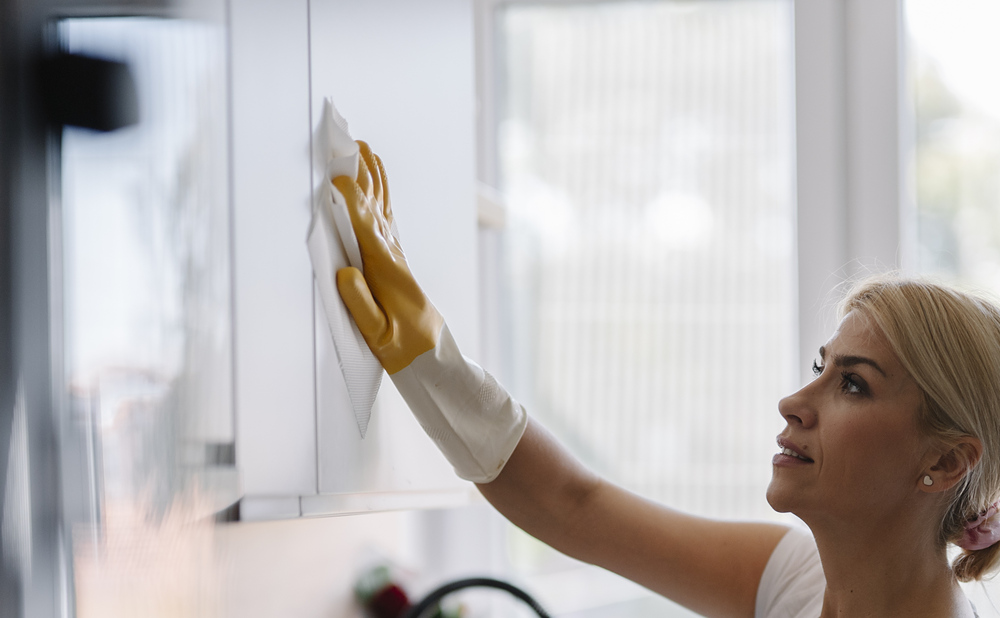
Kitchen cabinets carry a film of cooking grease, hand oils, and cleaning residue, even when they look clean. Primer and paint can’t grip that film, which is why poorly prepped cabinets peel in sheets near the stove and around the handles. It’s a common reason cabinet paint jobs fail early.
Scrub every surface with a dedicated degreaser, paying extra attention to the areas near the range and below the handles. Rinse with clean water so no residue remains, and let everything dry completely. If water still beads on the surface afterward, clean it again.
Starting Without the Right Tools and Materials
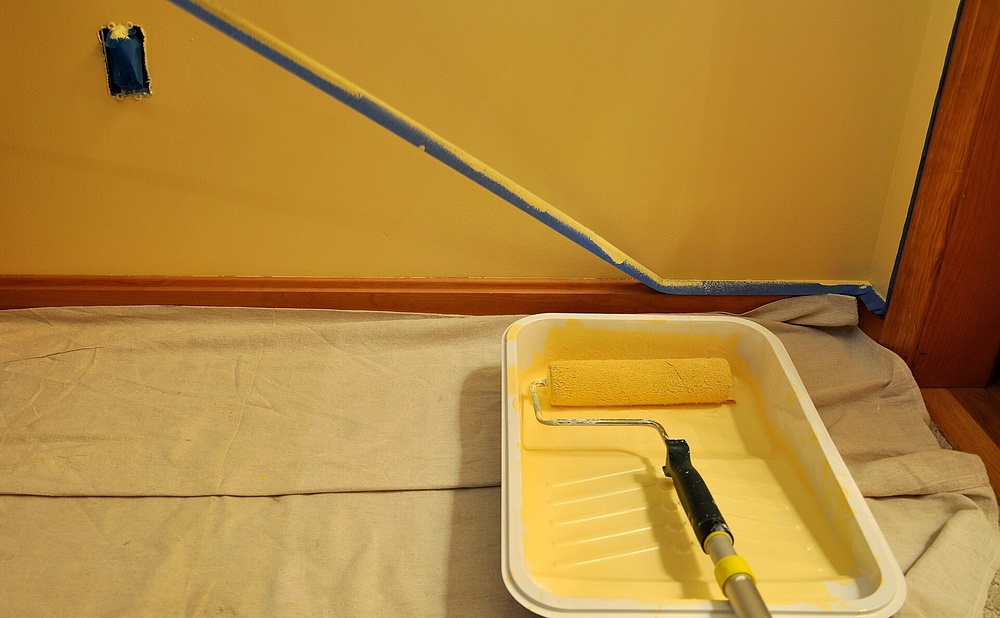
Running to the store mid-project leads to shortcuts, so gather everything first. You’ll need degreaser, medium- and fine-grit sanding sponges, a tack cloth or microfiber cloth, wood filler, painter’s tape, drop cloths, and a screwdriver or drill. Add a bonding primer, cabinet-grade paint, a quality angled brush, and fine foam or microfiber rollers.
Set up drying racks or stands so the doors can lie flat, and keep small plastic bags and a marker on hand for the hardware. Good ventilation matters throughout, and you’ll want a respirator if you sand old finishes or use solvent-based products.
Painting Doors While They Are Still Hung
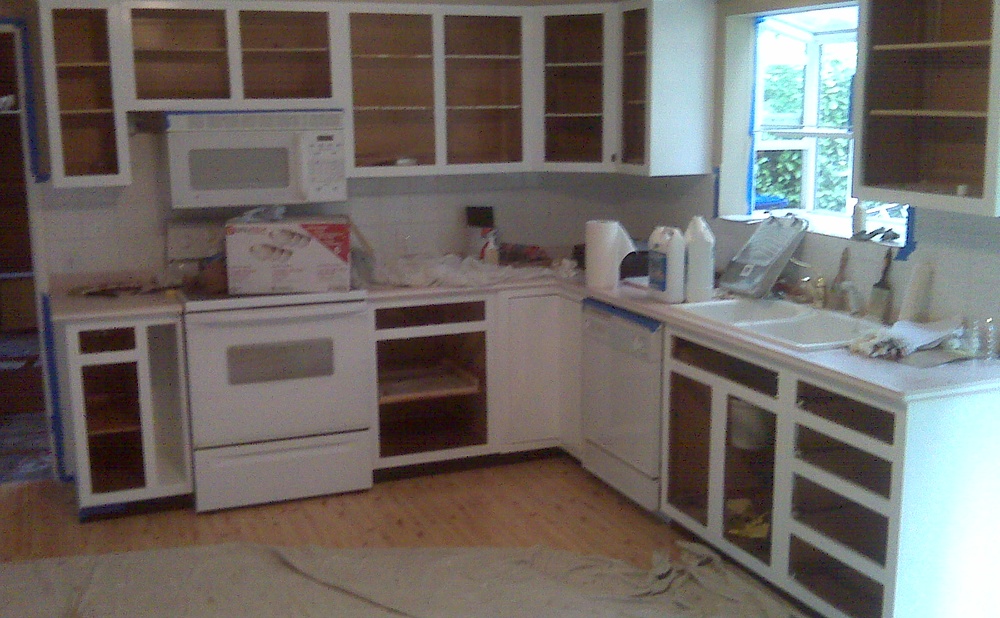
Brushing doors in place leads to drips on the hinges, missed edges, and paint that glues doors to their frames. Take off every door and drawer front and work on them flat. It feels slower at the start, but it saves hours of touch-ups and gives you a much smoother finish.
Label each door and its opening with numbered tape, and keep the hinges and screws in matching bags. Put the tape label inside the hinge cup hole so it survives painting. When it’s time to rehang, every door goes back exactly where it came from.
Choosing the Wrong Sanding Approach
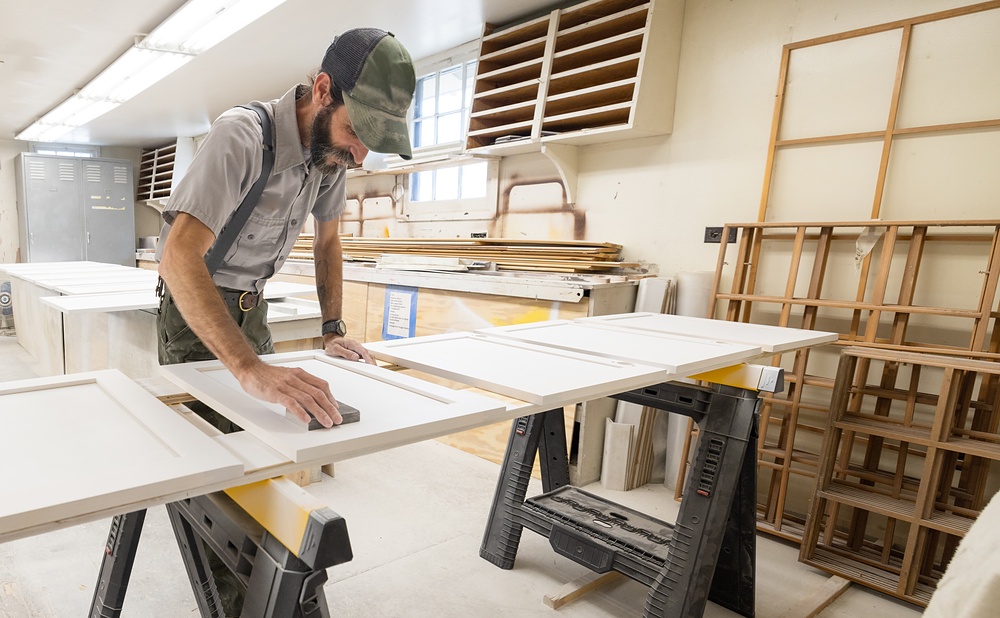
You don’t need to strip cabinets to bare wood, but you do need to dull the existing shine. Glossy factory finishes need a thorough scuff sand so the primer has something to grip. Skipping this step causes problems later, and so does sanding so hard that you cut through the veneer.
Use a medium-grit sponge on flat panels and a softer pad on profiles. Liquid deglossers can help on detailed doors, but they still need a clean rinse. Fill dents and old hardware holes, sand them smooth, and remove all the dust before priming.
Using the Wrong Primer
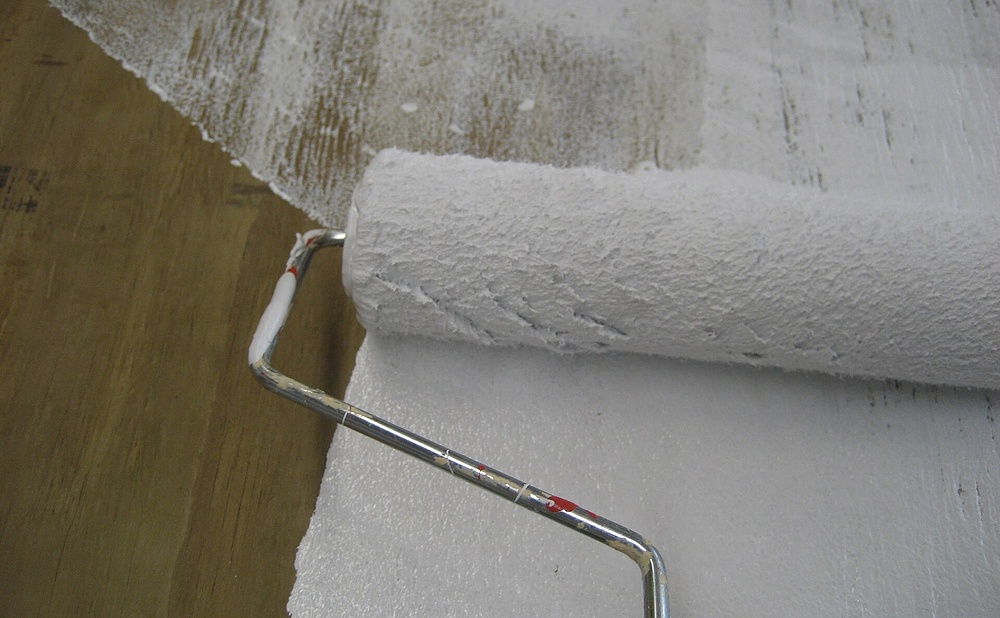
Primer is the bond between the old finish and the new paint, and a basic wall primer often can’t grip slick cabinet finishes well enough. Use a bonding primer made for glossy surfaces, or a stain-blocking primer on tannin-rich woods like oak, which can bleed through light paint colors.

Tinting the primer toward your finish color helps dark or bold colors cover in fewer coats. Apply primer in thin, even coats, and sand lightly once it dries. Keep in mind that oak grain will still show through the paint unless you fill it with a grain filler first.
Picking the Wrong Paint Type or Sheen
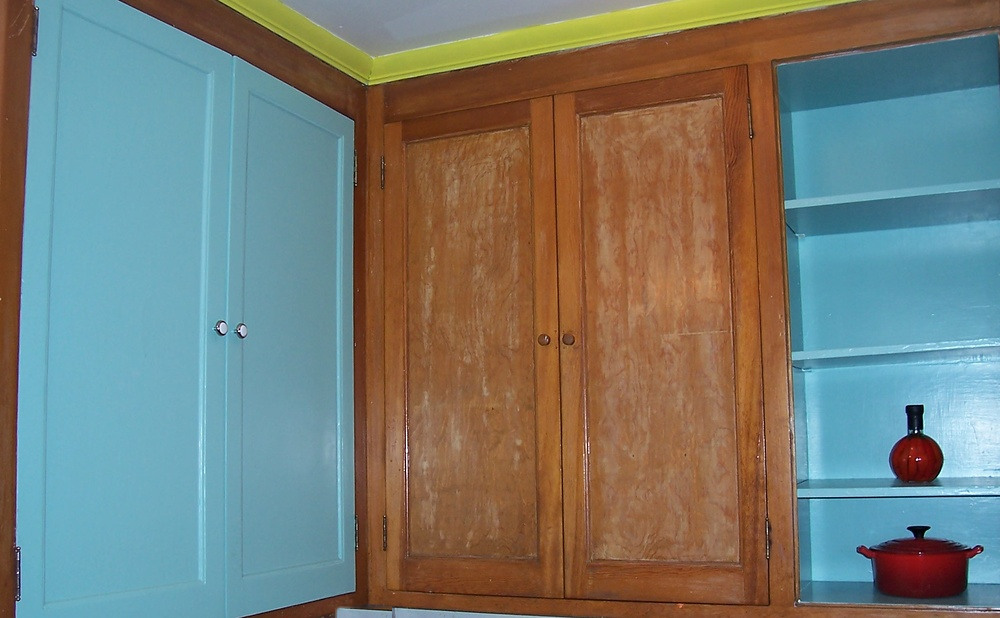
Standard wall paint stays soft and tacky on cabinets, so doors stick and edges chip. Look instead for paints labeled for cabinets, trim, or furniture, such as waterborne alkyds, urethane-modified acrylics, or traditional oil-based enamels. These level out smoothly and cure much harder.
Sheen matters, too. Satin and semi-gloss are the easiest to wipe clean, and they resist grease better than flat or eggshell. A very high gloss looks dramatic but shows every brush mark and dent, so it rewards near-perfect prep and a sprayed finish.
Choosing a Method That Fights Your Skill Level
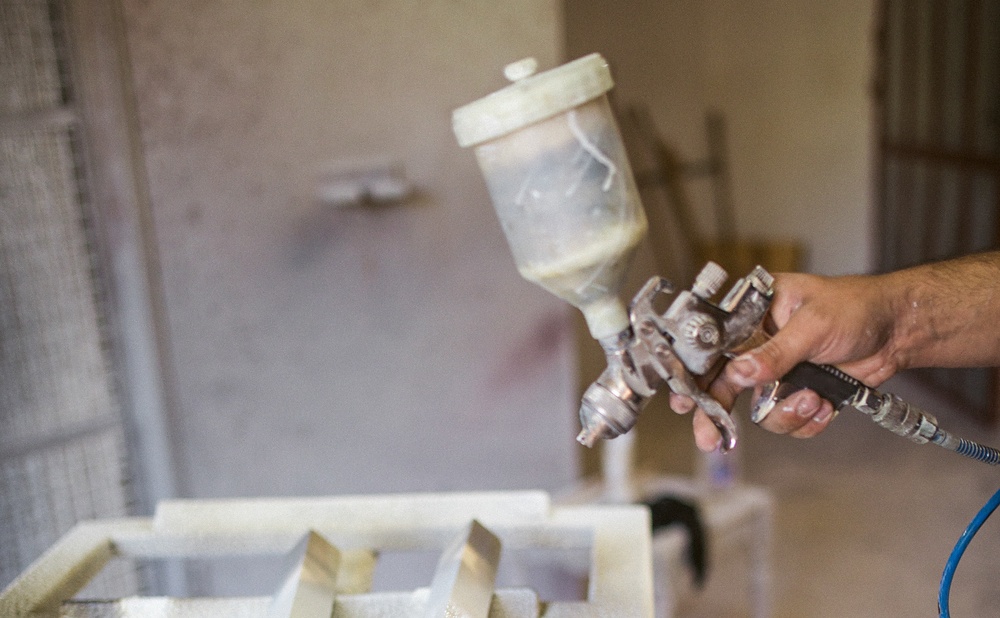
Brushing and rolling are the most forgiving approach for a first project. Use a quality brush for profiles and a fine roller for flat areas, then tip off with light brush strokes for a smooth look. A good self-leveling cabinet paint hides most minor marks as it dries.
A sprayer gives a factory-like finish, but it requires masking, practice, and a dust-free spray area, and overspray travels far in a kitchen. If you’ve never sprayed before, practice on scrap boards first, or spray only the doors in the garage while brushing the boxes.
Painting in the Wrong Order
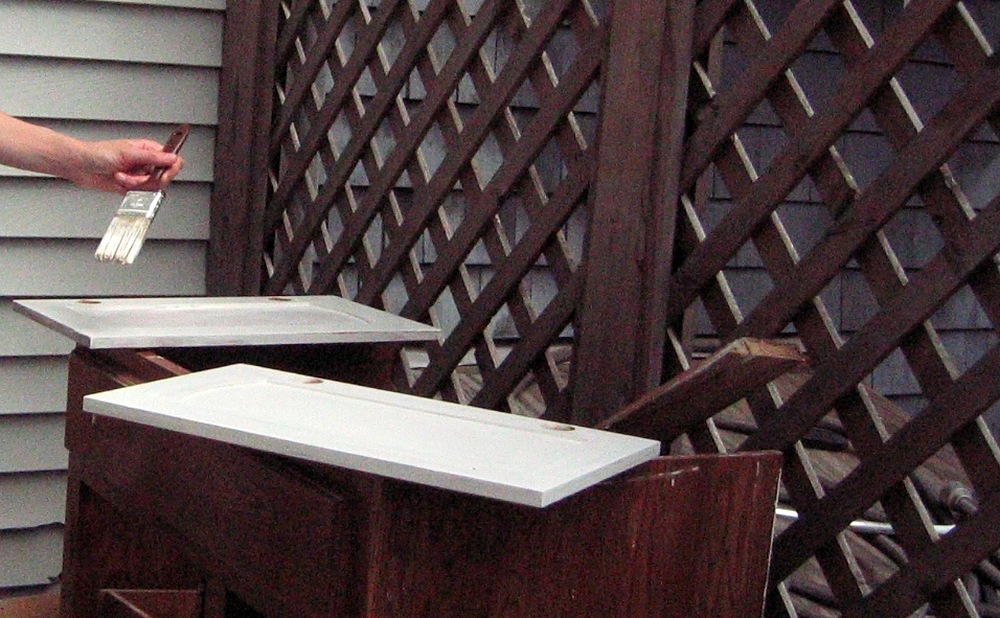
Random brushing leads to runs, lap marks, and drips on the edges. On raised or recessed panel doors, paint the panel profiles first, then the center panel, then the rails, and finally the stiles. Finish with the edges, and keep a wet edge so each section blends into the next.
Paint the back side of each door first and let it dry before flipping it over. Work the boxes from the inside out and from top to bottom. Drawer fronts usually need only the face and edges painted, since painted drawer sides can stick when they slide.
Rushing Dry Times and Recoats
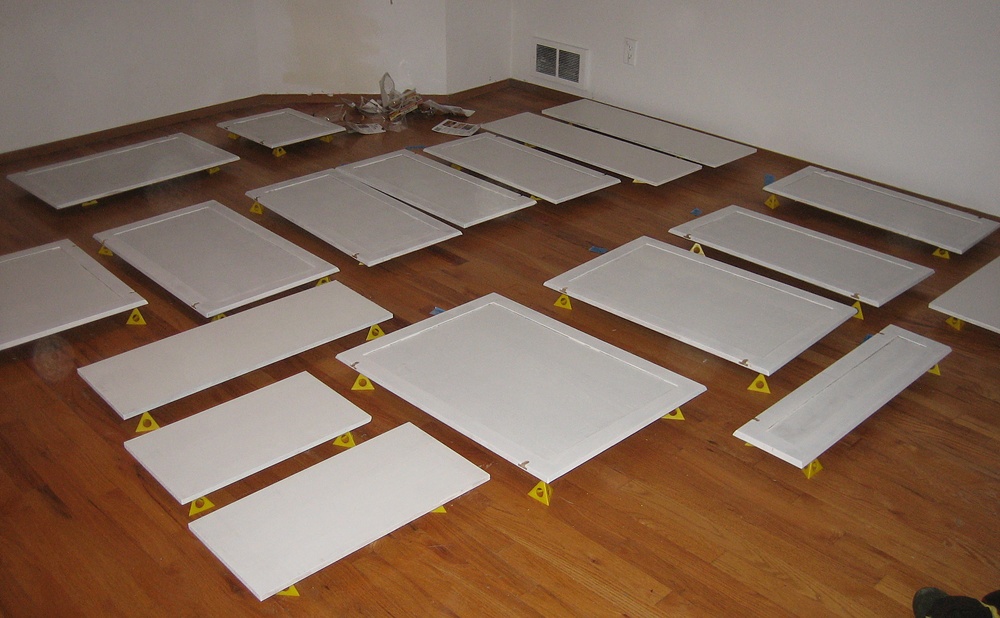
Dry to the touch isn’t the same as cured. Many cabinet paints feel dry in an hour or two but need much longer before they can take a second coat, and days or weeks to reach full hardness. Recoating too soon traps solvents and leaves a soft finish that dents easily.
Follow the label for recoat and cure times, and sand lightly between coats for better bonding. Rehang the doors only when the paint passes a fingernail test. Then treat the cabinets gently for the first few weeks while the finish continues to harden.
Putting Old Hardware Back Without Upgrading
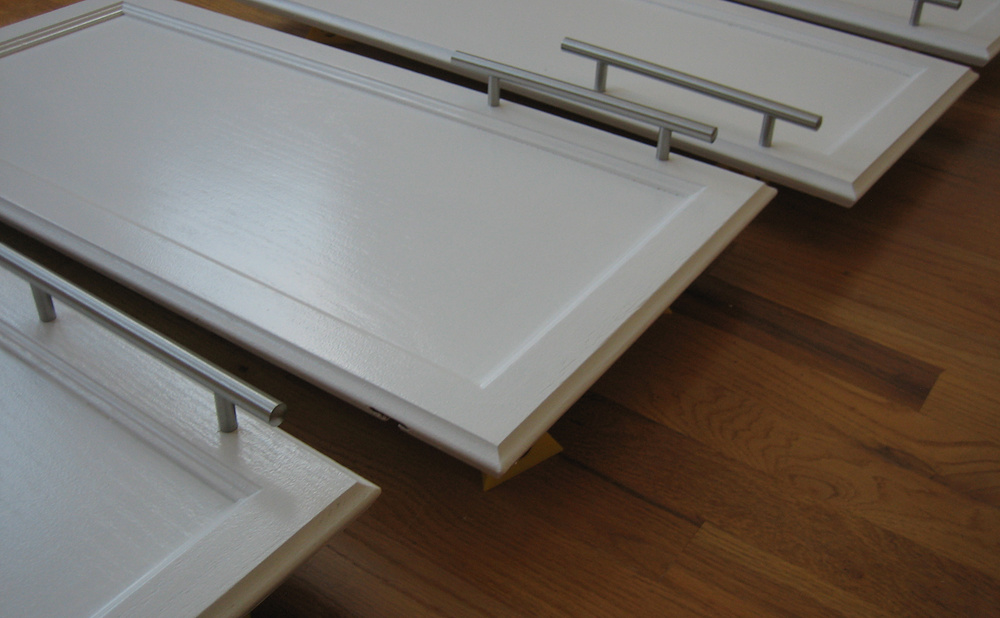
With every door off, this is the cheapest moment to upgrade hinges and pulls. Old hinges with worn springs can let doors sag or bang against the new finish. Soft-close hinges protect the paint and quiet the kitchen, and many fit standard cup holes.
New pulls can change the whole look of the room. If the new hardware spacing differs from the old, fill the old holes before priming, then drill new ones with a template after painting. Line up the pulls carefully, since crooked hardware stands out on fresh paint.
Ignoring Problems That Need a Pro
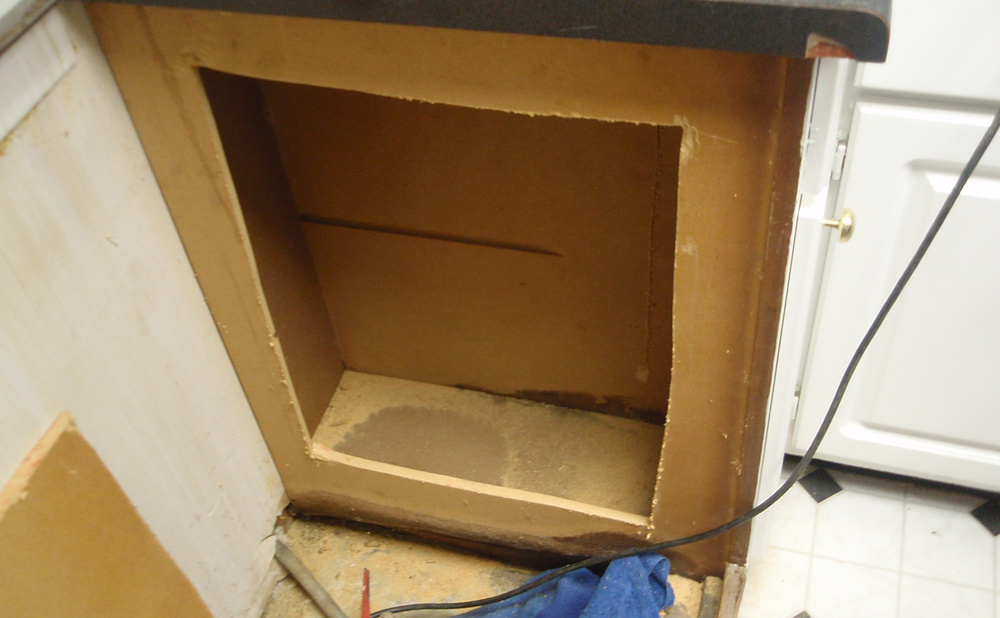
The final mistake is pushing ahead when the cabinets need more than paint. Swollen particleboard under the sink, delaminating veneer, warped doors, and soft or swollen face frames need to be repaired or replaced first. Painting over them only hides the damage for a short while.
A cabinet refinishing pro can repair damaged parts, spray a durable finish in a shop setting, and finish faster than most DIY schedules allow. Compare a pro’s quote with your own costs for paint, primer, supplies, hardware, and time. Hiring out the doors while you paint the boxes is a common middle path.
Prep steps, recoat windows, and cure times vary by product. Follow the paint and primer manufacturer’s instructions, and test on a hidden area before painting every cabinet.
Amazing Builder Partners