
Looking to give your outdoor space a cleaner, more polished feel without a full remodel? Landscaping rocks are one of those quiet upgrades that work hard year-round: less mud, less mowing, and a lot more texture underfoot and around your plantings.
Whether you want soft river stone around a patio or bold boulders that frame a garden bed, the right rock mix can make your yard feel intentional. Think of this as your friendly field guide: pick the look you love, then match size, color, and placement to how you actually use the space day to day.
Below you will find practical rock ideas for edging, paths, walls, water features, and more, plus a few buying and DIY tips so you do not overbuy (or underbuild). Grab a coffee, walk your yard with fresh eyes, and start circling the ideas that fit your style and climate.
Soft Mulch Swap With Pea Gravel
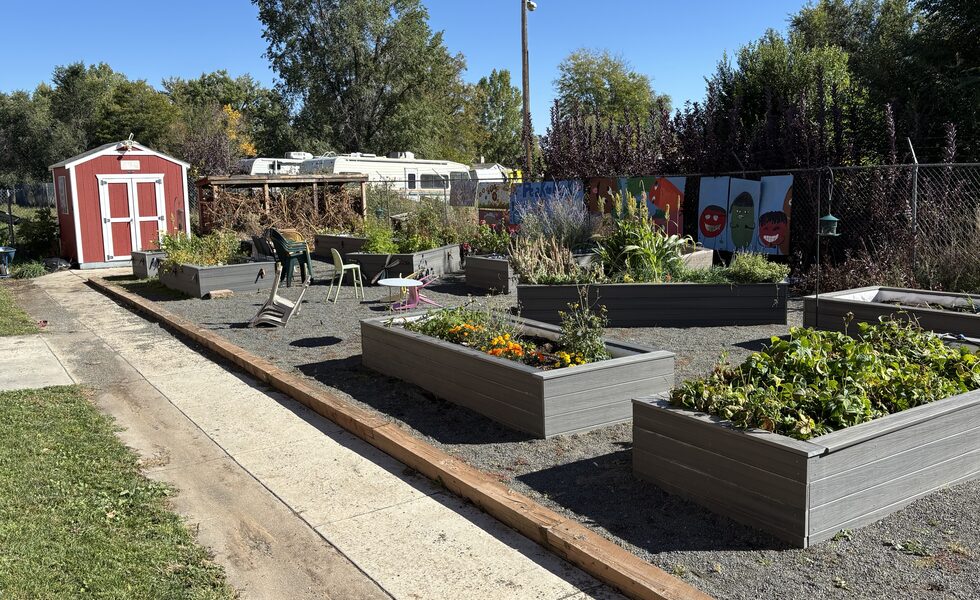
Tired of refreshing wood mulch every season while watching it fade and float away? A thin blanket of pea gravel stays tidy through rain and heat, drains fast after storms, and looks crisp next to shrubs and perennials. Keep the layer shallow, about two inches, so roots still breathe, and add a stone or steel edge so gravel does not wander into the lawn. Choose a color that flatters your siding rather than fighting it, and skip deep piles that bury crowns or invite heat stress in midsummer sun. If you garden in clay, that quick drainage is a quiet gift after every downpour.
Rinse dusty gravel before you spread it so the first look is bright, not chalky. Leave a small bare collar around plant crowns so moisture does not sit against stems. You will spend less time topping up mulch and more time enjoying a yard that stays put between seasons. Pull any weeds that sneak through early, then top off thin spots once a year instead of hauling fresh bark every spring. On paths beside beds, a broom and a light hose rinse keep the surface looking intentional without chemicals or heavy tools.
Clean Bed Borders With Cobblestone Caps
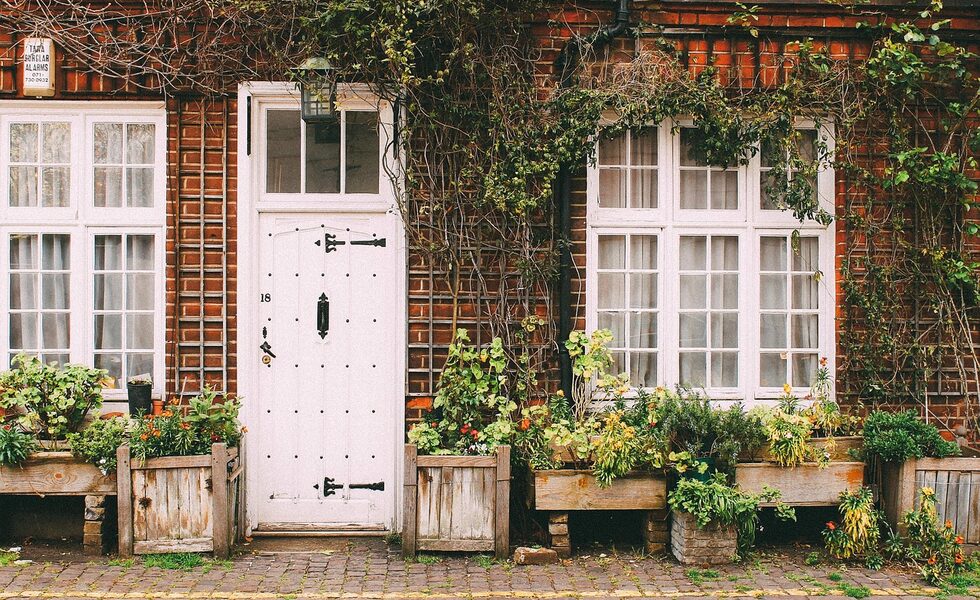
A single row of cobblestones gives flower beds a finished outline without pouring concrete or hiring a crew. Choose stones that echo your home’s brick, siding, or trim so the border feels built-in rather than bolted on. Nestle each piece into a shallow trench of compacted sand so the mower can ride along without kicking stones loose. Measure the bed first and buy a few extras for corners and breakage, because matching a later batch from a different pallet rarely looks seamless. A weekend spent setting this edge once saves you from ragged mulch lines all season.
For curves, dry-fit the whole run before you lock anything in place, then brush joint sand into the gaps. Tip the cobbles slightly outward if lawn slopes toward the bed so runoff sheds away from roots. One careful afternoon delivers that designed-in look from the driveway. Recheck the line after the first hard rain and tap any settled stones back flush so the mower deck still clears cleanly. If grass creeps under later, a quick scrape with a flat shovel restores the crisp border without rebuilding the whole edge.
Stepping-Stone Paths That Feel Intentional
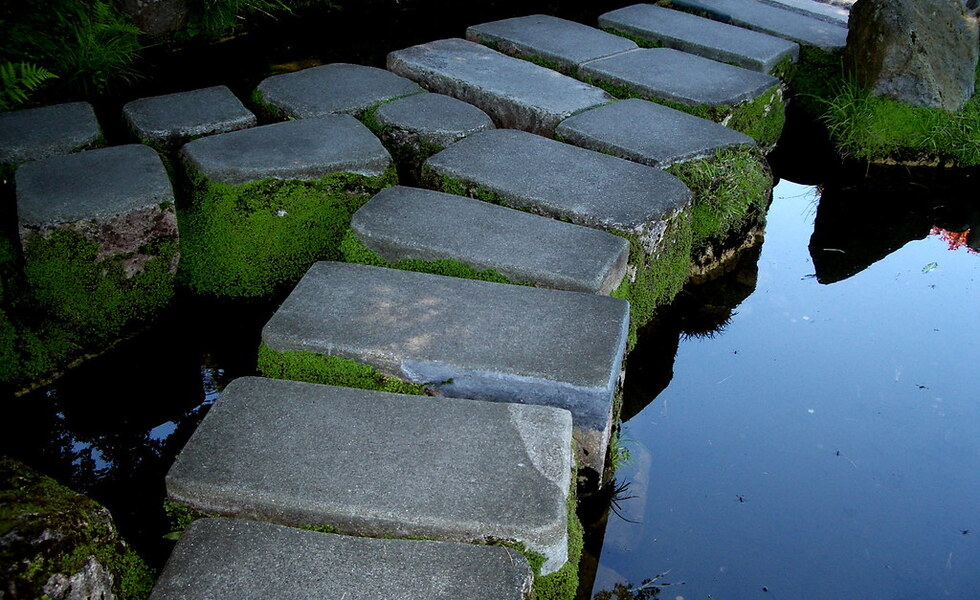
Large flat flagstones turn a bare dirt shortcut into a walkway that looks planned instead of accidental. Space them for a natural stride, and fill the gaps with fine gravel or low groundcover for a softer finish. Level each stone on a compacted gravel base so it does not rock after the first hard rain. Walk the route barefoot in your usual pace before you dig, marking each landing so the path feels easy rather than forced. That little rehearsal keeps you from buying beautiful stone that ends up too far apart for guests and kids.
Pick stone at least an inch and a half thick, and wet samples before you buy so you know how dark they will look after storms. Sweep joints clean every so often, and reset any stone that starts to wobble. A thoughtful path invites people through the yard instead of across the lawn. In freeze-thaw climates, a deeper gravel bed under each slab reduces heaving, and a rubber mallet makes small height tweaks less nerve-wracking than prying with a shovel. Keep a spare stone on hand if your yard sees heavy traffic or delivery carts.
Crushed Stone Trails for High-Traffic Routes
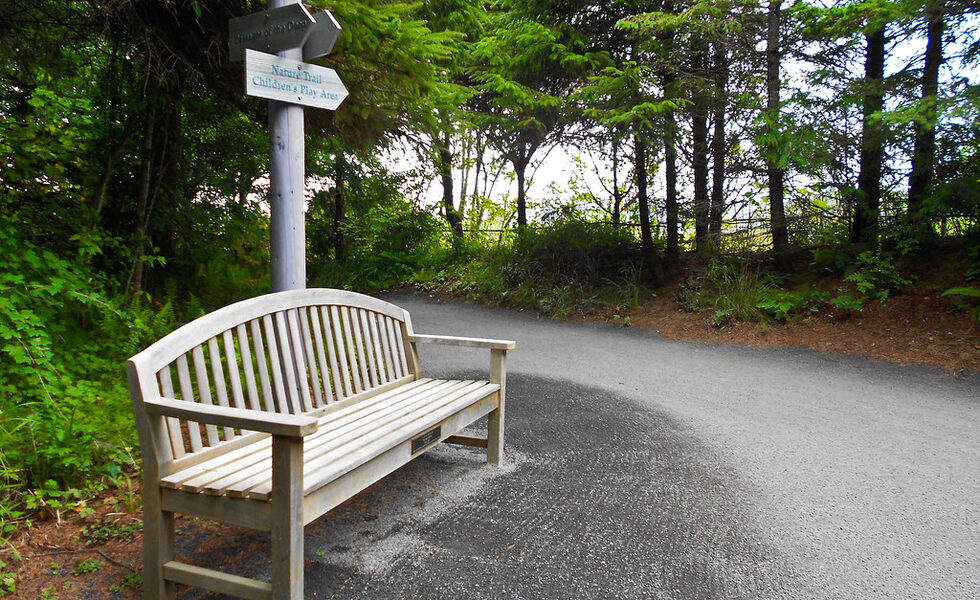
Where kids, dogs, or wheelbarrows travel daily, crushed stone holds up better than loose decorative rock that skitters underfoot. Pick an angular mix that locks together when compacted rather than round stone that rolls. Dig a shallow trench, slope it for drainage, then add stone in lifts you can tamp firmly. Aim for a finished depth of about three inches on busy routes so the surface stays firm after spring thaws. A plate compactor rented for an afternoon beats hand tamping if the trail is longer than a few car lengths.
Keep the finished surface a touch below the lawn so clippings do not bury the trail. Edge with steel, brick, or timber so aggregate does not creep into beds. You will get a path that shrugs off soccer cleats and spring thaws while still looking tidy from the street. Refresh bald spots with a bucket of matching stone each fall, and rake the crown lightly so water still sheets off instead of pooling in footprints. Neighbors will assume you hired it out when the trail still looks sharp in year three.
Dry Creek Beds That Double as Drainage
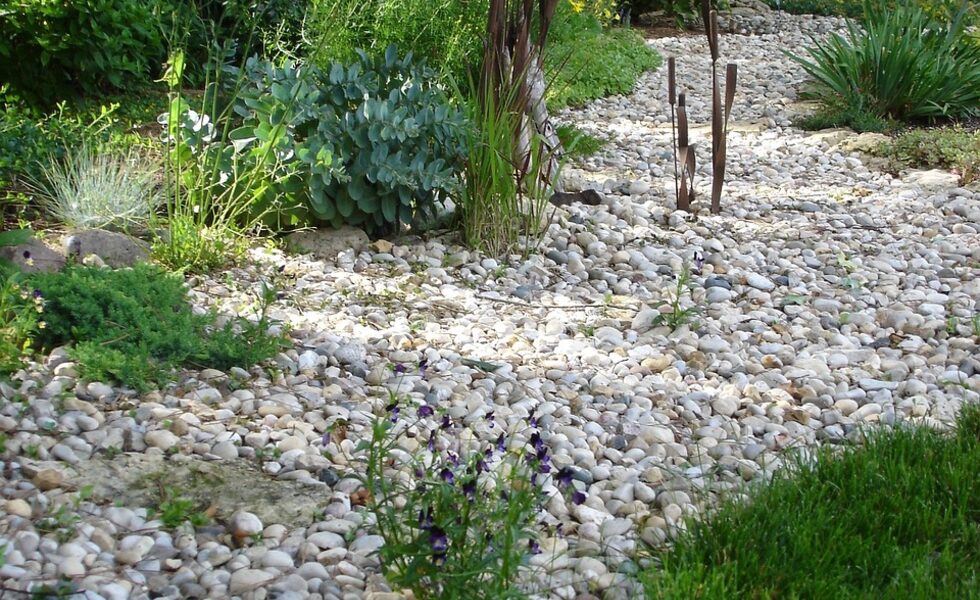
If water pools after storms or sheets toward the foundation, a dry creek bed can guide runoff and still look like a design feature. Mix larger river rocks along the banks with smaller filler in the channel so the stream reads as natural, not dumped. Curve the channel gently and tuck drought-tough plants along the edges. Landscape fabric under the stone slows weeds without blocking water, and a fabric-wrapped drain pipe in the deepest run handles the worst cloudbursts. Sketch the path with a hose first so you can adjust curves before you commit to digging.
Before you dig, watch where water actually flows during a rain so the bed follows real paths. Set the biggest stones first to anchor the smaller ones, and leave a clear outlet away from neighbors and your basement. On dry days it is sculpture; on wet days it quietly saves your turf. Check the outlet after the first few storms and clear leaves so the channel does not back up onto the lawn. A well-built bed turns a soggy eyesore into the part of the yard guests ask about.
Boulder Accents That Anchor Plantings

One or two well-placed boulders can make a new garden bed feel established overnight. Partially bury each stone, about a third of its height, so it looks settled into the soil instead of dropped from a truck. Pair the rock with ornamental grasses or evergreens that play off the stone’s color and grain. Ask the yard how the boulder was quarried and whether the face you like will stay upright once it is set, because flipping a heavy piece later is nobody’s idea of a fun Saturday. A cardboard cutout of the footprint helps you test scale before the truck arrives.
Mark final spots before delivery, protect the lawn with plywood, then backfill and mulch around the base so weeds do not steal the scene. Avoid clustering too many big rocks in a small yard; negative space helps each piece read as intentional. A single front-walk anchor can beat a truckload of scattered leftovers. Light the face with a soft path light if you want evening drama, and rinse dust off after install so the true color shows. Leave room to plant a few bulbs at the base for a seasonal surprise without hiding the stone.
Low Stacked Walls for Terraced Slopes
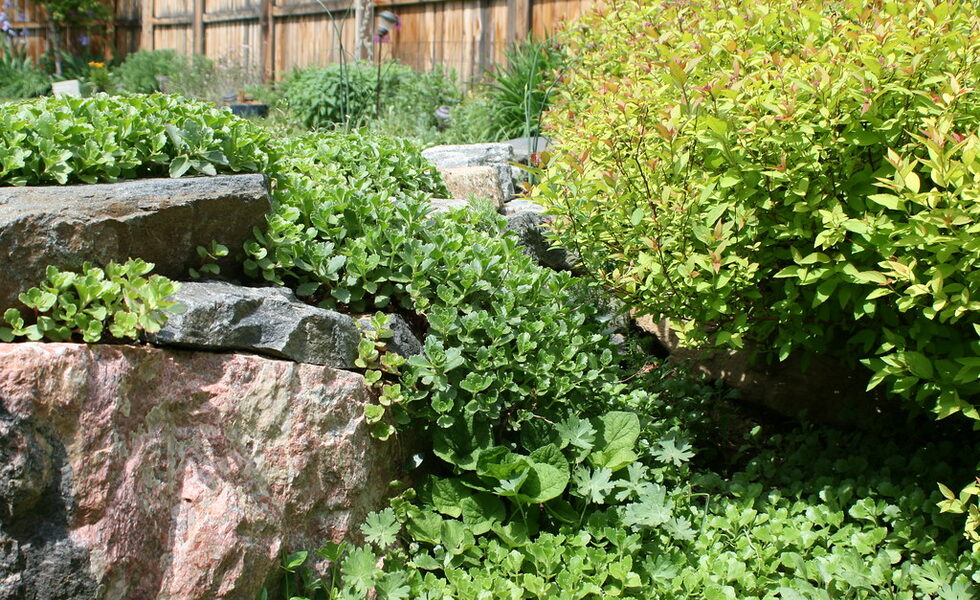
On a gentle slope, a low dry-stack wall creates planting shelves, slows erosion, and turns a hard-to-mow bank into useful garden space. Use flat, stable stones and lean the wall slightly into the hill so gravity works with you. Keep DIY walls under about two feet; taller builds need a pro footing. Check for buried lines before you dig, and call if you are unsure, because a shovel surprise near utilities ends projects fast. Sort your stone pile into base, fill, and cap piles so you are not hunting for the right piece mid-course.
Excavate a shallow trench, add crushed stone for drainage, and set the largest pieces as your base course. Stagger joints like brickwork, backfill with free-draining gravel, and plant the terraces with deep-rooted perennials. Those little shelves become the easiest part of the yard to water without runoff racing downhill. After the first wet week, walk the wall and reseat any stone that shifted before soil loads push harder. Mulch the planting pockets lightly so rain still reaches roots without washing soil onto the face of the wall.
Stone Seat Walls Around a Patio
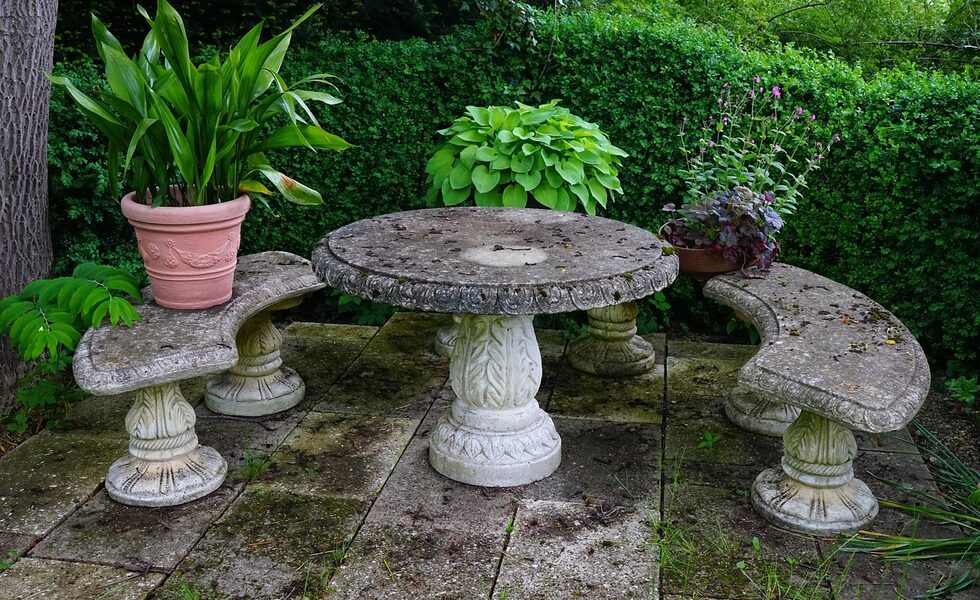
A knee-high wall around a patio doubles as extra seating when friends spill outside with plates and drinks. Cap it with smooth, wide stones so it is comfortable to perch on, and match the wall stone to your patio pavers for a cohesive outdoor room. Aim for about eighteen inches high so guests sit easily. Plan breaks for steps or plant pockets so the wall feels like part of the gathering space, not a fence. If kids use the patio, round sharp corners on the cap or choose a softer edge profile from the start.
Build on a compacted gravel footing and leave a slight pitch so rain does not puddle on the cap. If the wall holds soil, include gravel backfill so pressure does not shove it outward. Soften with cushions in summer; you will wonder how you hosted without that built-in bench. Store those cushions somewhere dry so mildew does not set in, and wipe the cap after sticky cookouts. A discreet outdoor outlet nearby makes string lights and a small speaker easy without trailing cords across the patio stones.
Pebble Mosaic Details Near Entryways

A small pebble mosaic by the front walk or side gate adds handmade charm without a whole-yard art project. Stick to a simple pattern: waves, rings, or soft stripes, so it reads clearly from a few steps away. Work in a shallow mortar bed or compacted sand, and choose pebbles of similar thickness for a walkable surface. Limit the panel to a doormat-sized area so the project stays fun instead of becoming a month-long ordeal. Sort pebbles by color in trays before you start so you are not hunting mid-pattern with wet hands.
Lay the pattern dry first, grouping light and dark stones for contrast without looking spotted. Press pebbles firmly, wipe excess mortar quickly, and seal if you want easier cleaning under muddy boots. Even a small panel can become the detail guests notice first. Practice on a scrap board if you are new to mosaics, and keep a bucket of water and sponge within reach for cleanup. When the panel cures, a soft broom is enough most weeks; save power washing for rare deep cleans so you do not loosen the setting.
Riprap Edges for Ponds and Fountains
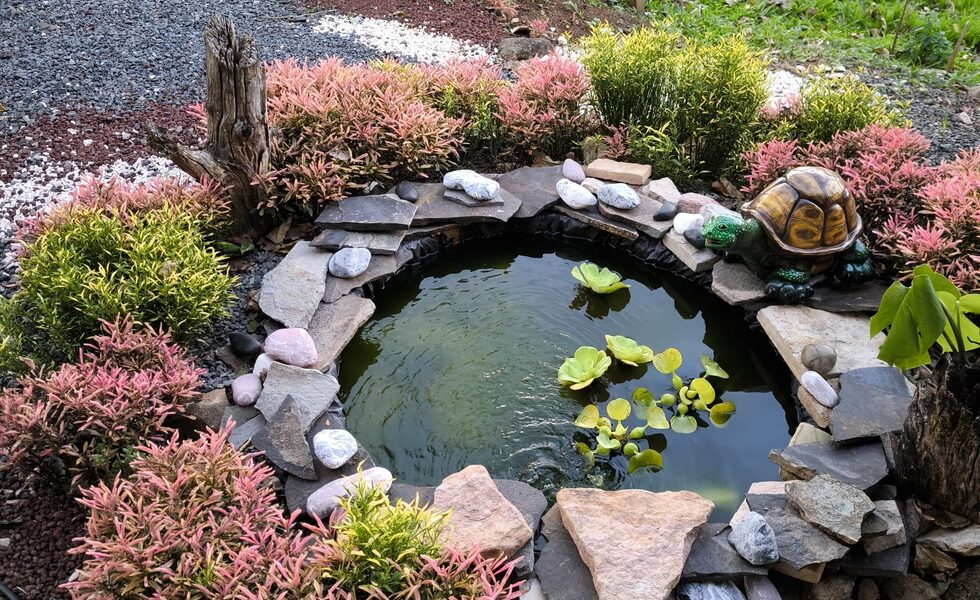
Around ponds and fountains, irregular riprap hides liners, softens hard basin edges, and gives wildlife a natural-looking shoreline. Overlap stones so the liner never peeks through when water levels drop. Choose non-alkaline stone if you keep fish, and rinse dusty rock before it goes in so sediment does not cloud the water. Start with the largest anchors below the waterline, then step sizes up the bank the way a real stream would arrange them. That layered look beats a single ring of identical rock that screams kit pond from the sidewalk.
Vary sizes (fist-sized pieces nestled among larger anchors) so the edge looks collected by a stream rather than stacked from a catalog. Tuck marginal plants between stones for color, and keep flatter stones where you step to reach pumps. A well-laid edge turns a kit basin into a garden-grown feature. Skim leaves weekly in fall so decay does not load the water with nutrients, and check that no sharp edges are rubbing the liner after freeze-thaw. A little seasonal tending keeps the water clear and the shoreline believable.
Splash-Zone Stone Under Spouts and Hose Bibs
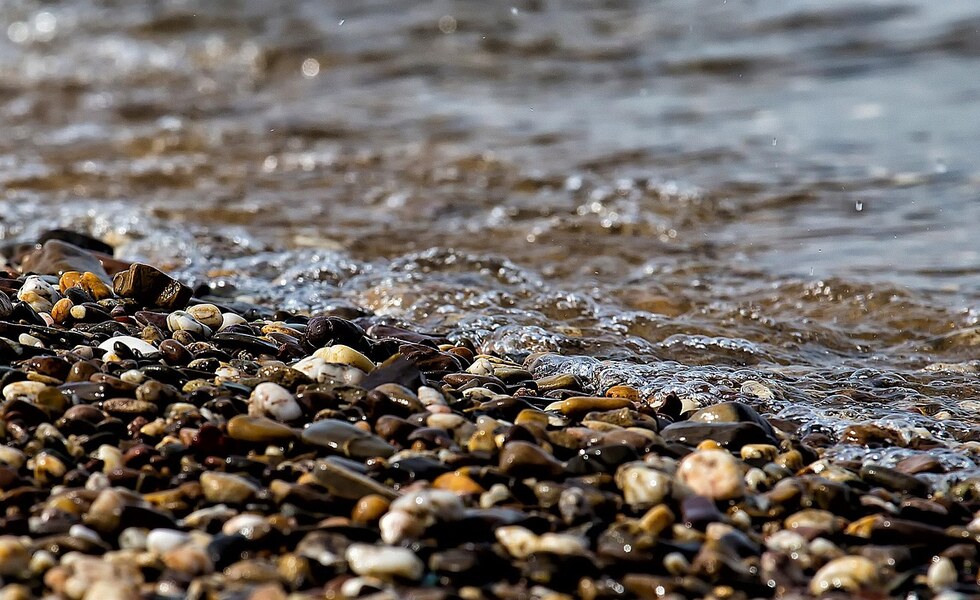
A pocket of decorative gravel under a downspout or outdoor faucet stops mud rings, foundation splash-back, and that perpetual wet patch that kills grass. Dig a shallow basin wider than the splash pattern you see during a storm, add landscape fabric, then fill with stone heavy enough that it will not wash away. Choose a stone color that blends with nearby beds so the splash zone looks planned, not patched. If splash stains the siding, extend the basin a bit farther out and confirm the downspout elbow aims into the stone, not onto the wall.
Slope the basin slightly away from the house so water moves toward lawn, a rain garden, or a dry creek. If your downspout dumps a torrent, bury a drain pipe under the pretty rock for heavy flow. It is a small weekend fix that looks intentional all year. Rake the surface after big storms to refill any scoured spots, and clear gutter debris upstream so you are not fighting roof grit all season. Once it is working, you will notice cleaner foundation plantings and far fewer muddy paw prints by the back door.
Fire-Pit Rings With Heat-Safe Rock
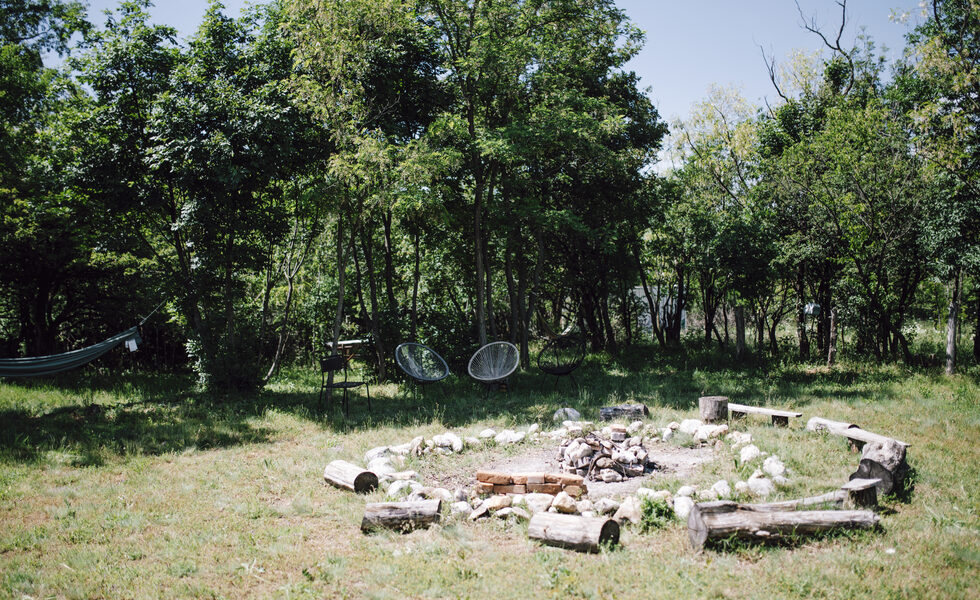
Not every rock belongs next to flame, so skip river rocks that can hold moisture and crack or pop when heated. Use lava rock or stone rated for high heat as a surround or filler around a metal fire ring. Keep a clear gravel apron so embers land on stone, not dry mulch or lawn that can smolder. Measure a safe distance from fences, overhanging branches, and house walls before you dig the pad. Local codes and HOA rules often set minimum clearances, and a quick check beats an argument with a neighbor or inspector.
Set the ring on a level, noncombustible base, check local burn rules, and keep a hose within reach. Choose light-colored gravel if you want ash to show less between cleanings. Done safely, a stone fire circle becomes the evening heart of the yard instead of a weekend worry. Sweep ash when it is fully cold, and store a metal bucket with a lid nearby for leftovers. Add a simple bench or a few Adirondack chairs just outside the apron so guests stay comfortable without crowding the heat.
Alpine-Style Rock Gardens for Tough Spots
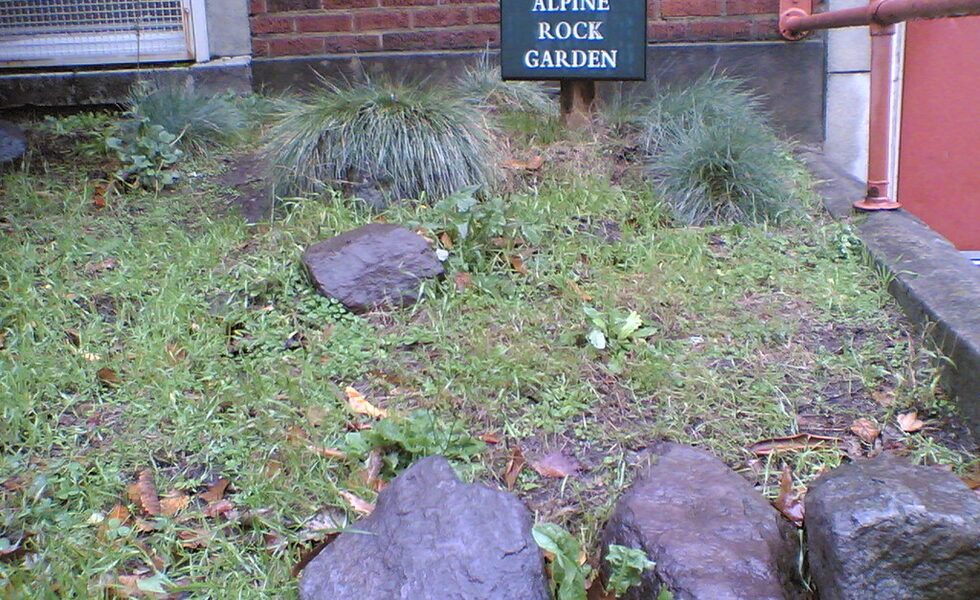
Sunny, lean soil that fights lawn grass is perfect for an alpine-style rock garden that thrives on tough love. Nestle smaller stones among thyme, sedum, and other drought-tough growers so hardscape and plants share the stage. Build slight elevation changes so rain drains through rather than pooling around crowns. Think of it as a miniature hillside rather than a flat mulch bed dressed with random rocks. Group plants in odd numbers and leave breathing room so each clump can mound without smothering its neighbors in the first hot summer.
Start weed-free, place the largest rocks first as anchors, then fill crevices with a lean mix of sand, gravel, and a little soil. Top-dress with fine gravel to keep foliage clean and suppress weeds. After plants establish, you are mostly editing a low-mow vignette where turf always browned out. Water deeply but infrequently the first season, then ease off once roots find the cool pockets under stone. A spring tidy and a fall cutback are usually enough maintenance for a bed that used to demand weekly attention.
Contrast Play: Light Stone Against Dark Foliage
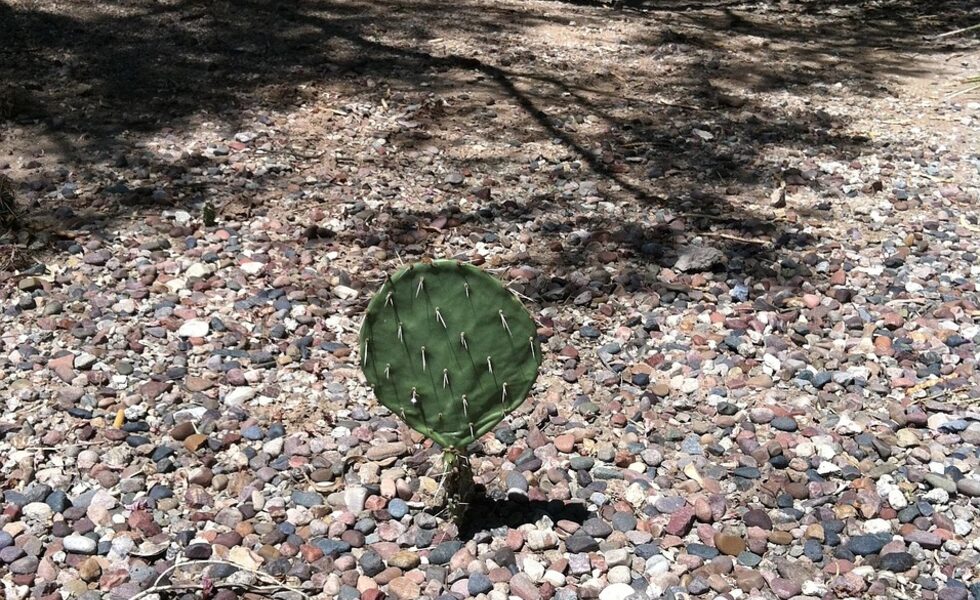
Pale limestone or white marble chips make deep green hedges and burgundy foliage pop like a spotlight. Use that contrast in smaller pockets (beds near seating or a front walk) so glare does not overwhelm open lawn on bright afternoons. Rinse dusty stone once after install for a brighter first impression. If your climate stains light stone with leaf tannins, plan a gentle spring rinse or choose a lightly speckled mix that hides marks better. Pair the pale ground with dark mulch in adjacent beds so the bright zone feels deliberate, not accidental.
Balance cool white stone with warm wood furniture or terracotta pots so the scene does not feel stark. Sample bags outdoors at noon and dusk before you commit to a full ton; color shifts with sun angle more than most expect. A thoughtful contrast zone can make a shrub border look magazine-ready. Keep a path of stepping stones through the pale gravel if you need to reach plants without tracking white chips indoors. When foliage leafs out fully, step back from the curb and tweak plant placement so the contrast still reads from the street.
Buying Smart: Size, Color, and Coverage Math
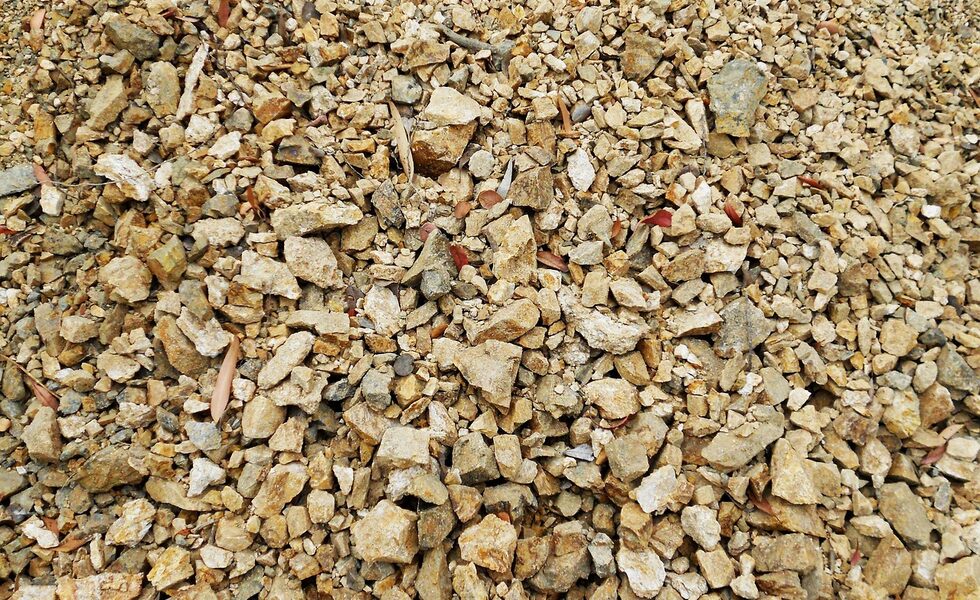
Before you order by the ton, measure length times width times desired depth and ask the stone yard for coverage charts; different mixes settle differently. Bring home sample bags to check color wet and dry; many stones darken after rain and can clash with your brick once soaked. Order about ten percent extra for settling and future touch-ups. Write the project dimensions on your phone so you are not guessing at the counter, and confirm whether prices are per ton or per cubic yard so comparisons stay fair. A five-minute sketch with depths marked prevents the classic half-finished driveway look.
Ask whether delivery will tear up the lawn, and clear a path or request a smaller drop near the project. Confirm bagged versus bulk pricing; bags win for tiny jobs, bulk wins past a few square yards. Note the stone name and quarry so reorders match. Smart math beats an expensive second trip. If the truck needs a wide turn, cone off the drop zone the night before and warn neighbors about morning noise. Keep a tarp ready in case rain arrives before you can spread the pile.
DIY Jobs Versus When to Call a Pro
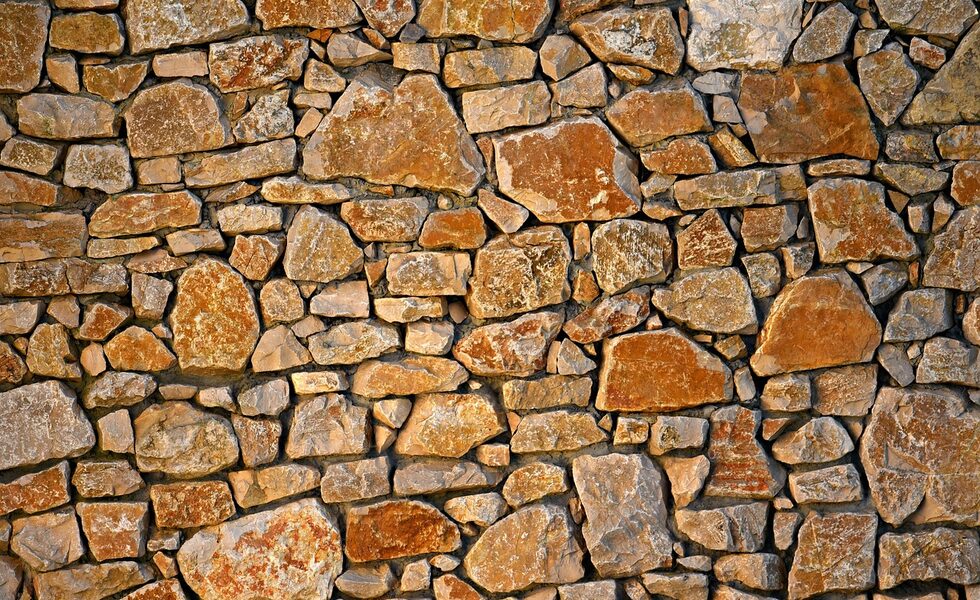
Spreading decorative gravel, setting stepping stones, and short edging rows are classic weekend DIY if you have a shovel, a level, and a patient afternoon. Leave large boulder placement, tall retaining walls, major regrading, and anything near utilities to licensed landscapers with the right equipment. A quick site consult can still save money if they source bulk stone while you finish details. Be honest about your timeline and back strength before you commit to a ton of rock in the driveway. Renting the right cart or moving straps for a day often costs less than a chiropractor visit.
Know your limits on weight and slopes: moving a half-ton boulder by hand is how weekends become injury stories. Get written scope when you hire, and walk the site after the first rain to catch settling. Aim for a yard that works harder without endless construction. Ask for before-and-after photos of similar jobs, and confirm who handles haul-away of spoil so you are not left with a mountain of dirt. A clear handoff between your DIY pieces and their heavier work keeps the whole project feeling cohesive and calm.
Sources: Inspired by This Old House – How to Choose and Use Landscaping Rocks (https://www.thisoldhouse.com/landscaping/landscaping-rocks).
Amazing Builder Partners