
DIY Christmas ornaments made from wood and natural finds are the easiest way to make your tree feel personal. Store-bought ornaments often look alike, and you may want handmade pieces that last for years without a full workshop.

Most of these projects need only a few basic tools: a saw or craft knife, a drill, sandpaper, glue and some twine. Many use free materials, like fallen branches, pinecones and kitchen scraps. Some are perfect for a quiet evening on your own, and others are simple enough for kids. Pick one or two to start, then add a few new ones each year.
Decoupage Wood Slice Ornaments
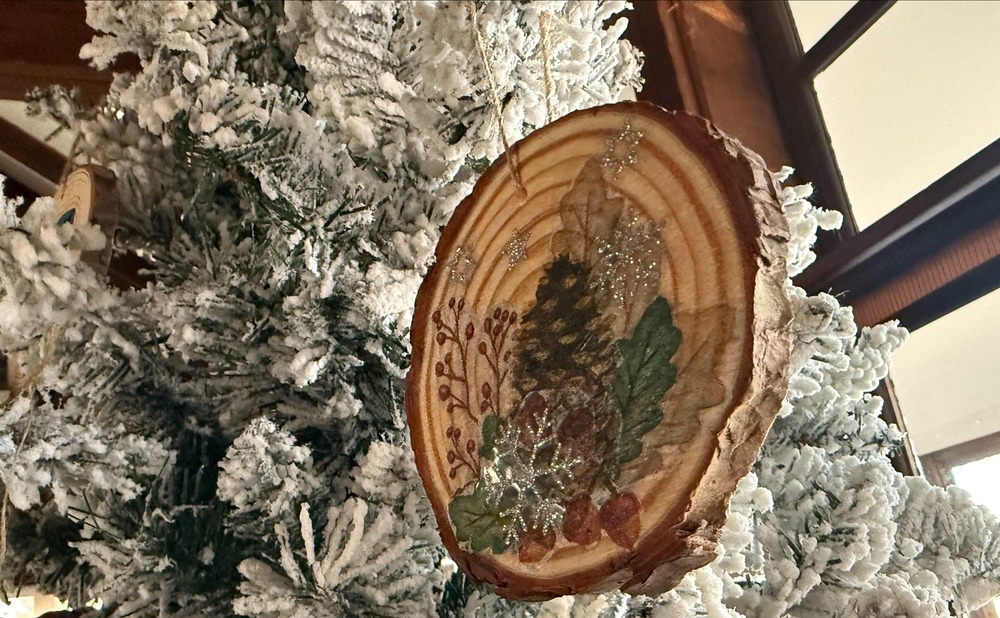
Decoupage wood slice ornaments turn paper scraps into tiny winter scenes. Cut a pine, holly or botanical picture from a napkin, wrapping paper or a printed page. Brush decoupage glue onto a sanded wood slice, smooth the paper on top and let it dry. Add a second thin coat over the picture to seal the edges.
Drill the hanging hole before you glue so the slice does not crack, then thread twine through it. Our scrap wood projects that make great handmade gifts show how to cut and dry your own slices.
Wood-Burned Quote Ornaments
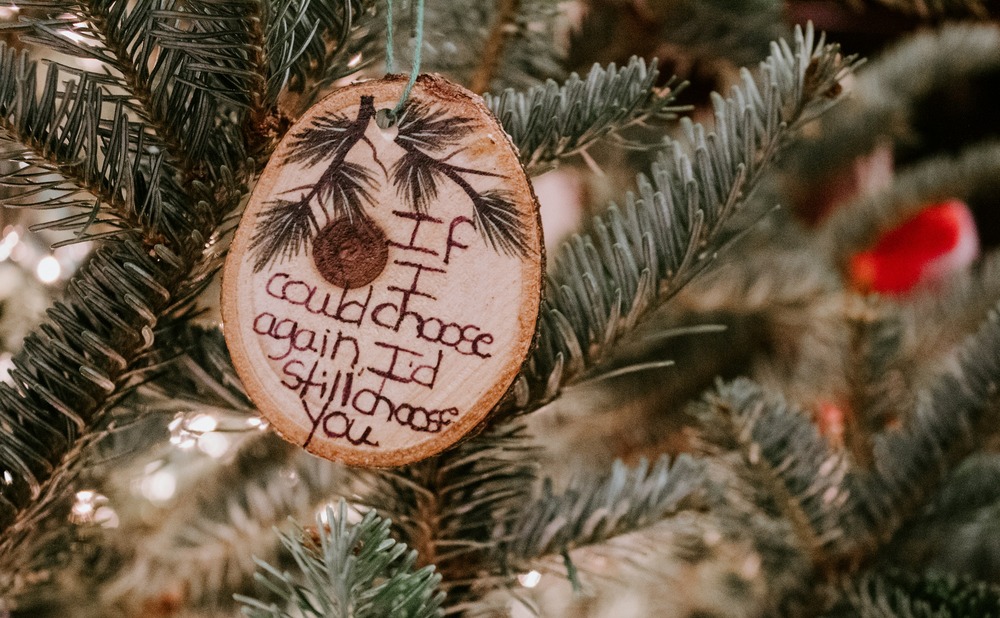
Wood-burned quote ornaments turn a short, meaningful line into a keepsake. Pick a few words, such as a family saying or a favorite carol lyric. Trace the letters lightly in pencil on an oval or round wood slice, then burn over the lines with a wood burning pen. A small burned pine sprig above the words adds a festive touch.
Burn a test line on an offcut before you start on the real ornament. If you’re new to the craft, start with our guide to wood burning for beginners. Work in a ventilated space and always park the pen in its holder between strokes.
Natural Plywood Star Ornaments

Natural plywood star ornaments keep the grain of the wood in full view. Trace a star template onto thin plywood, such as 1/4-inch birch, then cut it out with a scroll saw or a craft saw and sand the edges smooth. Leave the star natural or paint it, then drill a small hole at the top for jute twine.
A short loop of twine makes a rustic hanger that matches the bare wood. Wear safety glasses, keep your fingers clear of the blade and use a hold-down clamp on small pieces. One sheet of thin plywood can make dozens of stars.
Wooden Bead Tree Ornaments
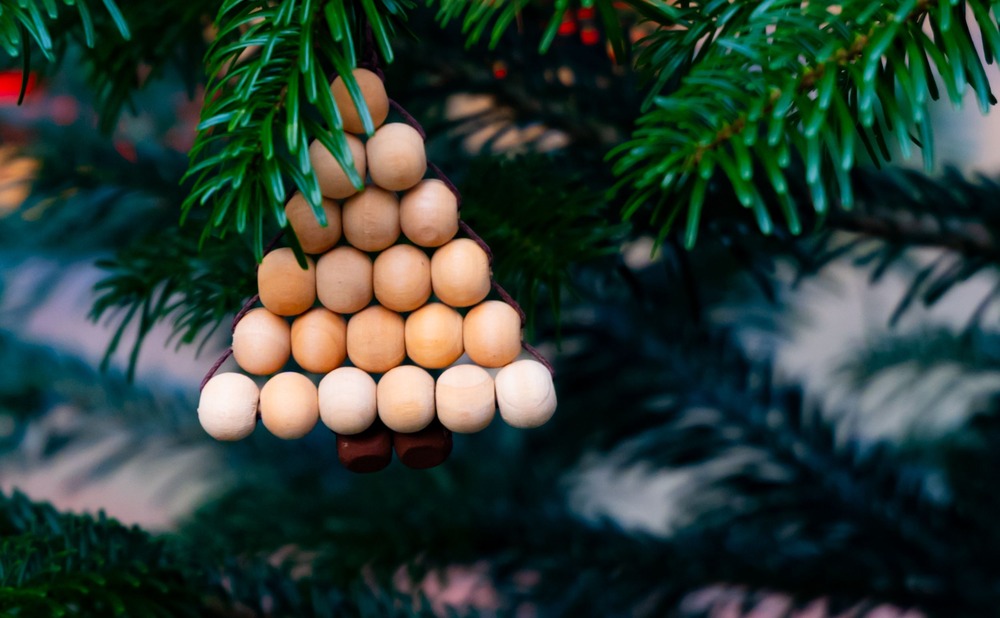
Wooden bead tree ornaments stack simple round beads into a tiny pyramid tree. Lay out rows of beads that get smaller toward the top, then glue each row to the next with a dab of wood glue. Add two dark beads at the bottom as a trunk. Let the glue set fully before you move it.
Loop a piece of twine through the top bead for a hanger. Natural beads give a warm, Scandinavian look, and a small batch makes an easy craft night. Kids can sort and place the beads while an adult handles the glue.
Mini Wooden Sled Ornaments
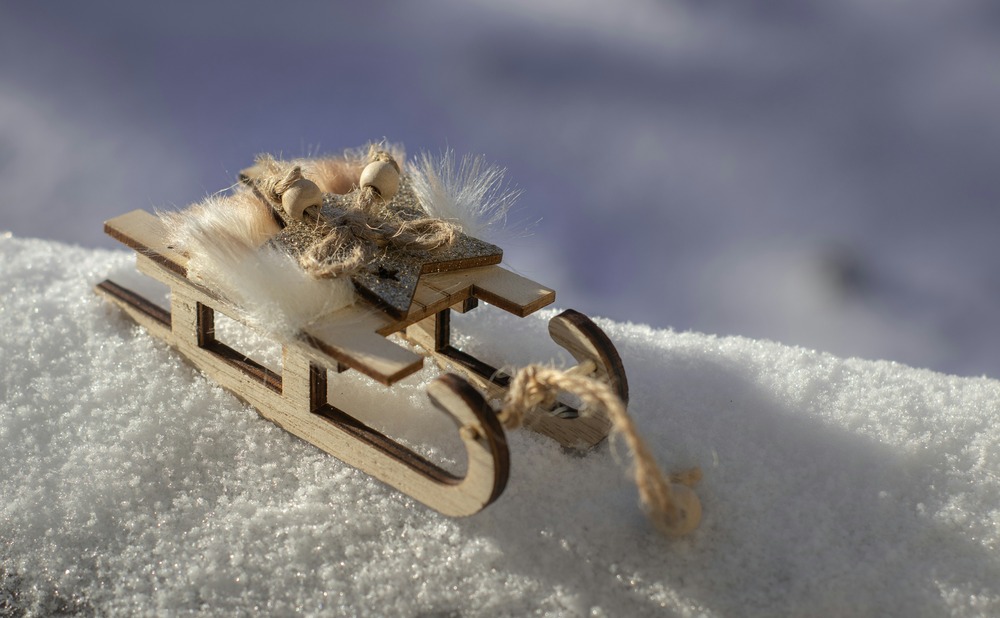
Mini wooden sled ornaments look like tiny vintage sleds for the tree or a snowy display. Glue four or five craft sticks or thin wood strips side by side for the deck, then glue two strips underneath as runners. Let the glue dry before you add details.
Tie a jute or twine pull rope to the front and glue a small wood star on the deck. A scrap of faux fur or wool can sit on top as a tiny nest. Wood glue holds better than hot glue on small joints, so give the sled a night to cure before you hang it.
Popsicle Stick Snowflakes for Kids
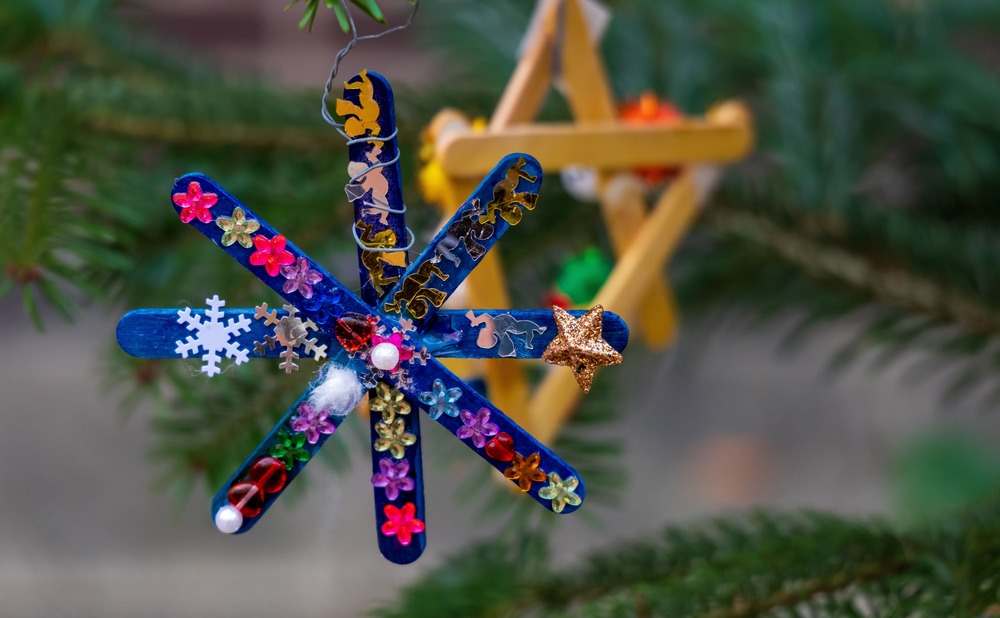
Popsicle stick snowflakes for kids are a classic craft that still delights. Glue three sticks together at the center so they cross like spokes and make six arms. Let the glue dry, then hand over the fun part. Stickers, sequins, tiny gems and markers all work well on bare wood.
Use school glue or a low-temp glue gun for safety. These snowflakes are light, so they hang well on thin branches. They also make a great first DIY Christmas ornament for young crafters, and no two will look alike.
Cinnamon Stick Bundle Ornaments
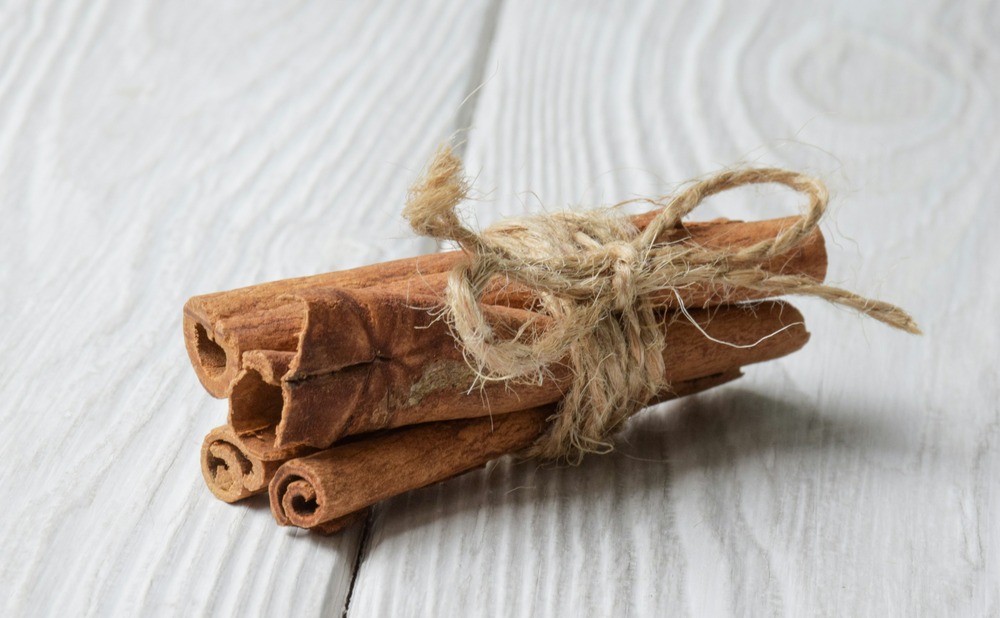
Cinnamon stick bundle ornaments look rustic and fill your home with a warm scent. Gather five or six sticks of the same length and tie them together with twine, wrapping it around the middle two or three times. Finish with a bow or a simple knot and leave a loop at the top for hanging.
Tuck a small sprig of pine or a dried star anise under the twine for extra color. Buy longer sticks from a bulk spice shop for the best size. The scent fades over time, but a drop of cinnamon oil brings it back.
Birch Bark Star Ornaments
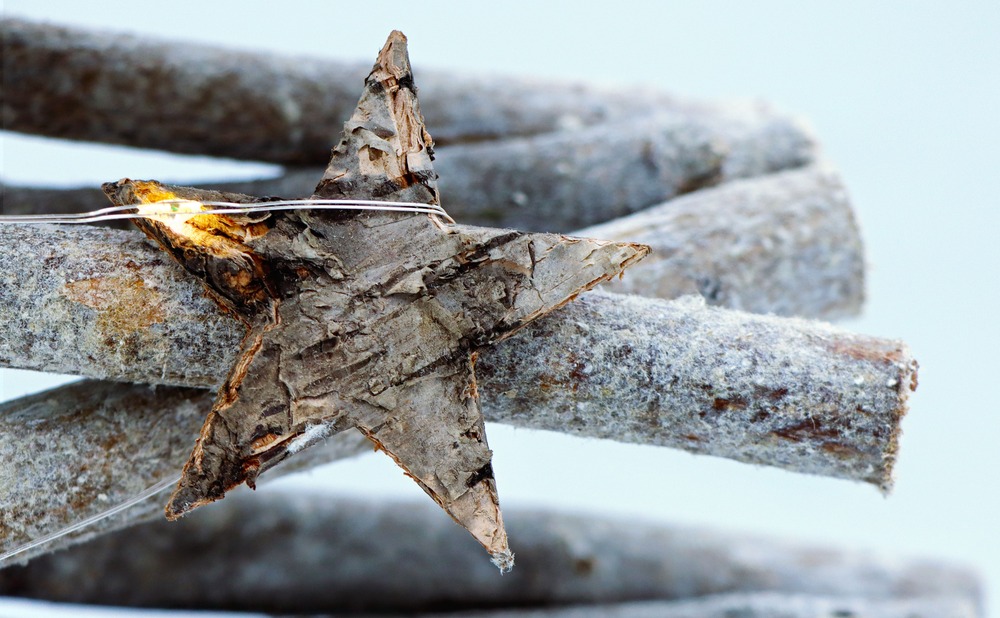
Birch bark star ornaments bring a natural, woodland feel to your tree. Draw a star on a sheet of birch bark or thin bark-covered wood and cut it out with sharp scissors or a craft knife. Glue a twine loop to the back, or rest the star on a few twigs and wrap a strand of tiny battery lights around it for a warm glow.

Only use bark that has fallen naturally or comes from a craft store. Peeling bark from a living tree can harm it. Seal the bark lightly to keep it from cracking, and pick cool-running LED lights so nothing gets hot near dry bark.
Pinecone Ornaments With a Snowy Tip
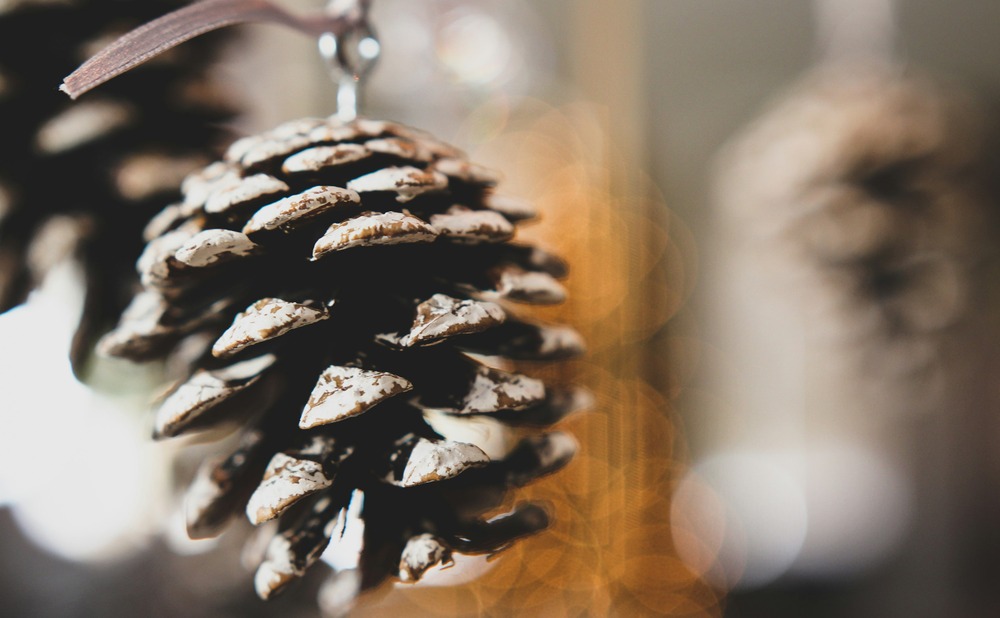
Pinecone ornaments with a snowy tip are free and easy to make. Collect small pinecones, bake them at a low heat to remove sap and bugs, then let them cool.
Brush white paint along the edges of each scale for a snow-dusted look. Screw a small eye hook into the top and add ribbon or twine. Kids love gathering the cones, and the finished ornaments match a woodland or farmhouse tree.
Dried Orange Slice Ornaments
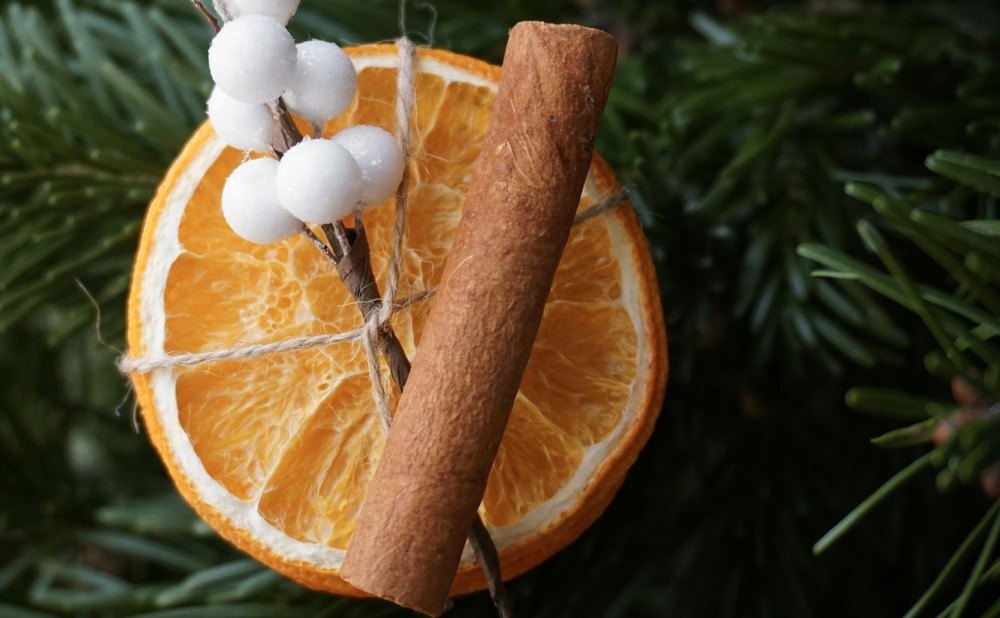
Dried orange slice ornaments turn amber and see-through, so the tree lights shine right through them. Slice oranges about 1/4 inch thick, pat them dry and bake on a rack at a low heat for a few hours, turning them often.
Once they are fully dry and hard, thread twine through the top and add a cinnamon stick or bay leaf. Fully dried slices last for years in storage. If you love this look, pair it with the dried orange garland from our Christmas decor ideas for a cozy, festive home.
Wooden Heart Ornaments
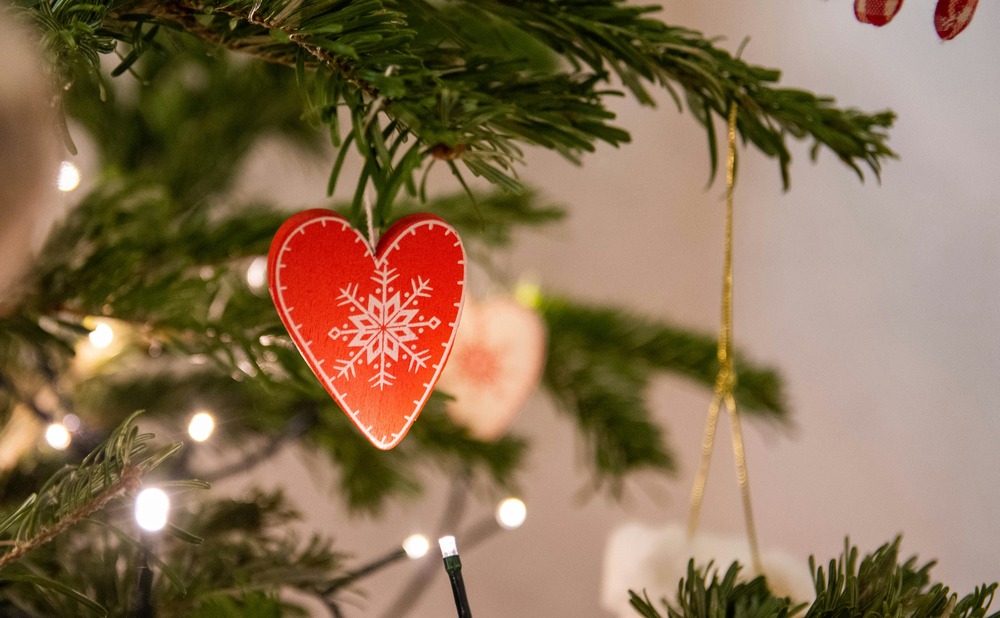
Wooden heart ornaments bring a warm, handmade look to any Christmas tree. Trace a heart onto 1/4-inch plywood or a thin pine board, cut it out with a scroll saw or coping saw, and sand the edges smooth. Drill a small hole at the top for a ribbon or twine hanger.
Paint the heart a classic red with acrylic craft paint and let it dry. Then add a white snowflake in the center and a ring of short white marks near the edge so it looks stitched. A fine brush or a paint pen keeps the lines neat. Seal the paint so the color stays bright.
Air-Dry Clay Stamped Ornaments
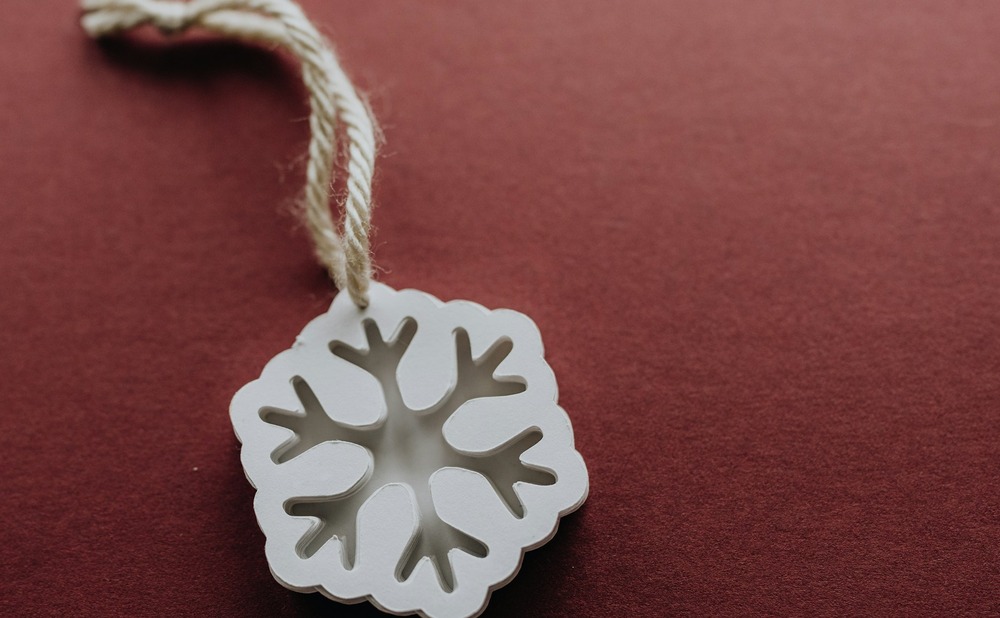
Air-dry clay stamped ornaments look clean and modern. Roll white clay to about 1/4 inch thick, press in rubber stamps, lace or real leaves, then cut shapes with cookie cutters.
Poke a hole for the hanger and let them dry for a day or two, flipping them halfway. Sand rough edges lightly once dry. Leave them plain white or brush a little gold paint into the pattern for a subtle shine.
Embroidery Hoop Ornaments With Fabric Scraps
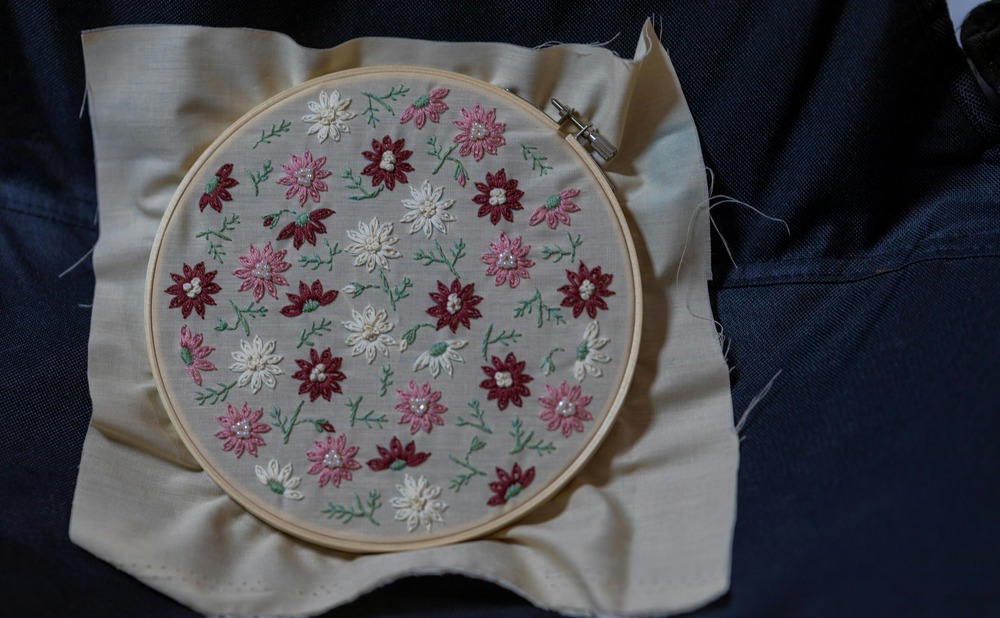
Embroidery hoop ornaments with fabric scraps are a great way to use leftover fabric. Small 3- or 4-inch wooden hoops frame stitched flowers beautifully. Stretch a scrap of cotton or linen tight in the hoop, then stitch a few simple flowers in pink and white thread.
Trim the extra fabric, glue a felt circle on the back to hide the edges and hang the hoop by its screw with ribbon. Keep the stitches simple, like small daisies, or skip the stitching and frame a patch of printed fabric. These pair well with farmhouse and cottage trees.
Clear Ball Ornaments Filled With Confetti

Clear ball ornaments filled with confetti are bright, quick and easy to make. Pop the cap off a plastic or glass ball, add a spoonful of confetti, metallic flakes or tiny paper punches, then snap the cap back on. Shake the ball gently so the pieces catch the light.
Plastic balls are safer around kids and pets. Add a greeting or the year on the outside with a paint pen or vinyl letters. You can also fill a ball with keepsakes, such as tiny pinecones or a rolled-up note. These make fun gifts and are easy to mail.
How Do You Seal Wood Ornaments So They Last?
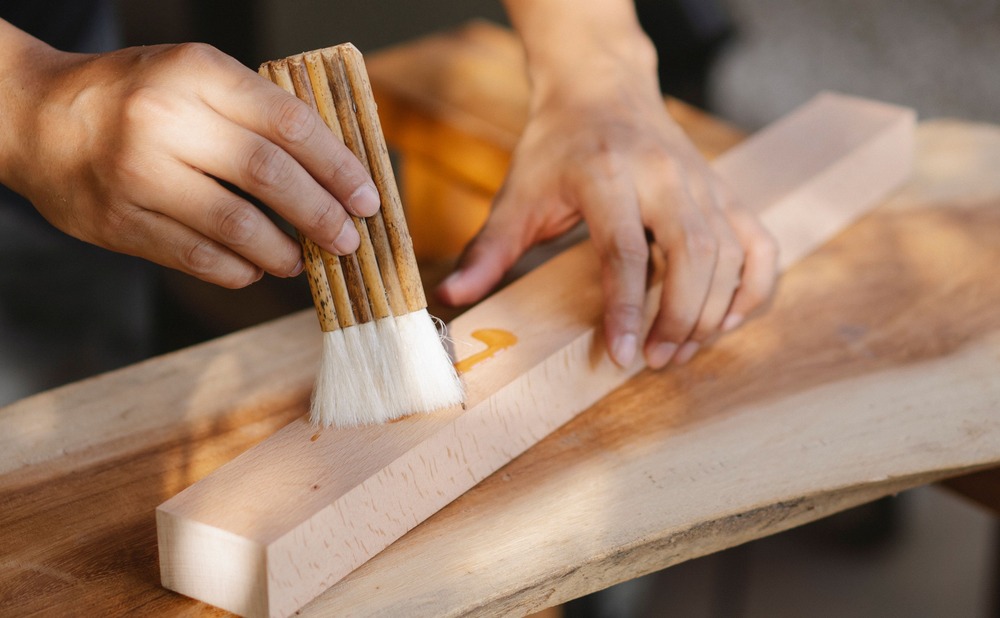
Seal wood ornaments with two thin coats of a clear finish, such as water-based polyurethane, a clear acrylic sealer or a wiping oil. Sand them smooth first, and test the finish on a scrap block before you coat the ornaments. The finish keeps out humidity and helps stop cracks and sun fading.
Let each coat dry as the label directs, and sand lightly between coats. Store finished ornaments wrapped in tissue in a dry box, away from heat. For more on picking wood, see our guide to the best wood choices for woodworkers.
Handmade DIY Christmas ornaments become the pieces your family looks for every year. Start with one easy project, like cinnamon stick bundles or snowy pinecones, then try a wood-burned quote or a plywood star once you feel ready. Each one adds a little more of your story to the tree.
Amazing Builder Partners