
Raised garden beds are one of the easiest ways to start growing your own vegetables, herbs, and flowers. They warm up earlier in spring, drain better than heavy clay, and keep soil loose because nobody walks on it. For beginners, they also make a garden feel manageable.

The right bed depends on your yard, your budget, and what you want to grow. A shallow box works for lettuce and herbs, while carrots and potatoes need more depth. The material you choose affects cost, lifespan, and what touches your soil.
The twelve ideas below cover simple plans, soil tips, and the beginner mistakes that cost the most yield. Pick one or two to start, then expand once you see what grows well in your space.
Classic Cedar Box Bed for First-Time Gardeners
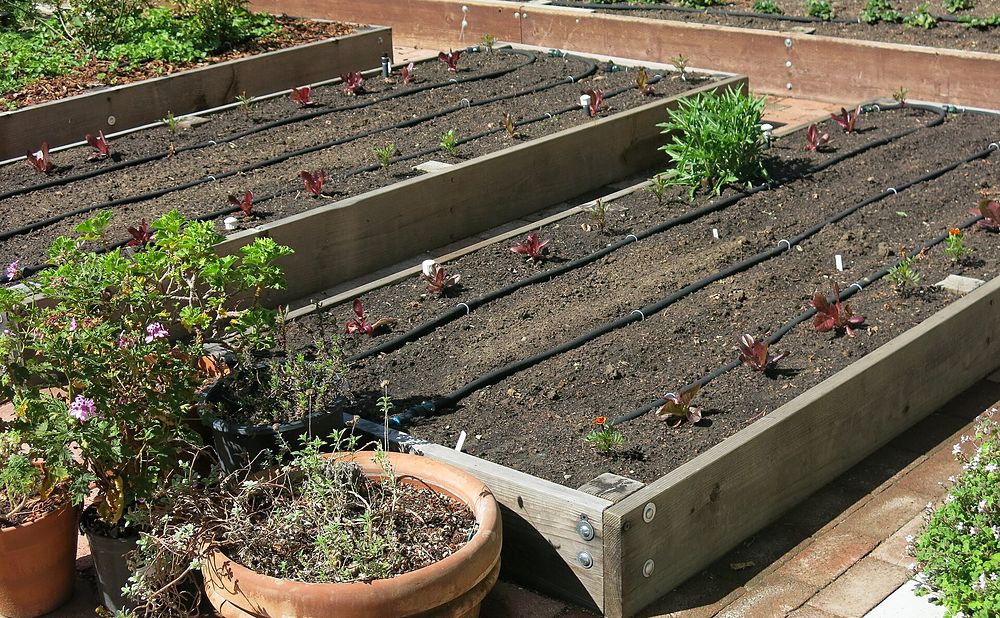
A simple rectangular cedar box is the go-to starter bed. A common size is about eight feet long and four feet wide, which lets you reach the center from either side. Cedar resists rot naturally, still looks good as it weathers to gray, and is safe to use around edible plants without chemical treatment.
Build it with screws and corner blocks rather than complex joinery. A height of around ten to twelve inches suits most vegetables. The most common beginner mistake is making the bed too wide, which tempts you to step inside and compact the soil.
Galvanized Metal Beds for a Modern, Long-Lasting Look
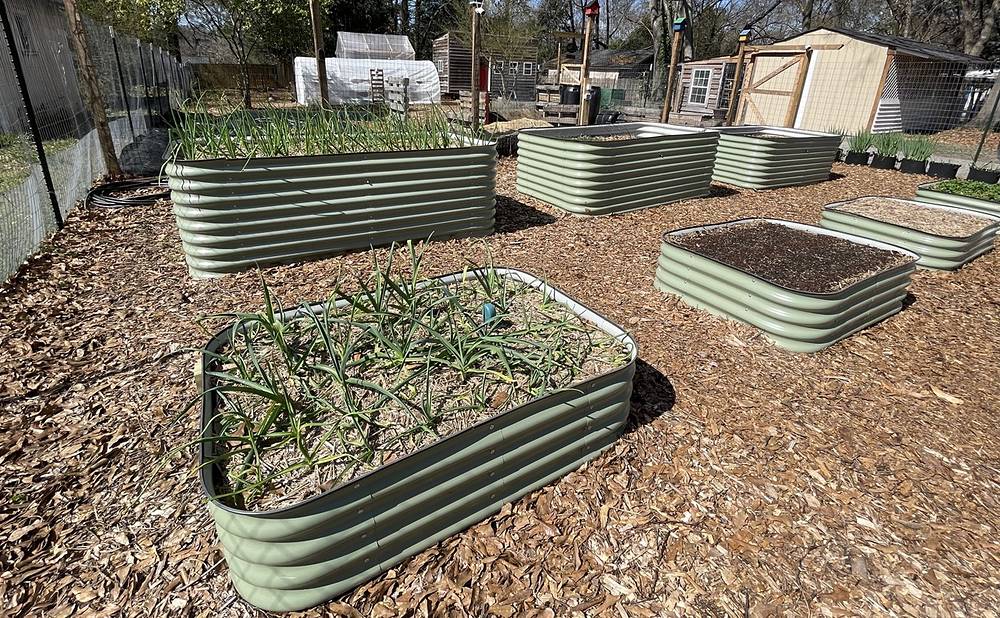
Metal raised beds usually come as kits of corrugated panels that bolt together in an afternoon. They won’t rot, they resist termites, and their clean lines suit modern homes. Oval and round shapes are easy to find, and many kits come in taller heights so you bend less.
Because metal warms quickly in spring, it can give early crops a head start. In very hot climates, choose a lighter color or add mulch to keep roots from overheating. Look for kits with rolled or capped top edges, since bare cut metal can be sharp on hands and arms.
Cinder Block Beds With Built-In Herb Pockets
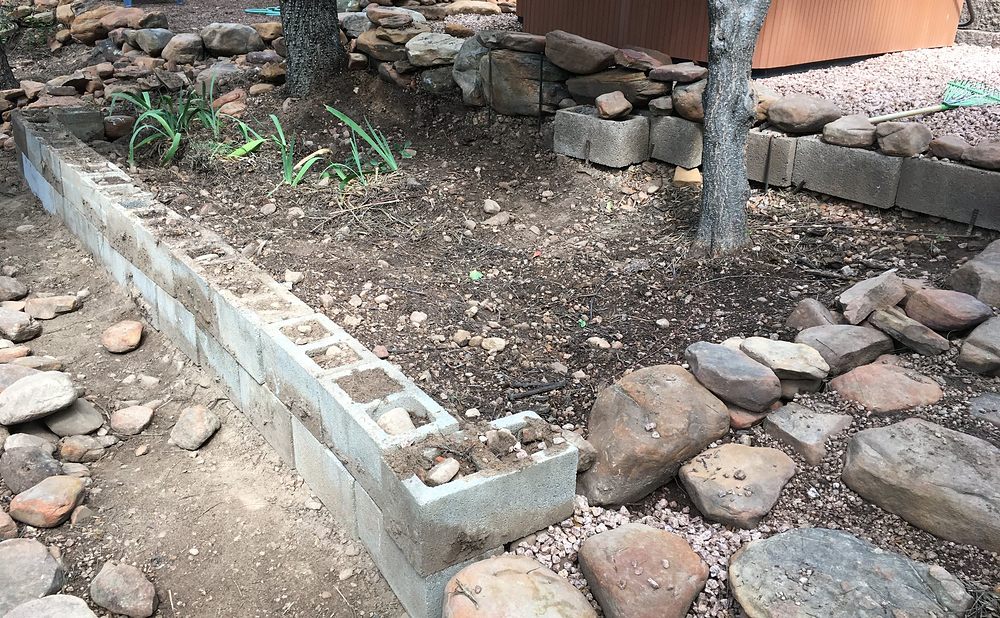
Concrete blocks make a sturdy, low-cost bed that needs no tools to assemble. Stack them in a single course for a low bed or two courses for extra depth. The open cores become small planters for herbs, strawberries, or marigolds that frame the main bed.
Set the first course on level, compacted ground so the walls stay straight. Blocks can raise soil pH slightly over time, so test your soil every year or two if you grow acid-loving plants. Skip older blocks of unknown origin and stick with new standard concrete blocks.
Waist-High Elevated Planters That Save Your Back
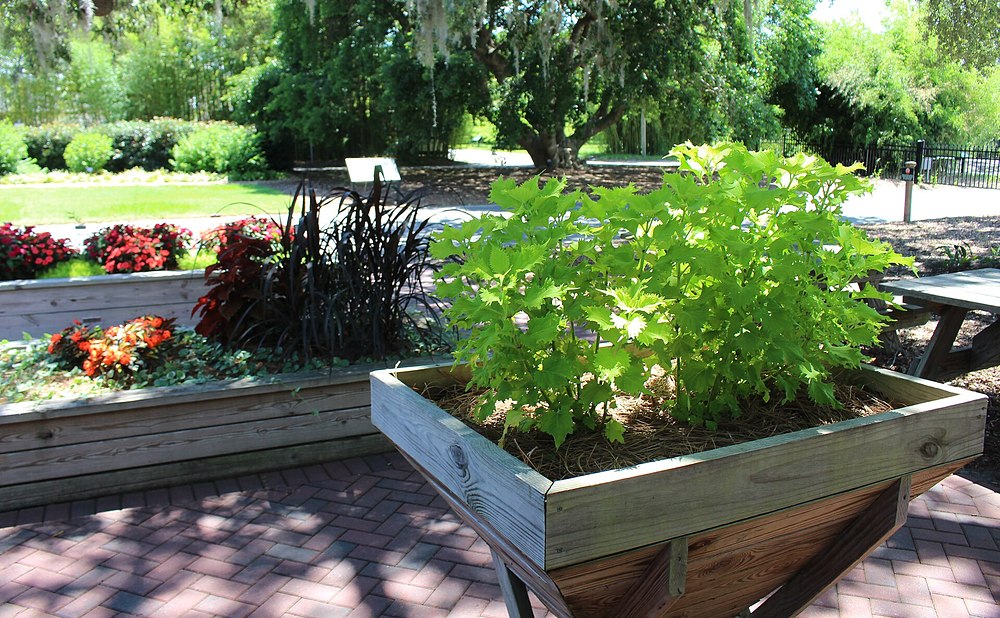
Elevated planters sit on legs or a frame that puts the soil at waist height. They’re ideal for gardeners with bad knees or backs, as well as for small patios and decks. You never have to kneel, and rabbits have a harder time reaching your greens.
Because these planters hold less soil, they dry out faster and suit shallow crops like lettuce, herbs, radishes, and strawberries. Make sure the bottom has drainage holes and a breathable liner. If you place one on a deck, confirm the structure can handle the weight of wet soil.
Narrow Fence-Line Beds for Small Yards
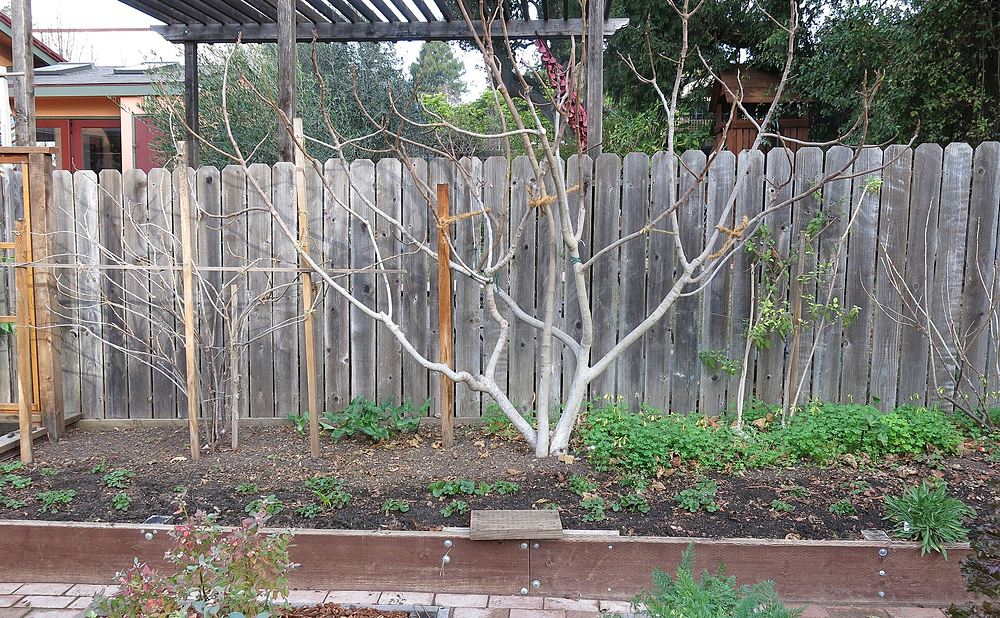
A narrow bed along a fence, wall, or driveway can turn wasted space into a productive garden. Keep it about two feet from front to back so you can reach every plant from one side. The fence can double as support for climbing peas, beans, or cucumbers.
Before you build, watch how the sun moves across that strip, since a north-facing fence may shade the bed most of the day. Leave a small gap between the bed and the fence so the wood doesn’t stay wet, and check property lines and utility locations before digging.
Deep Beds for Root Crops Like Carrots and Potatoes
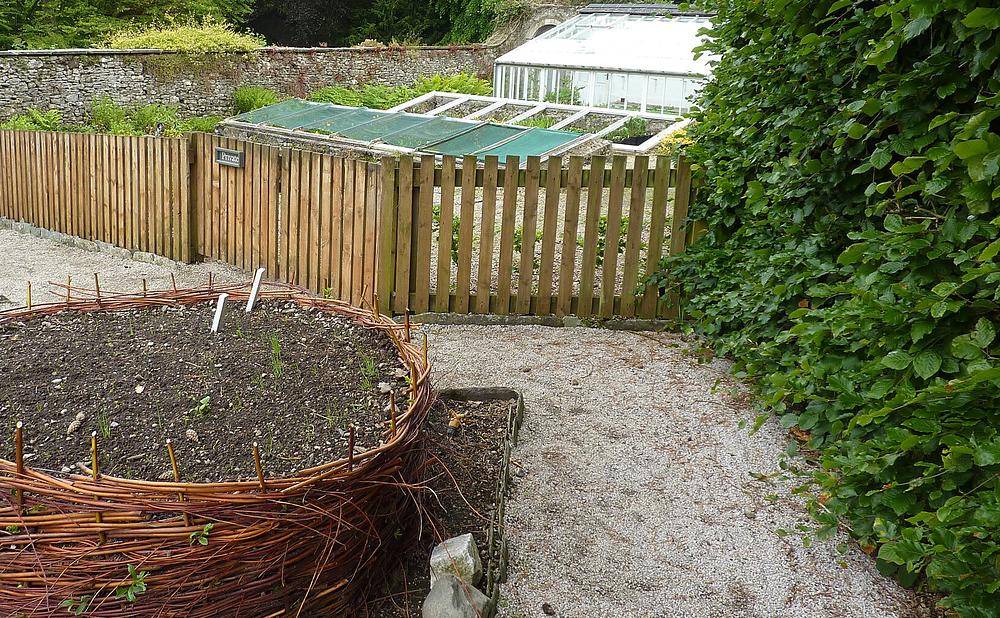
Depth matters more than many beginners expect. Lettuce, herbs, and radishes grow fine in about six to eight inches of loose soil, but carrots, parsnips, and potatoes do better with twelve to eighteen inches or more. Tomatoes and squash also appreciate a deeper bed for strong roots.
If your native soil drains well, you can loosen the ground beneath a shorter bed to gain depth. Over heavy clay or hardpan, build taller instead. Fill deep beds with a mix of quality topsoil and compost, and add coarser material at the bottom only if drainage is a known problem.
Square-Foot Grid Beds for Companion Planting
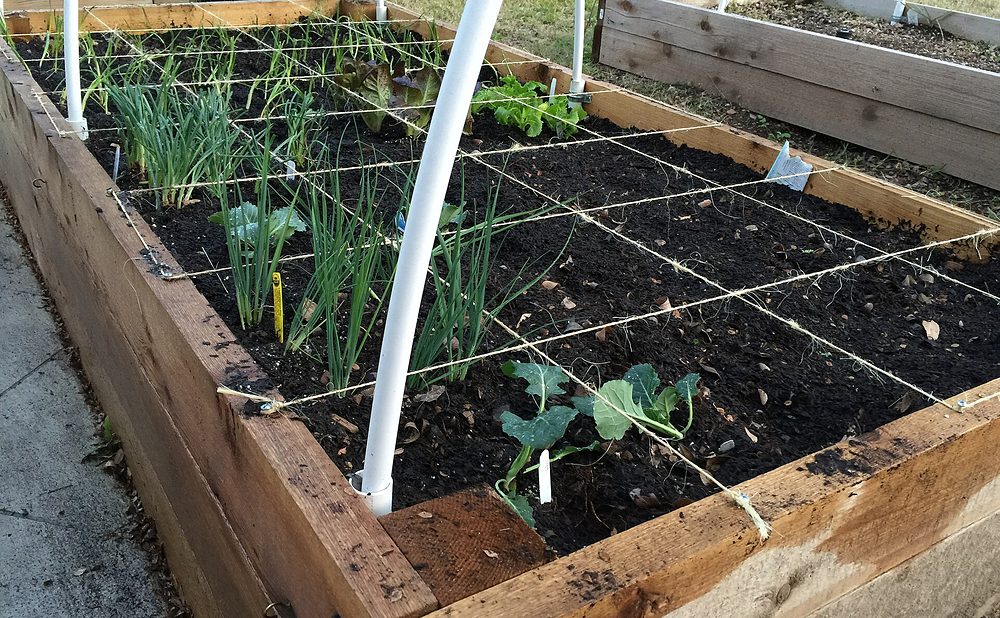
Dividing a bed into a grid of one-foot squares makes planning easy for beginners. Mark the squares with thin wood strips or string, then assign one crop per square. The grid keeps spacing honest and makes succession planting simple, because a harvested square is ready for its next crop.
A grid also makes companion planting easy. Many gardeners traditionally pair tomatoes with basil and onions or chives with carrots, and marigolds tucked into the corners add color that can help draw pollinators. Put taller crops on the north side so they don’t shade shorter ones, and rotate crop families each season to limit disease.
Keyhole Beds With a Built-In Compost Basket
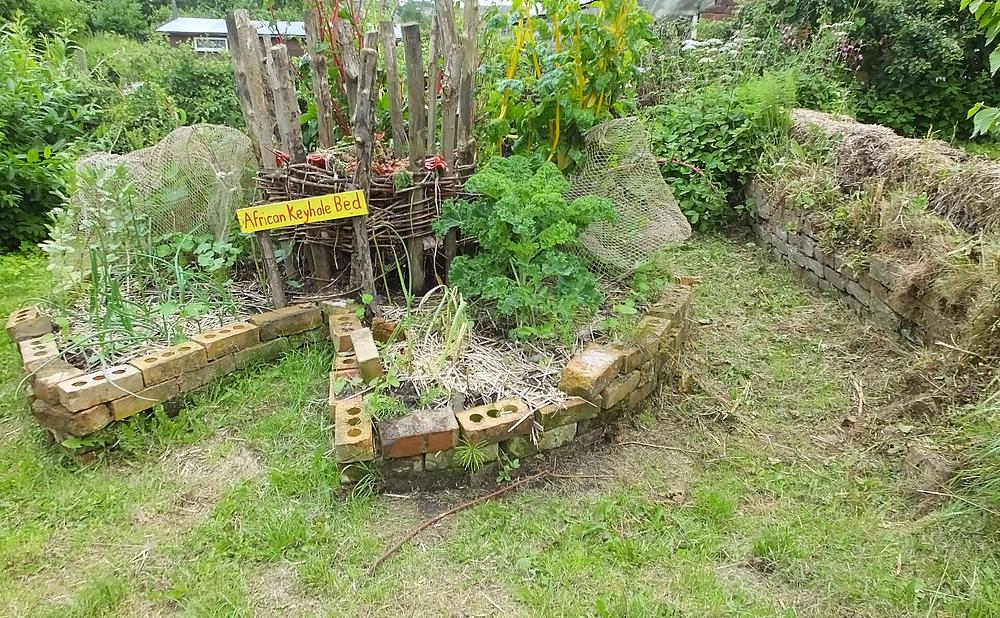
A keyhole bed is a circular raised bed with a wedge cut out so you can reach the center. In the middle sits a wire or wood basket for kitchen scraps and garden waste. As the compost breaks down, nutrients and moisture move outward into the surrounding soil.
These beds hold water well and recycle waste, which makes them a smart fit for dry climates and small yards. Build the walls from stone, brick, or wood. Keep meat, dairy, and oily scraps out of the basket, and keep it topped up so the center doesn’t dry out or attract pests.
Tiered Beds That Turn a Slope Into a Garden
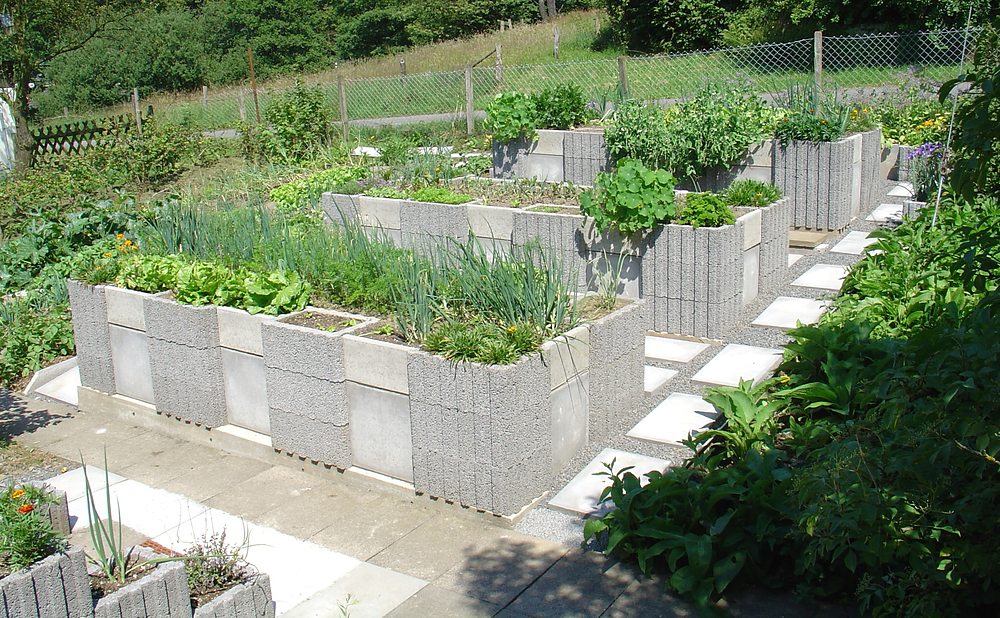
A sloped yard can become a series of stepped raised beds that look like small terraces. Each tier holds level soil, so water soaks in instead of running off. Tiers also add structure and interest to a hillside that is otherwise hard to mow.
Keep each tier modest in height for stability, and anchor the walls into the slope with stakes or rebar. Plant moisture lovers in the lower tiers and drought-tolerant herbs higher up. For steep slopes or tall walls, talk with a landscaper or builder about proper retaining wall design.
Hoop-Covered Beds That Stretch the Growing Season
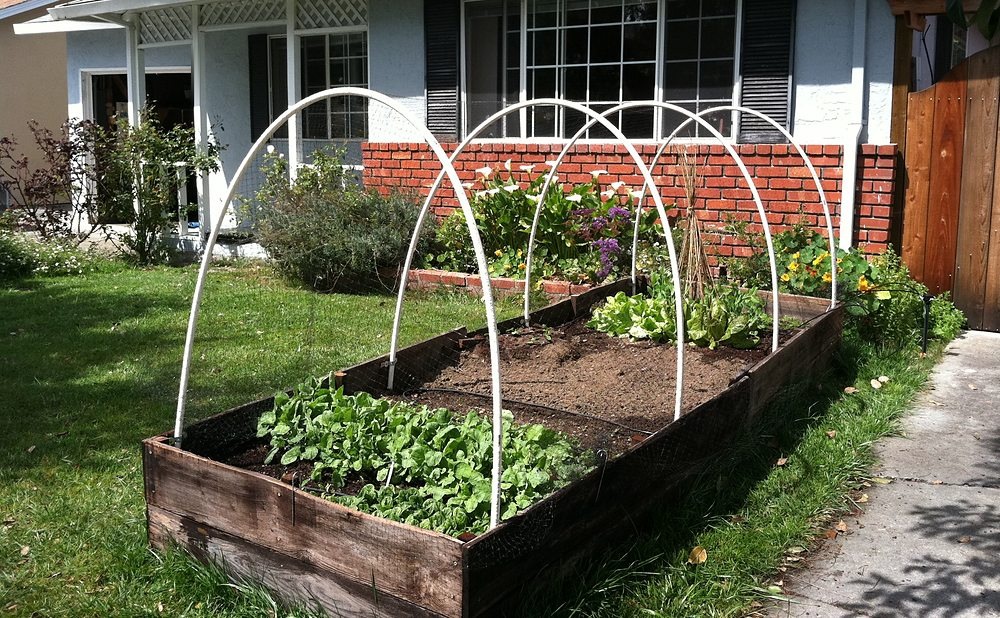
Short seasons in Canada and the northern US make season extension especially valuable. Bend PVC or metal hoops over the bed and cover them with row cover or greenhouse plastic. The result is a mini greenhouse that can protect seedlings in spring and keep greens growing later into fall.
Attach hoop holders to the inside of the bed walls so the frame is quick to set up and take down. Open the ends on warm days so plants don’t overheat. Lightweight row cover protects against frost and insects, while plastic holds more heat through cold spells.
Drip-Irrigated Beds That Water Themselves on a Timer
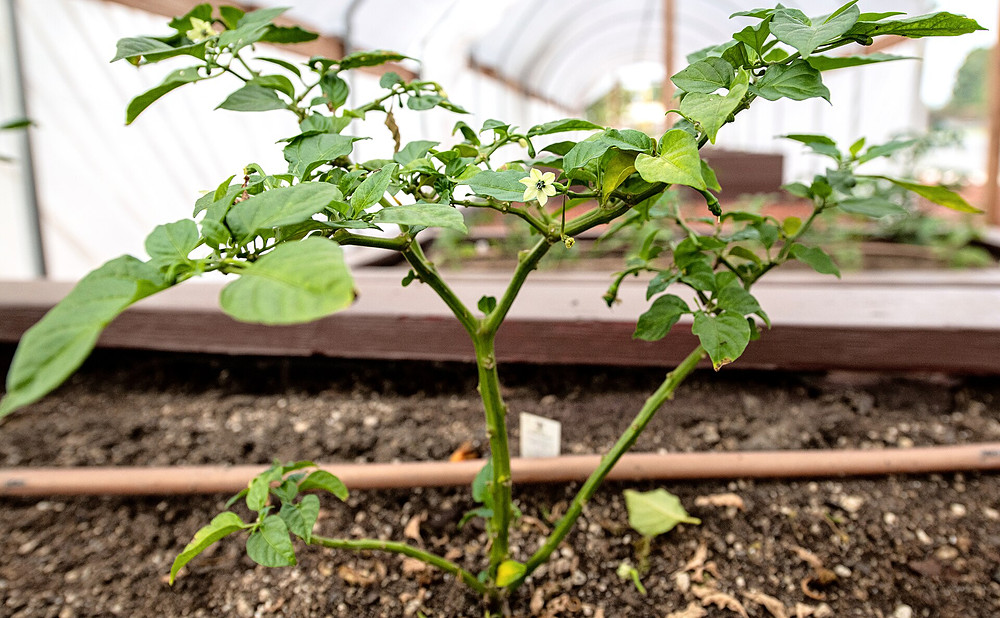
Raised beds drain well, which also means they dry out faster than in-ground gardens. A simple drip system using soaker hose or emitter line puts water right at the roots and wastes less than overhead sprinklers. Add a hose timer, and the bed waters itself even when you’re away.
Lay the lines before planting and cover them with mulch to slow evaporation. Water early in the morning so leaves stay dry and disease stays low. Hand watering still works well for a single small bed, but check soil moisture with your finger every day in hot weather.
Critter-Proof Beds With Hardware Cloth and Trellis Panels
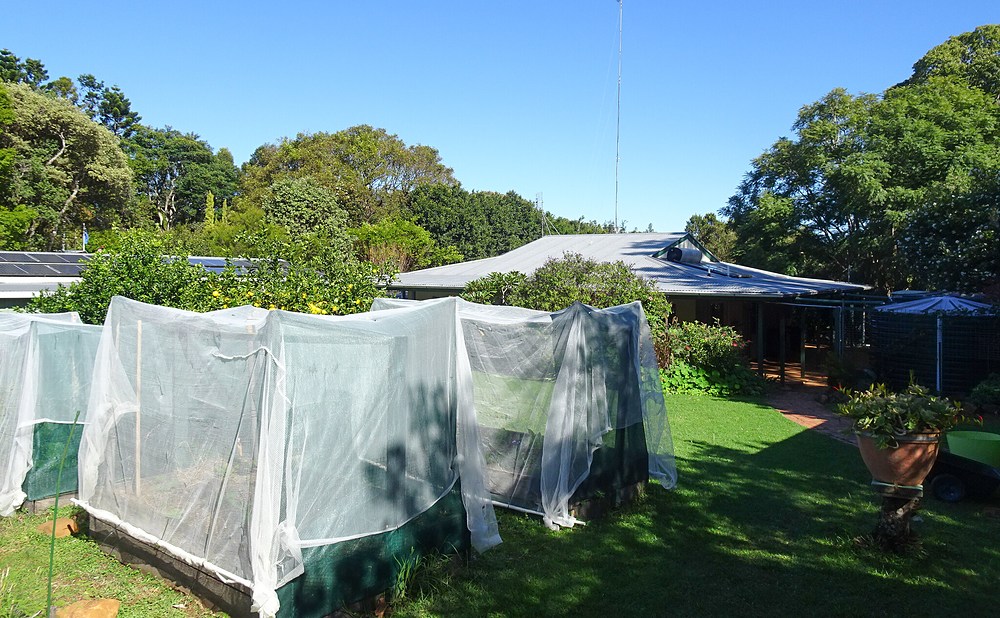
Gophers, voles, and moles can wipe out a bed from below. Stapling galvanized hardware cloth across the bottom of the frame before filling keeps them out while still allowing drainage. Above ground, a low fence or netting helps against rabbits, and a cattle panel trellis gives climbing crops sturdy support.
Line the bottom before you add any soil, overlapping the seams and running the hardware cloth a few inches up the inside walls so nothing slips through at the corners. Check fencing and netting each season for gaps or sagging spots, and tie climbing crops to the trellis as they grow so heavy vines stay supported.
Lumber, soil, and pest choices vary by region and climate. Check your local extension service for guidance on soil testing, safe lumber, and planting dates in your area.
Amazing Builder Partners