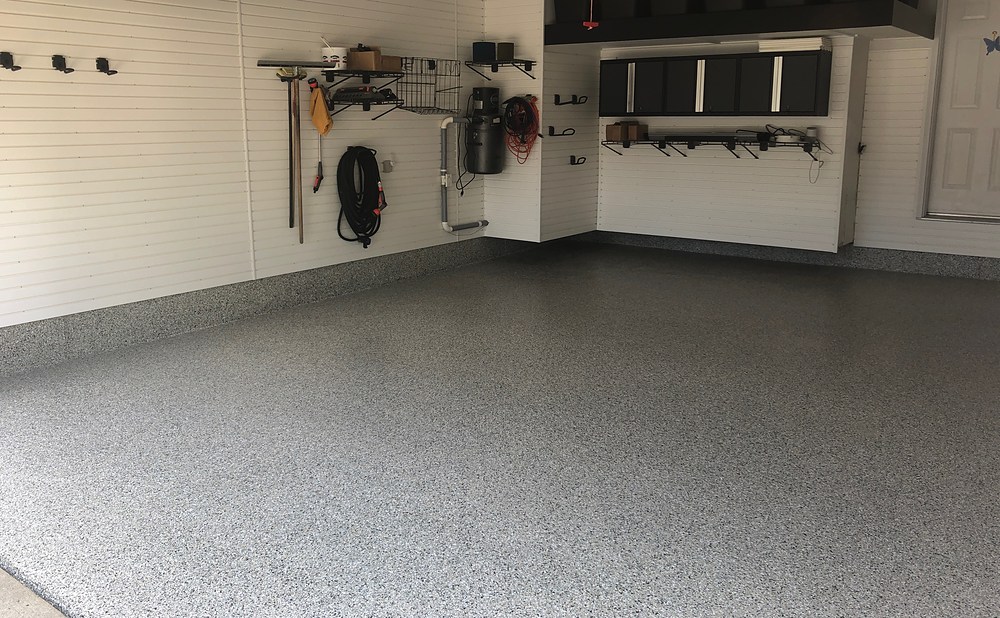
An epoxy-coated garage floor looks sharp, cleans up easily, and stands up to oil drips, road salt, and dropped tools far better than bare concrete. It can also turn a dusty garage into a space that feels like part of the house.

The catch is that epoxy is unforgiving. Most failures, such as peeling under hot tires, bubbles, and bare patches, trace back to prep, moisture, or timing rather than the product itself. Once the epoxy is mixed, the clock is running, and there’s little room to fix mistakes.
This checklist covers what to test, prep, and plan before you open the first can. Work through it, and you’ll know whether your floor is ready for a DIY coating or needs a professional installer.
Epoxy Garage Floor Coating vs Paint: What Actually Lasts
Garage floor paint is essentially a tougher version of porch paint. It’s cheap and easy to apply, but it sits on the surface and tends to wear in tire paths or lift under hot tires. Many one-part epoxy paints fall into this category, even when the label says epoxy.
True two-part epoxy coatings combine a resin and a hardener that cure into a thick, hard layer bonded to the concrete. They cost more and take more prep, but they hold up much longer. For the best resistance to scratches, chemicals, and sunlight, pair the epoxy with a durable topcoat.
Moisture Tests You Must Pass Before Any Kit
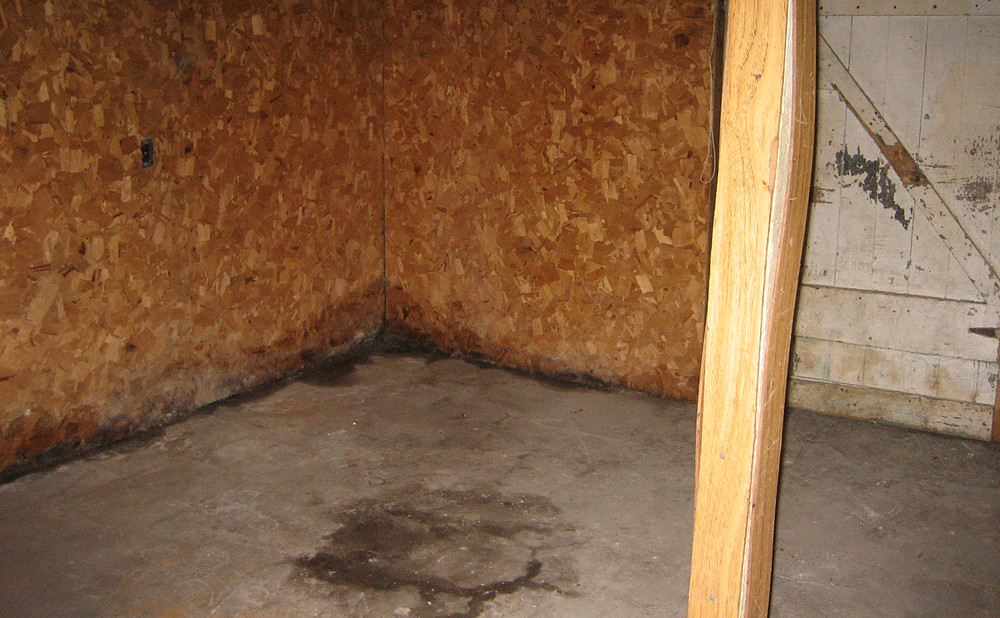
Moisture coming up through the concrete is one of the top causes of epoxy failure. For a simple test, tape a square of clear plastic sheeting to the floor on all four edges and leave it for a day or two. Condensation under the plastic or a darkened slab means moisture is coming through.
New slabs need time to cure before coating, often a month or more. If your slab fails the plastic test, look into moisture-mitigating primers or have a pro run a more precise test. Coating over a damp slab almost guarantees peeling, bubbling, or a white blush.
Concrete Prep Mistakes That Cause Peeling in Month Three
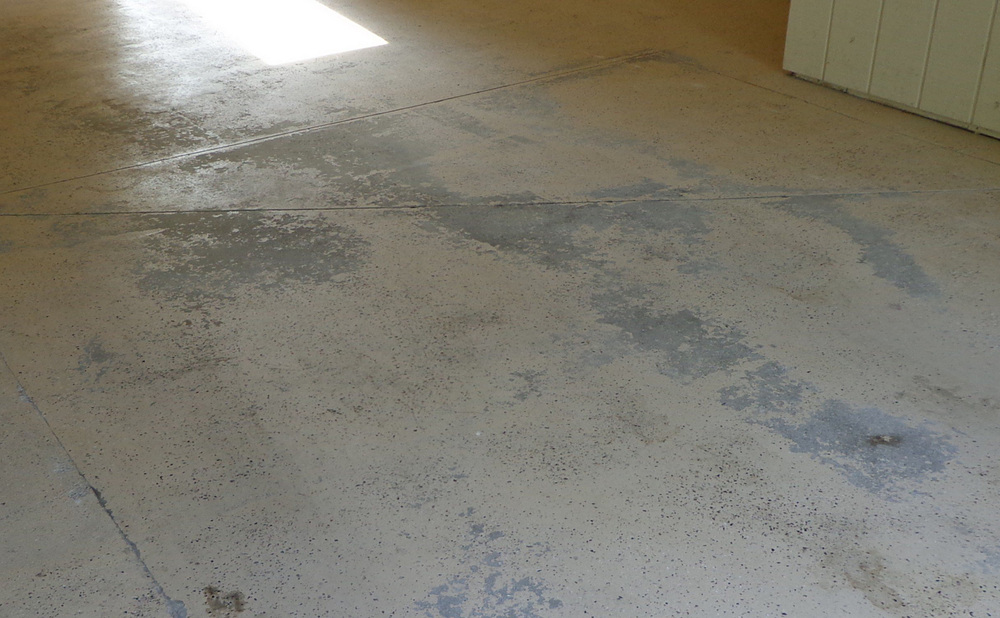
Epoxy needs clean, open concrete with a slight texture, often compared to medium-grit sandpaper. Skipping the degreaser, leaving old sealers in place, or coating smooth-troweled concrete all lead to weak adhesion. The floor may look fine at first, then lift where the tires sit.
Start by clearing everything out of the garage and scraping off paint drips, adhesive, and debris. Degrease oil stains and rinse thoroughly. Next, check for old sealers by dripping water on the floor. If the water beads instead of soaking in, the sealer must be removed by grinding before you coat.
Crack Repair, Spalls, and Oil Stain Treatment
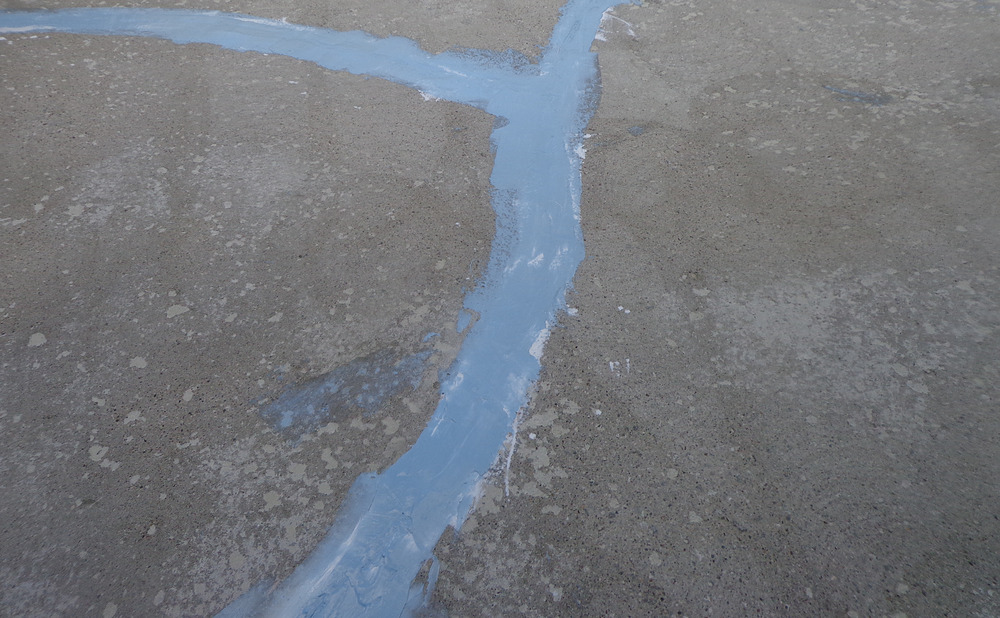
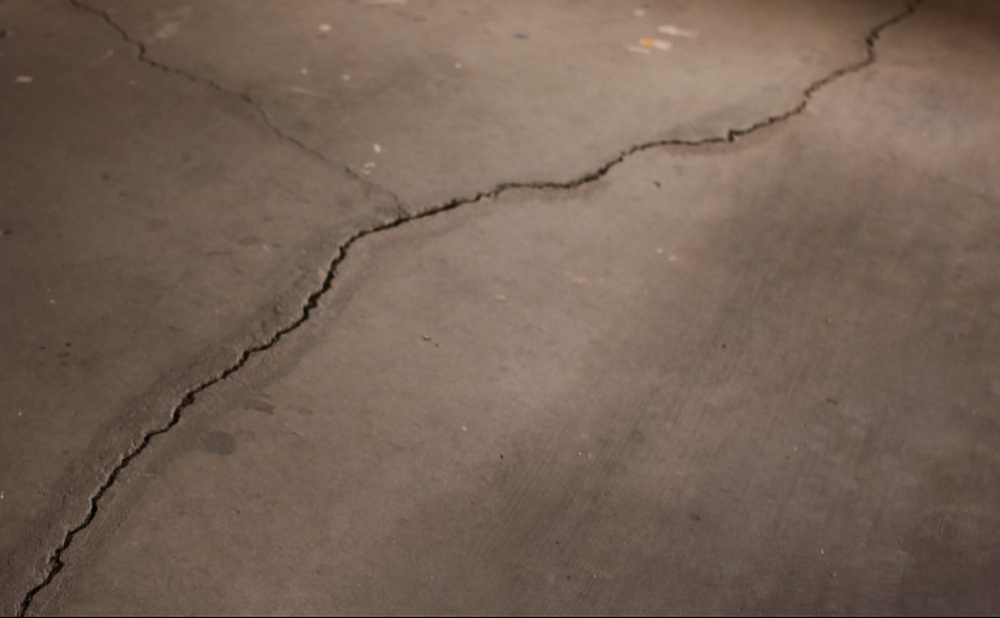
Epoxy won’t hide cracks or pits. It flows into them and shows every flaw. Fill cracks, chips, and spalled areas with an epoxy or polyurea repair product made for concrete, then grind or sand them flush once cured. Large structural cracks or heaving sections need a professional assessment.
Old oil stains can keep wicking up through the coating. Treat them with a strong degreaser or concrete cleaner, scrub, and rinse, repeating until water no longer beads on the spot. Some stains need grinding to remove. Untreated stains are a common reason coatings fail in one area.
Diamond Grind vs Etch: Which Prep Fits DIY Skill
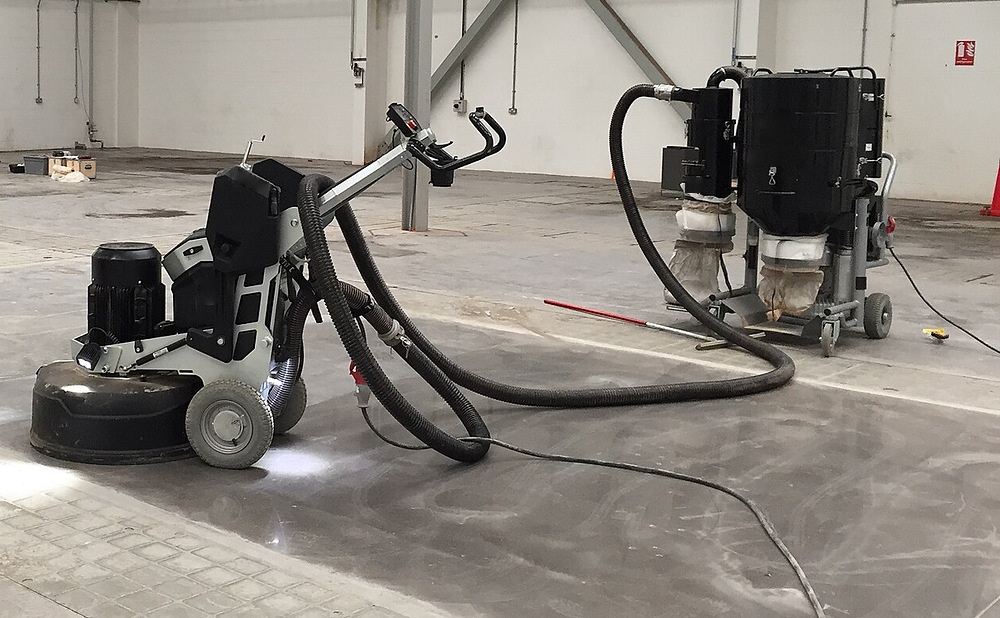
Many DIY kits include acid or citric etching. The etching solution reacts with the concrete to open its surface, then needs thorough rinsing and drying. Etching works on some bare slabs, but it doesn’t remove sealers and can give uneven results on dense or old concrete.
Diamond grinding is what most pros use. A rental grinder with a vacuum attached takes off the top layer of concrete and creates a consistent profile for bonding. It’s louder, dustier, and heavier work, but it gives much more reliable adhesion. Whichever method you choose, wear a respirator and hearing protection.
Kit Types: Flake, Metallic, and Solid Color Explained
Solid-color epoxy gives a clean, even finish and is the simplest to apply. Flake systems add colored vinyl chips broadcast into the wet epoxy, which hide dirt, add texture for grip, and disguise small flaws in the concrete. That practical mix makes flake floors a common pick for working garages.
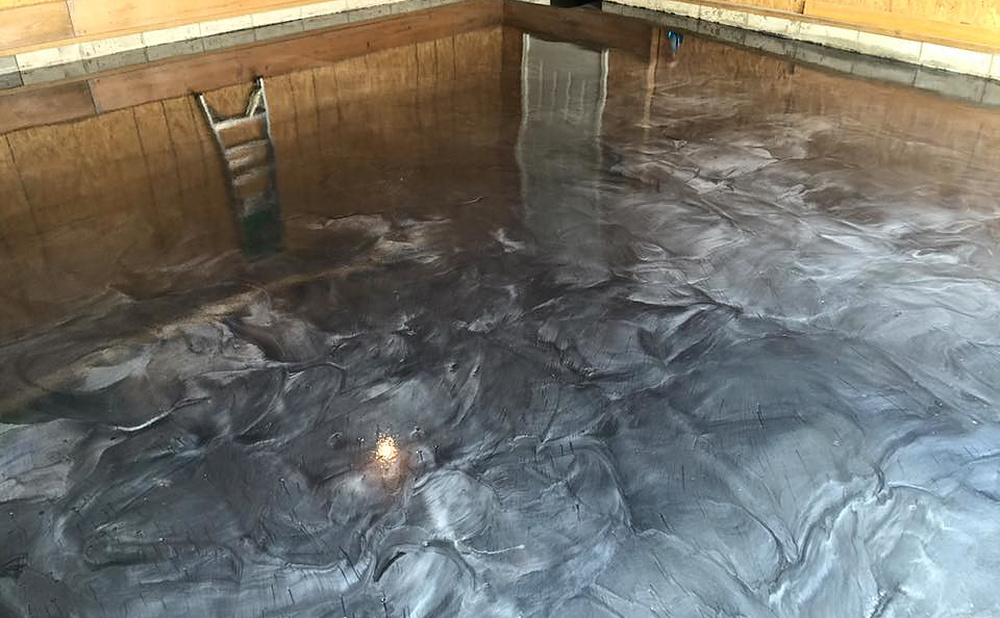
Metallic epoxy uses pigments that swirl into a marbled, glossy look. It’s striking but very sensitive to technique, and mistakes show clearly. Beginners usually get better results with solid or flake systems. Whatever kit you choose, compare its coverage per gallon with your actual floor area.
Temperature and Humidity Windows (Critical in Canadian Winters Too)
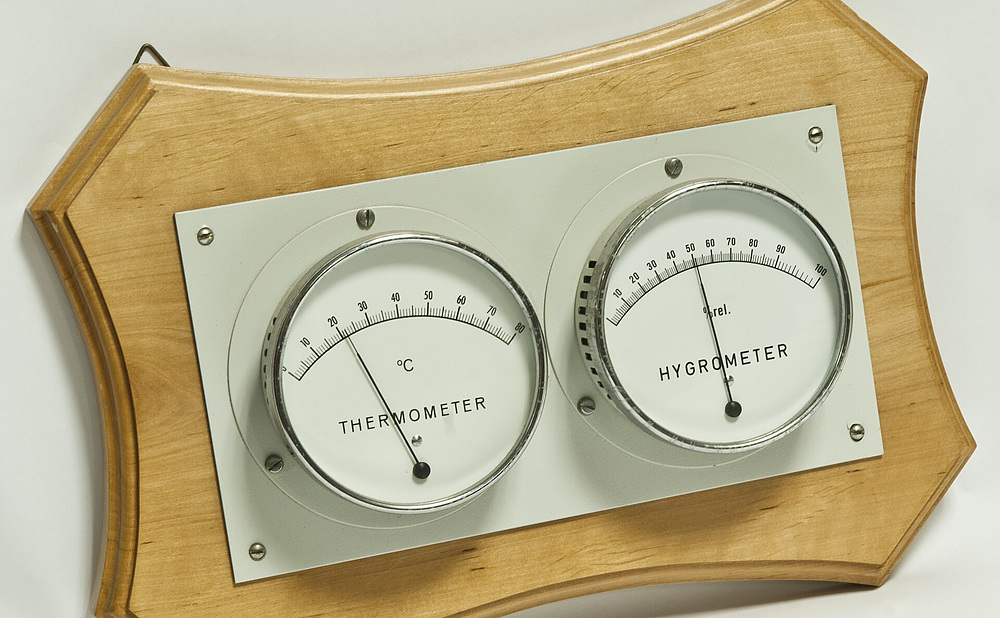
Epoxy is sensitive to temperature and humidity. Most products list a minimum floor and air temperature for application and curing, and the slab often needs to be warmer than the dew point. Cold floors slow the cure, while very hot conditions shorten working time and can cause bubbles.

In Canada and the northern US, garages can stay cold well into spring and cool off quickly in fall. Plan the project for a mild stretch of weather and avoid days with big temperature swings. High humidity can cause a cloudy film called blush, so check the label limits before you start.
Mixing Ratios and Pot Life Mistakes
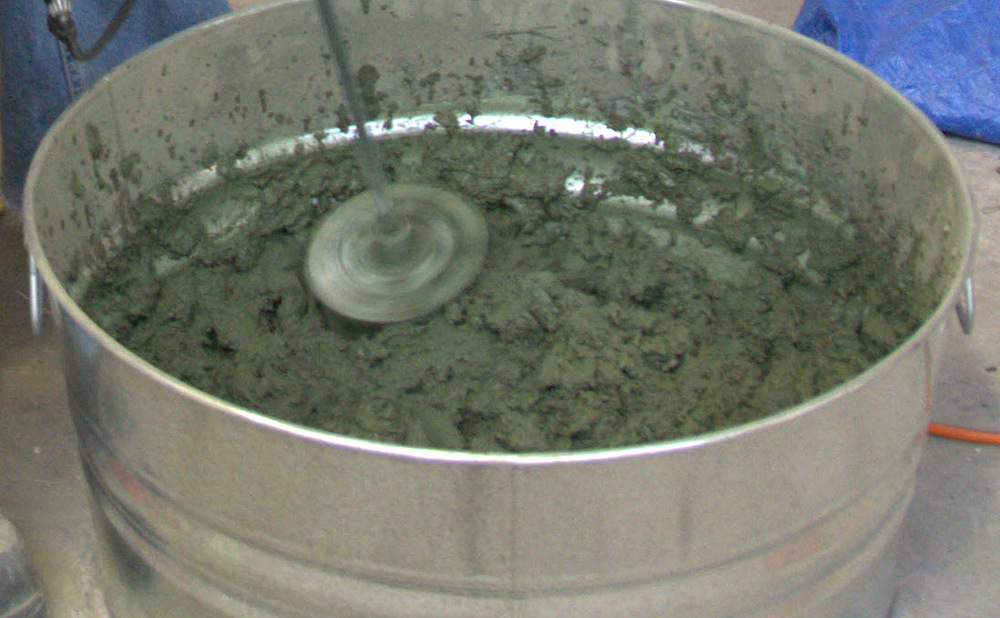
Two-part epoxy only cures properly when the resin and hardener are mixed in the right ratio. Guessing at the ratio or undermixing leaves soft, tacky patches that never harden. Mix the full kit when possible, scrape the sides and bottom of the bucket, and use a slow drill with a mixing paddle to avoid whipping in air.
Pot life is how long you have to use mixed epoxy, and it’s shorter in the bucket than once the epoxy is spread on the floor. That’s why you should pour the mixed batch onto the floor in a ribbon right away instead of letting it sit. Work in sections with a helper so you keep a wet edge.
Broadcast Flakes Without Bald Spots or Clumps
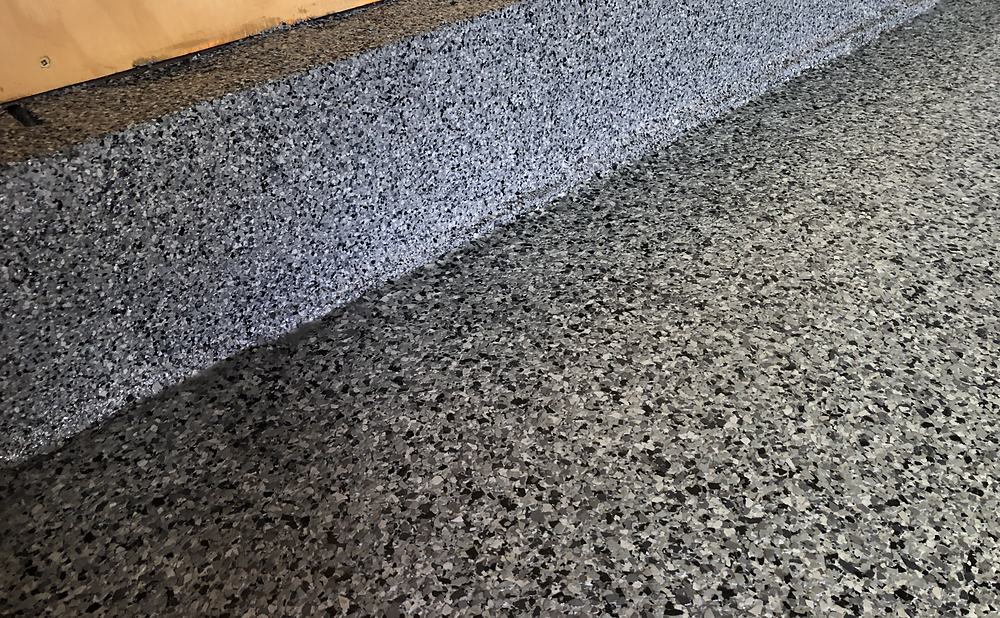
With flake systems, timing and technique matter. Broadcast the flakes while the epoxy is still wet, tossing them up so they fall naturally instead of throwing them down in clumps. Work in small sections so each area gets flakes before the epoxy starts to set.
Before you start, decide whether you want light coverage or a full broadcast, and have enough flakes on hand. Spiked shoes let you walk on the wet epoxy to reach the middle of the floor. After the coat cures, scrape and vacuum up loose flakes before the topcoat, or the floor will feel rough.
Topcoat Choices: UV Stability for Sunny Garages
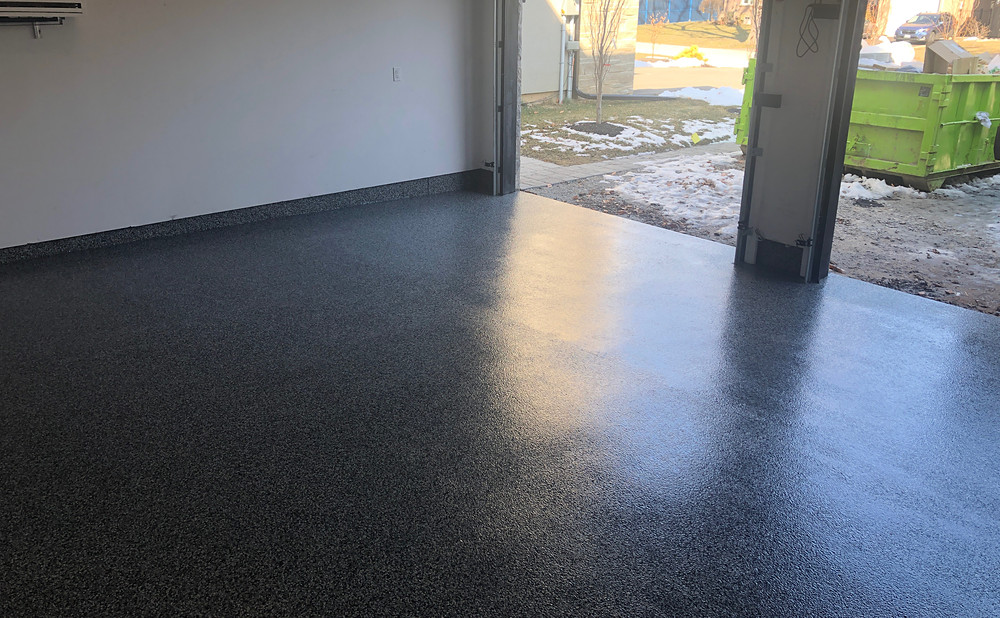
Many epoxies yellow or chalk in sunlight, which shows quickly in garages with open doors or windows. A clear topcoat adds protection. Polyurethane and polyaspartic topcoats resist UV and scratches better than epoxy alone, and some cure quickly.
Topcoats can add grip, too. Anti-slip additives mixed into the final coat reduce the risk of slipping on a wet floor, which matters wherever snow and rain get tracked in. Ask the kit maker which topcoats are compatible, and check the recoat windows so each layer bonds properly.
Cure Times: Foot Traffic, Cars, and Tire Marks
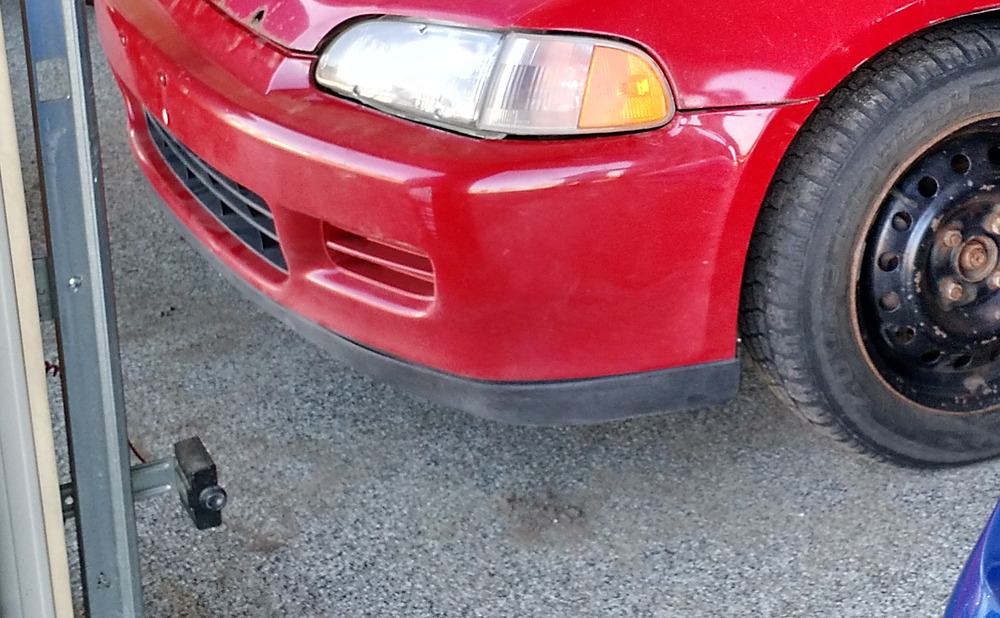
Epoxy may feel dry within a day, but a full cure takes longer. Most products allow light foot traffic after a day or so and vehicle traffic only after several days, and cold garages need even more time. Driving on the floor too soon can leave permanent tire marks or cause the coating to lift.
Hot tires are a particular risk because they soften and pull on the coating. Choose a quality system with a durable topcoat and follow the label’s cure times. Many homeowners park in the driveway for a week to be safe and avoid moving heavy tools across the new surface.
Tools Checklist: Squeegees, Spiked Shoes, and Respirators
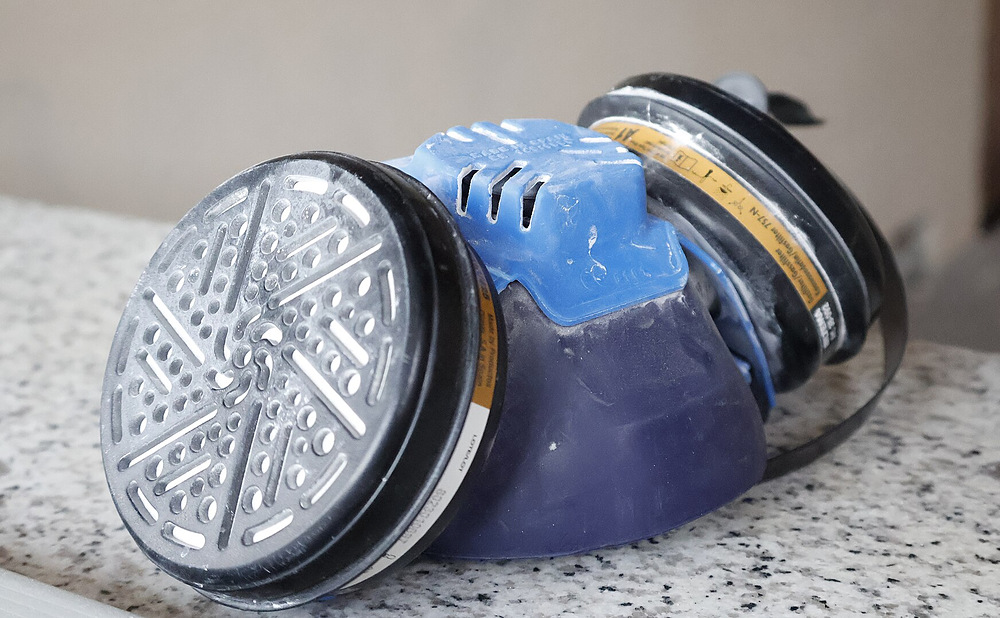
Have everything ready before you mix. For prep, you’ll need a floor grinder or etching supplies, a shop vacuum, degreaser, crack filler, painter’s tape, and plastic sheeting. For application, gather mixing buckets, a drill with a paddle, notched squeegees, nap rollers, extension poles, and spiked shoes.
Protect yourself, too. Grinding concrete releases fine silica dust, so attach a vacuum to the grinder and wear a respirator rated for silica dust. For etching and coating, wear the respirator cartridge type listed on the product’s safety data sheet, plus chemical-resistant gloves and eye protection. Run a fan to push fumes out the open door, and shut off or stay well away from water heater and furnace pilot lights, since some products give off flammable vapors. Keep children and pets out, and bring a helper to speed things up and catch missed spots.
Cost Breakdown: Big-Box Kit vs Pro Install
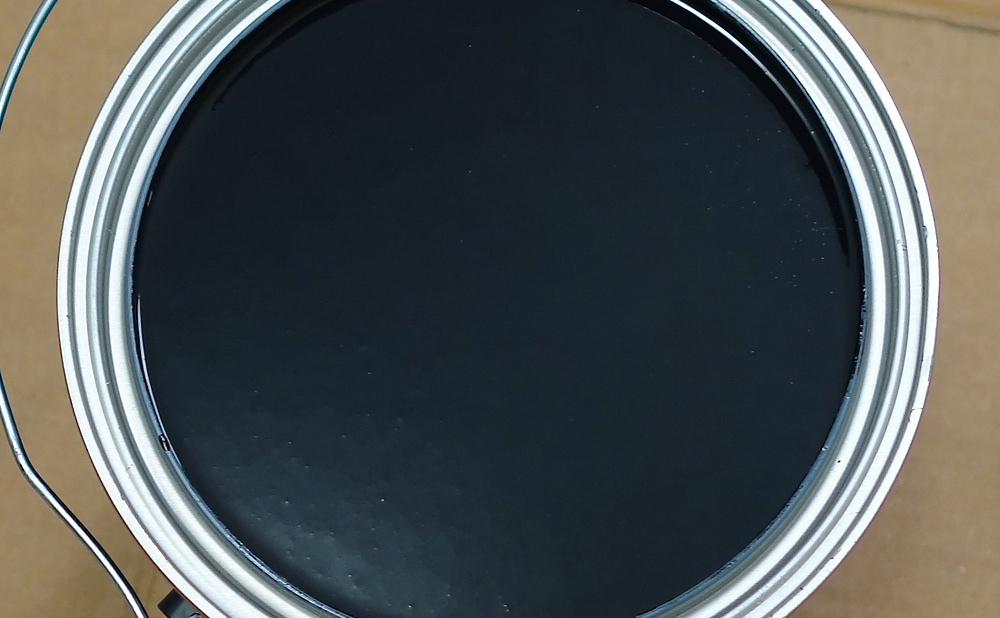
DIY costs include the epoxy kit or separate resin and hardener, flakes, topcoat, crack filler, grinder rental, diamond tooling, and safety gear. Kits vary widely in thickness and quality, so compare solids content and coverage rather than just the price per box.
Professional installers usually grind the floor, repair cracks, and apply commercial-grade coating systems that are thicker and cure faster. Pricing depends on floor size, condition, and system type. Get written quotes that list the prep method, number of coats, topcoat type, and warranty terms.
When DIY Stops: Soft Concrete, Hydrostatic Pressure, Slope Issues
Some floors aren’t good DIY candidates. Concrete that crumbles, dusts heavily, or flakes at the surface needs repair or resurfacing before coating. Ongoing moisture from below, sometimes called hydrostatic pressure, can push even the best coating off the slab without proper mitigation.
Garages with drainage problems, standing water, or slopes that need correcting also call for more than a weekend kit. Large cracks that keep moving and heaved sections point to structural issues. In those cases, a concrete or flooring pro can assess the slab and recommend the right fix before any coating goes down.
Moisture limits, temperature ranges, pot life, and cure times vary by product. Follow the coating manufacturer’s instructions and safety data sheets, and consult a concrete or flooring professional about moisture or structural concerns.
Amazing Builder Partners