

A wood deck that has turned gray, splintery, or blotchy usually doesn’t need replacing. In many cases, it needs a careful cleaning, a few board repairs, and a fresh coat of stain. Done right, that work protects the wood from sun and water and brings back its color.

Done wrong, it can look worse than before. Stain applied over dirt or peeling old coatings fails quickly, and the wrong product can turn sticky or flake within a season. Weather, timing, and prep matter as much as the stain itself.
This weekend checklist walks you through the process from inspection to maintenance, so the job goes smoothly and the finish lasts. It focuses on wood decks, with a note on why composite decking needs different care.
Is Your Deck Ready to Stain or Does It Need Board Swaps First?
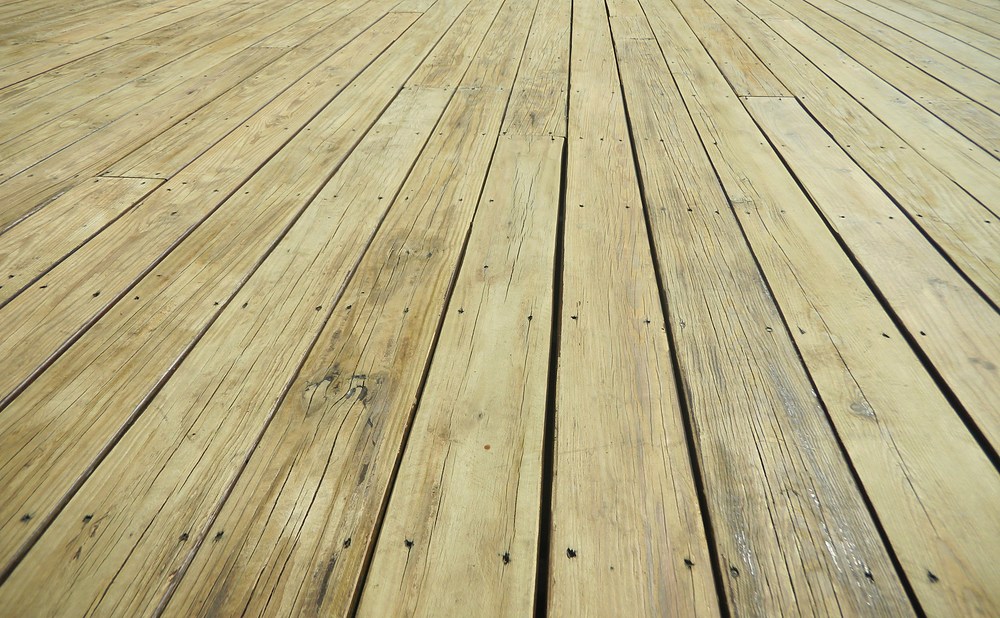
Start by walking the deck slowly and pressing on boards, stair treads, and railings. Soft spots, deep cracks, and loose boards need to be replaced or secured before any stain goes down. If you can get underneath, check the joists, beams, and ledger connections for rot or rust.
Next, set popped nails or swap them for deck screws, and replace any split boards. Structural problems like a sagging beam or loose ledger board are a job for a deck builder. Stain protects wood, but it can’t make an unsafe deck safe.
Transparent, Semi-Transparent, Semi-Solid, Solid: Which Stain Wins?
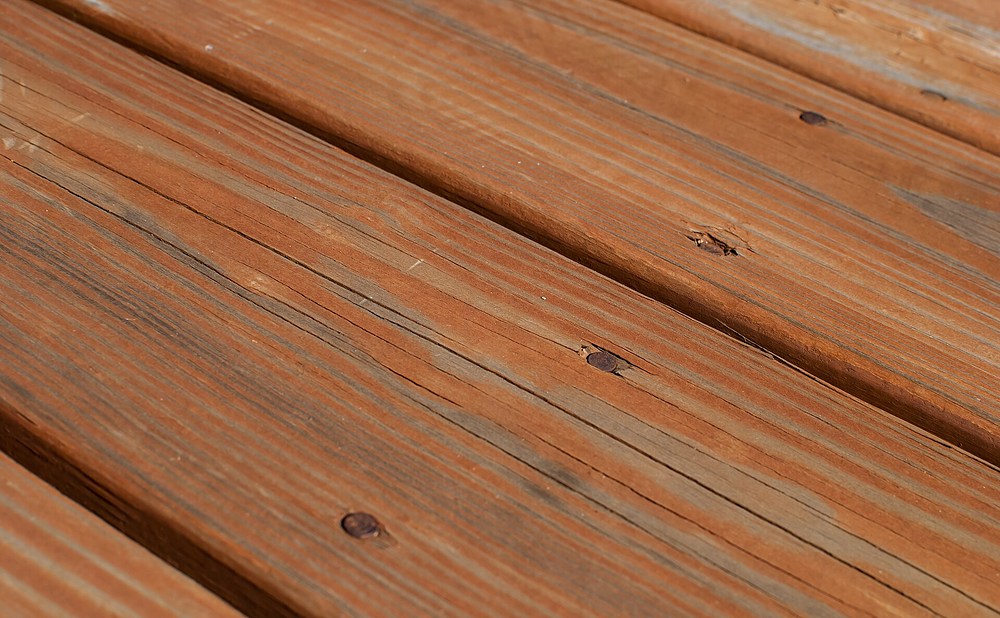
Transparent and clear stains show the most wood grain but offer the least UV protection, so they need more frequent recoats. Semi-transparent stains add color while letting the grain show through, and they soak in rather than forming a film. That makes them a popular middle ground for decks in good condition.
Semi-solid and solid stains hide more of the wood and can mask uneven color or older boards. They last longer on vertical surfaces but can peel on floorboards if applied too thick. Match the stain to your deck’s condition, and stick with the same type of product when you recoat.
Weekend Checklist: Tools, Cleaner, Brightener, and Stain Volume
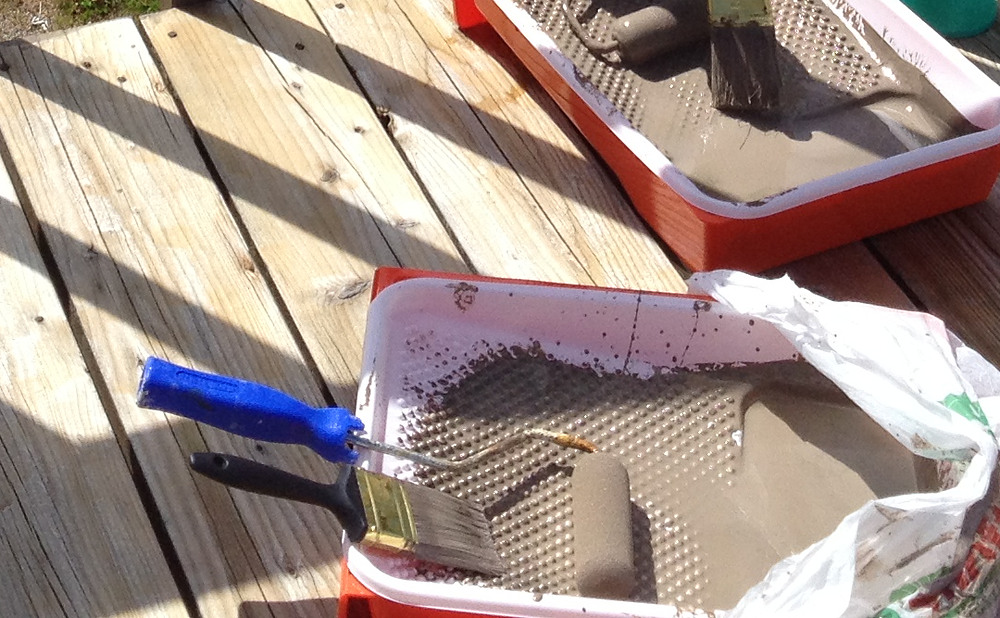
For prep, gather a deck cleaner or stripper, wood brightener, a stiff scrub brush with an extension pole, a garden hose or pressure washer, a sanding pole, and tape to protect siding. For staining, you’ll need a brush, stain pad, or roller, plus a sprayer if you plan to spray and back brush. Round it out with chemical-resistant gloves, eye protection, and drop cloths for plants.
To estimate how much stain you need, measure the deck’s length and width, add the railings and stairs, and compare the total with the coverage listed on the label. Rough or weathered wood soaks up more, so buy extra. Purchase all the stain at once so the color stays consistent from can to can.
Deep Clean Mistakes That Trap Old Coating Under New Stain
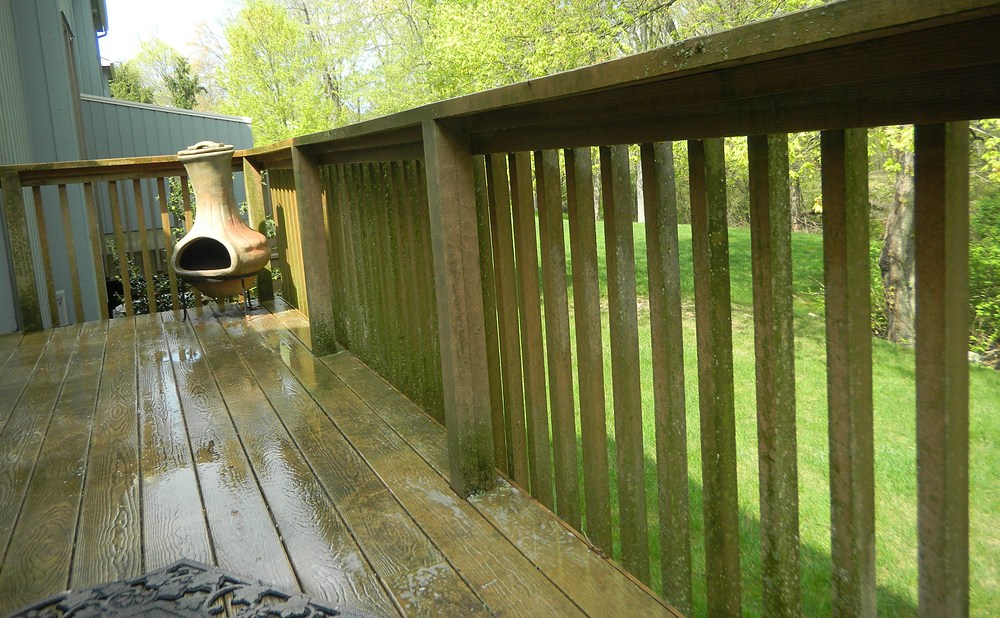
New stain needs clean, open wood to soak into. Dirt, mildew, and failing old coatings block absorption and lead to early peeling. Use a deck cleaner for dirt and gray wood, or a stripper if an old film-forming stain is peeling. Scrub with the grain and rinse thoroughly. Wet down nearby plants and siding before you start, and rinse them again afterward so cleaner or stripper runoff does not damage them.
A pressure washer can help, but too much pressure, or holding the tip too close, can raise fibers and gouge soft wood. Use a wide tip on low pressure and keep the wand moving. Once the deck is dry, lightly sand any fuzzy or splintered areas so the surface takes stain evenly.
Brighteners and Neutralizing: Why Skipping Them Shows Later
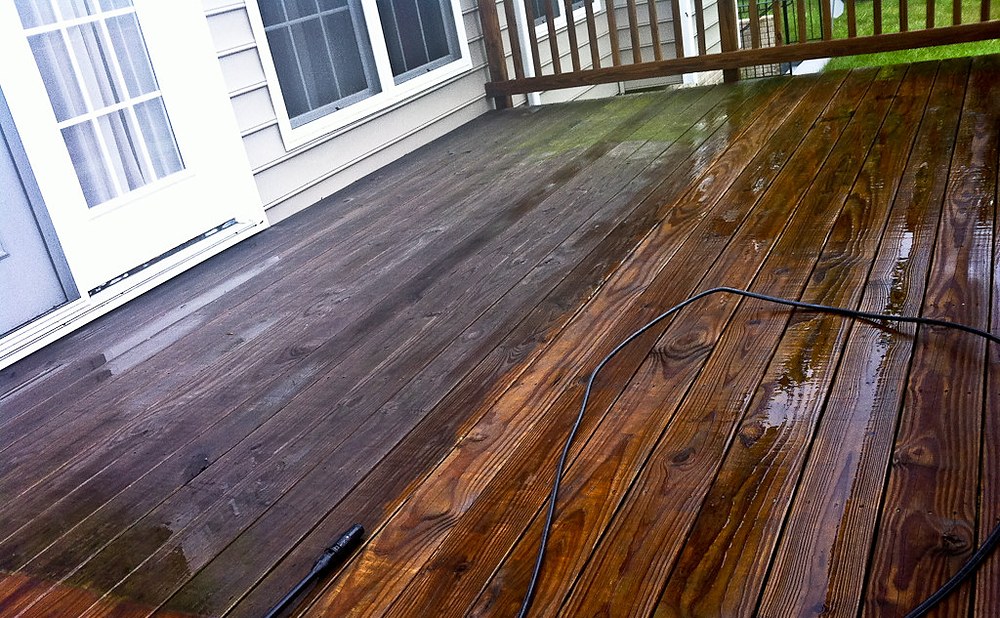
Many deck cleaners and strippers leave the wood darkened or at a high pH. A wood brightener, often based on oxalic acid, neutralizes that residue and restores the wood’s natural color. It also helps remove tannin stains and any gray weathering left behind after cleaning.
Skip the brightener, and the finish can turn out blotchy or dull once the stain goes on. Apply it after cleaning while the wood is still wet, follow the label for dwell time, and rinse the deck and any nearby plants well. Then let the deck dry completely, often a day or two, before you stain.
Weather Window: Temperature, Humidity, and Rain Rules

Weather can make or break a stain job. Most products need mild temperatures and dry conditions, both during application and for a while afterward. Look for a forecast with several dry days in a row, and avoid staining when rain or heavy dew is expected soon after.
Direct midday sun can make stain dry too fast and leave lap marks. Plan to stain in the morning or late afternoon, or follow the shade as it moves across the deck. In cooler regions, late spring and early fall usually offer the best windows for a weekend project.

Vertical vs Horizontal Surfaces: Rails, Stairs, and Floorboards
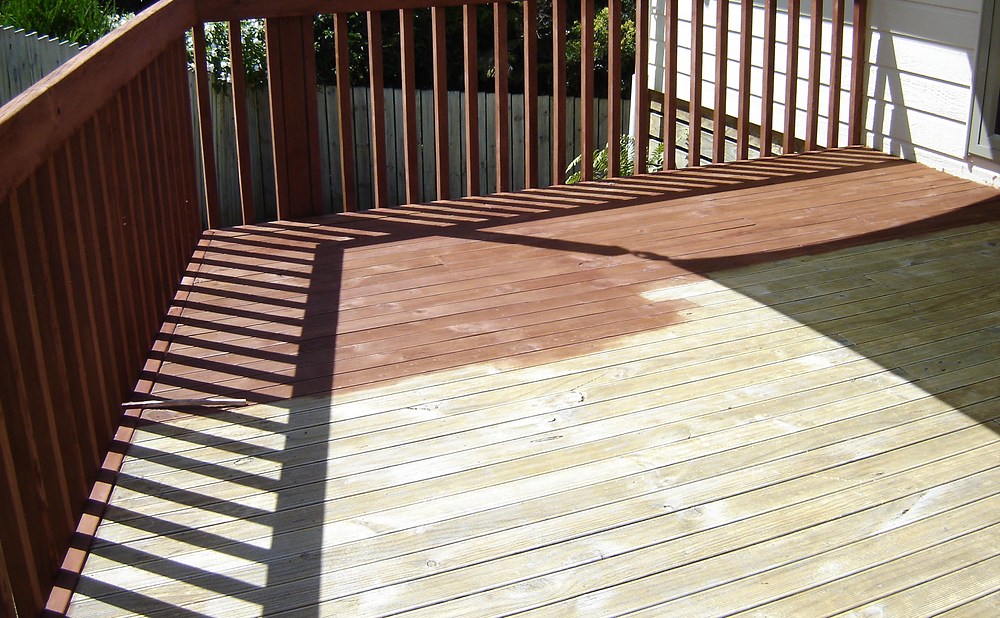
Start with the railings, balusters, and other vertical surfaces. That way, any drips land on floorboards you haven’t stained yet, and you can blend them in later. Work from top to bottom and keep a wet edge to avoid lap marks.
Save the floorboards for last. Stain two or three boards at a time along their full length so the end of one section doesn’t overlap the next. Plan your route so you finish at the stairs or an exit, not in a corner. Give the stairs extra attention, since they see the most wear.
Brush, Pad, or Sprayer With Back Brushing: Finish Quality Tips
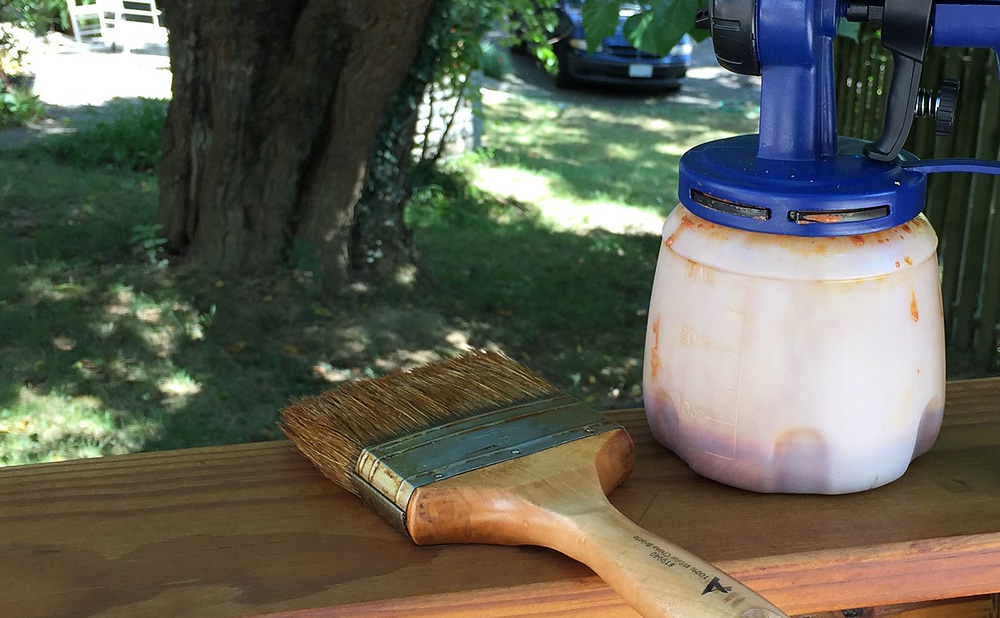
A brush works stain into the wood grain and gaps better than any other tool. Stain pads on poles cover floorboards faster and are easier on your back. Rollers speed up large flat areas but can leave too much product behind, so follow with a brush to work it in.
Sprayers are fast on railings and lattice, though overspray is a risk on windy days. Back brushing right after spraying pushes the stain into the wood and evens out the coat. Whichever tool you use, wipe up any stain that puddles, since excess can turn sticky or peel. With oil-based stain, lay used rags and pads flat outdoors to dry before disposal, since balled-up oily rags can heat up and catch fire on their own.
Dry Times, Second Coats, and When Furniture Can Return
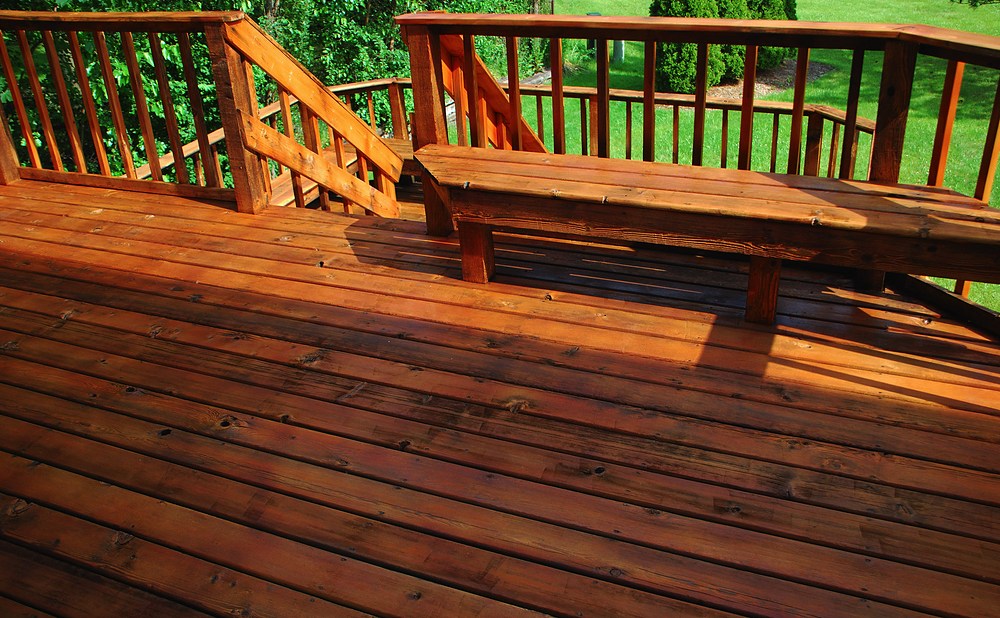
Many penetrating stains need only one coat, while others call for a second coat applied wet on wet or after a short wait. The label will tell you which. Applying a second coat too late, or too heavily, can leave a film that peels instead of soaking in.
Light foot traffic is often fine after a day, but furniture, grills, and planters should wait longer. When you bring them back, lift items rather than dragging them across the fresh finish. Keep pets off the deck until it’s dry, and avoid hosing it down for several days after staining.
Softwood vs Hardwood Decks: Product Compatibility
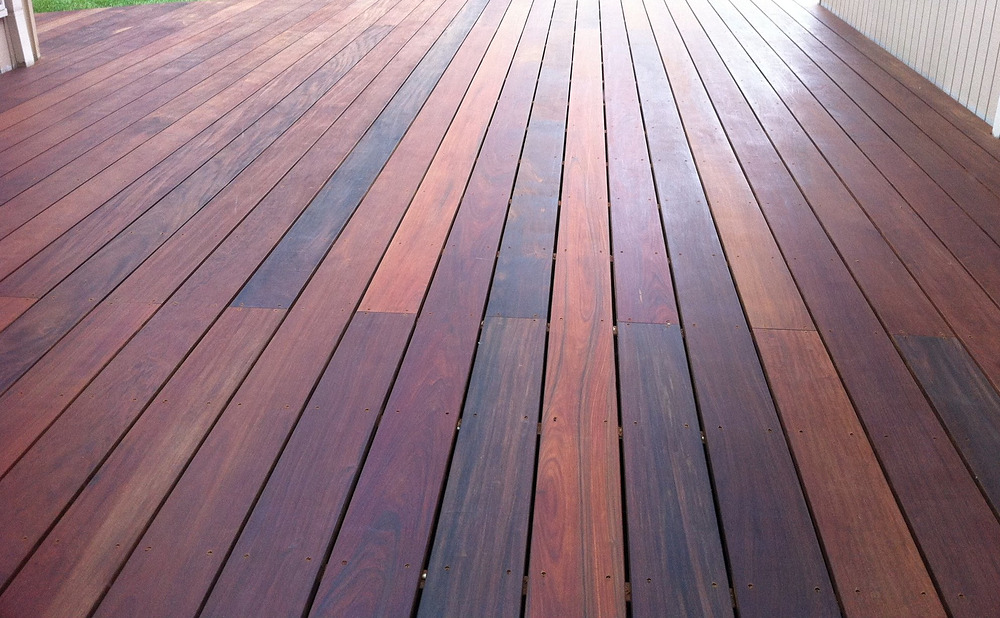
Pressure-treated pine, cedar, and redwood are softwoods that absorb stain fairly well. New pressure-treated lumber often needs to dry for weeks or months before it will accept stain. To check, sprinkle some water on the boards. If it beads up, wait longer.
Dense tropical hardwoods like ipe and cumaru don’t absorb standard stain well. They need special oils made for hardwood decks, applied in thin coats. The wrong product on hardwood often leaves a sticky surface that never fully dries, so read labels carefully before you buy.
Composite Decking Care: Why Most Stains Do Not Apply
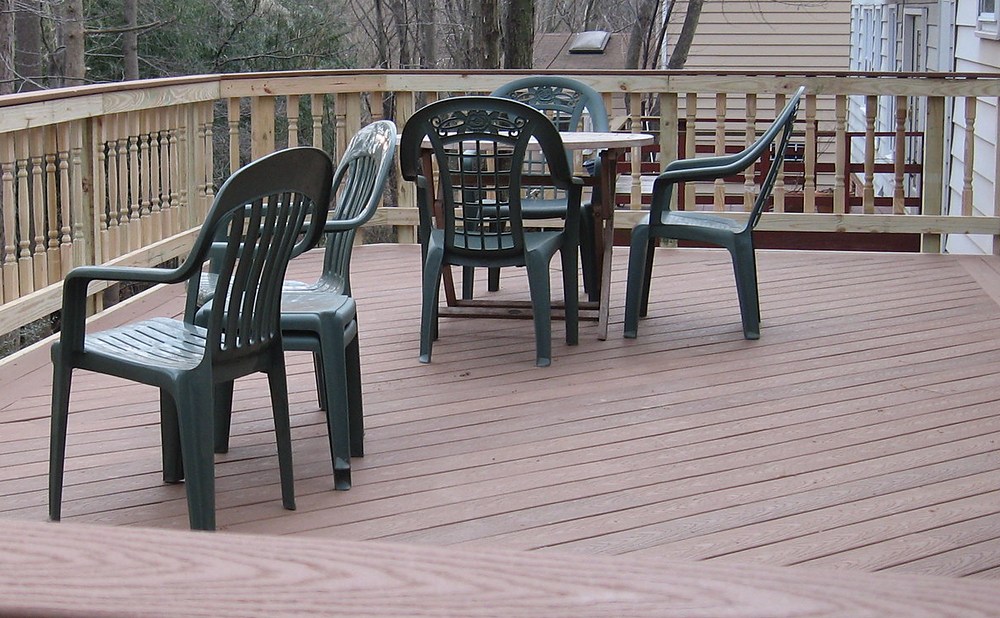
Composite and PVC decking are designed to resist fading and rot without stain. Most wood stains won’t bond to them, and applying one can void the decking warranty. Instead, clean composite boards with soap and water or a cleaner approved by the decking manufacturer, and remove mildew promptly.
Some older composite boards fade or stain over time, and a few manufacturers offer approved coatings. Check the manufacturer’s care guide before applying anything. If your deck pairs composite boards with wood railings or framing, you can still stain the wood parts and leave the composite alone.
Cost and Time: DIY Stain vs Hiring Deck Restoration
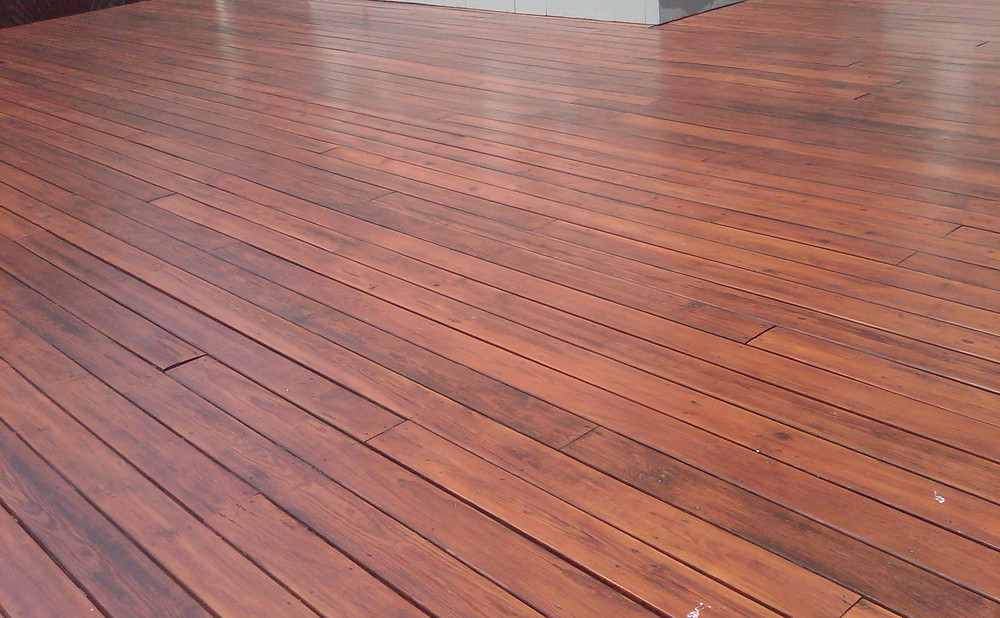
The main DIY costs are cleaner, brightener, stain, applicators, and possibly a pressure washer rental. Most homeowners spend one day on cleaning and repairs, allow a day or two for drying, and use another day for staining. Larger decks with complex railings can easily stretch past one weekend.
Deck restoration pros handle cleaning, repairs, sanding, and staining, often with commercial-grade products. Pricing usually depends on deck size, condition, and how much railing work is involved. Ask for a written scope that names the cleaner, stain brand, number of coats, and any board replacement.
Maintenance Calendar So You Do Not Redo Everything Next Year
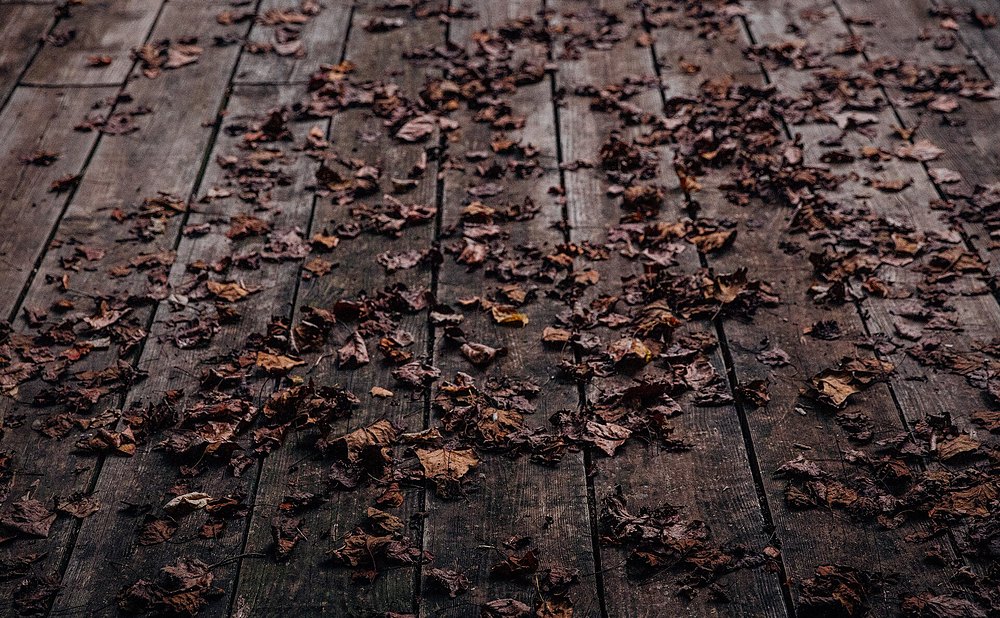
Regular care keeps stain looking good longer. Sweep the deck often, clear leaves from the gaps between boards, and clean off mildew or algae promptly. A gentle wash each spring removes the pollen and dirt that hold moisture against the wood.
Floorboards wear faster than railings, so expect to refresh them more often. Watch for fading, water that no longer beads, and worn traffic lanes. A light cleaning and maintenance coat every year or two is far easier than a full strip and restain down the road.
Cleaner dwell times, dry times, and recoat windows vary by product and wood species. Follow the stain manufacturer’s directions and your decking manufacturer’s care guide, and consult a deck builder about any structural concerns.
Amazing Builder Partners