
Curb appeal does not need a full remodel or a contractor schedule that stretches into next season. A focused weekend, a clear punch list, and a few well-chosen finishes can change how your home greets the street.

This guide ranks door and siding updates by effort so you can pick one project, or stack two light ones, and still have Sunday evening free. Think function, cost, safety, and durability first. Pretty comes along when those pieces land.
Paint shows up in the sections where it belongs, the tools list stays short, and the weather notes stay honest. If you rent, check your lease before you open a can of exterior paint.
What Guests Notice First on Your Walk-Up
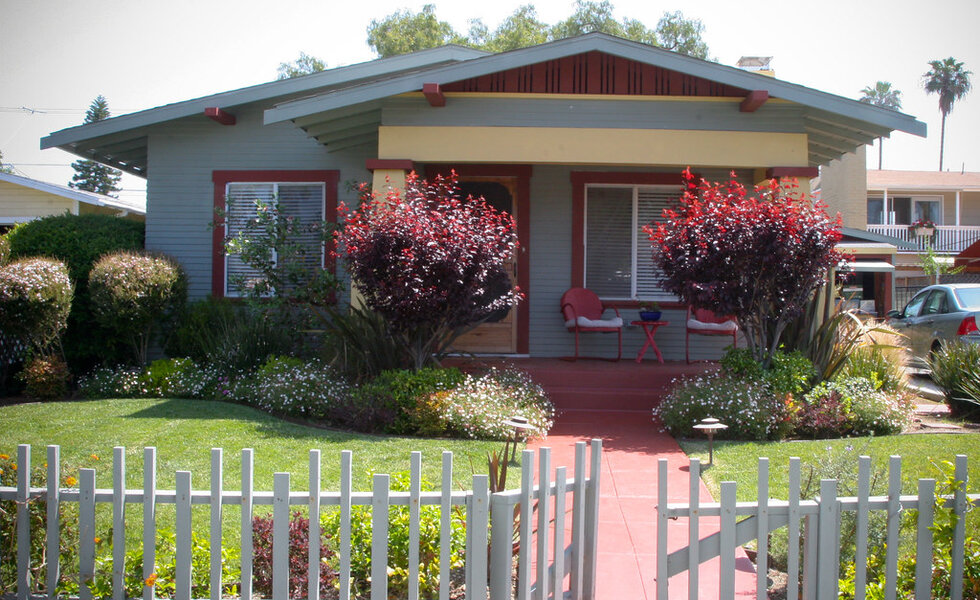
Before you buy anything, stand at the curb and walk to the door the way a guest would. Note the first three things your eye hits: the door color, the porch light, the house numbers, the path edges, or a tired stretch of siding. Photograph the approach in morning and late-day light so you catch shadows and glare.
Write a short list ranked by impact and mess. That walk-up audit keeps you from spending the whole weekend on a trim detail nobody sees until they are already smiling at the door.
A Fresh Coat of Color for the Front Door
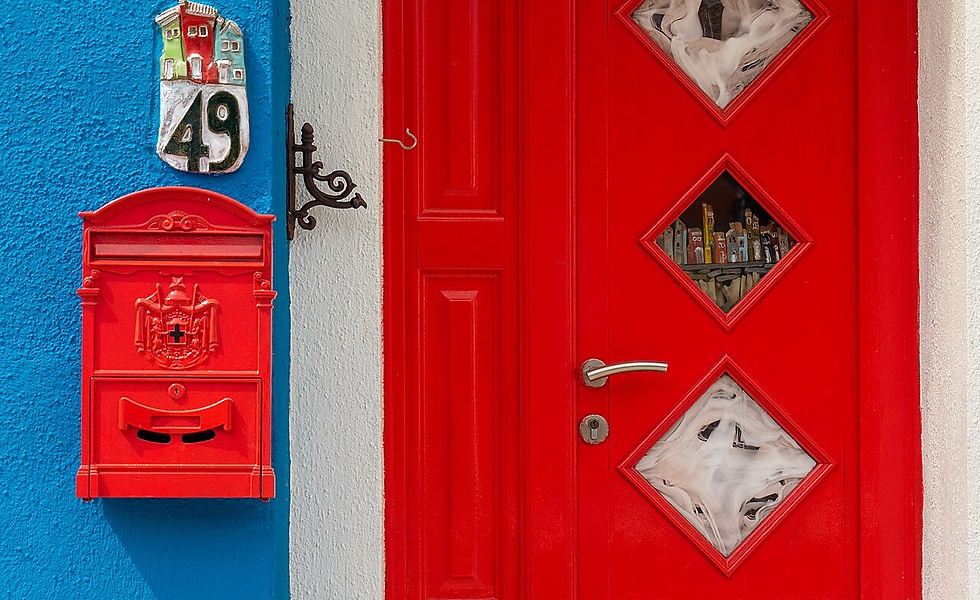
A door color refresh is the weekend classic for a reason. Clean the surface, sand glossy spots, tape the hardware or remove it, then prime bare wood or metal as the product label calls for. Choose a satin or semi-gloss exterior enamel that handles weather and cleaning. Two thin coats beat one heavy one.
If the door faces strong sun, pick a color that will not chalk fast, and keep leftover paint labeled for future touch-ups. Plan for dry weather and full cure time before you hang a wreath or slam the door hard.
Hardware, House Numbers, and Small Details That Pop

New lever sets, cleaner hinges, and readable house numbers cost little and finish the door story. Match finishes so the lockset, kick plate, and numbers feel intentional. Mount numbers at a height and size that delivery drivers can see from the street, and keep them clear of vines or seasonal decor.
Tighten loose screws before you shop for replacements. If holes do not line up, use a backplate or fill and redrill carefully. These details photograph well and make the painted door look finished instead of half-done.
Entry Lighting That Welcomes You Home

Swap a dated porch fixture for something sized to the entry and rated for wet or damp locations as your porch requires. Turn off power at the breaker, confirm with a tester, and follow the junction box rating for fixture weight. Soft, even light at the door helps safety and curb appeal more than a harsh spotlight aimed at the street.
Consider a dusk-to-dawn or motion option if you want less daily fuss. Clean the glass and check the gasket so moisture stays out. Keep a spare bulb in a labeled bag near the panel.
Trim and Threshold Touch-Ups That Neaten the Frame
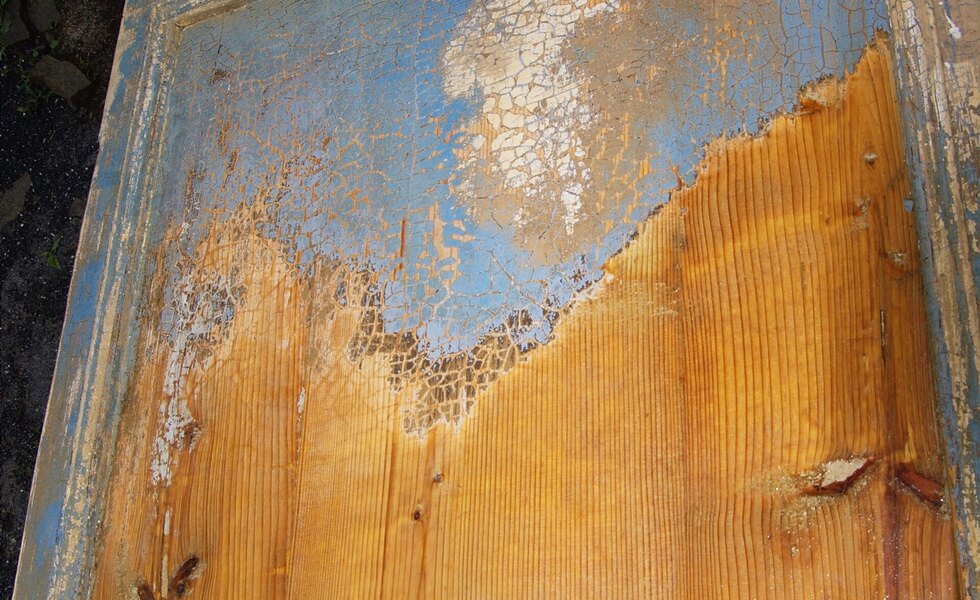
Scuffed door casing, a worn threshold, and peeling window trim around the entry steal polish even when the door looks great. Scrape loose paint, fill small gaps with exterior-grade caulk, and spot-prime before you brush on matching trim paint. Replace a soft threshold board if it flexes or holds water.
Check that weatherstripping still seals without forcing the door. These touch-ups take patience more than skill, and they protect the framing from weather while they tidy the look. Work top to bottom so drips do not land on finished coats.
A Quick Landscaping Cleanup for Instant Polish
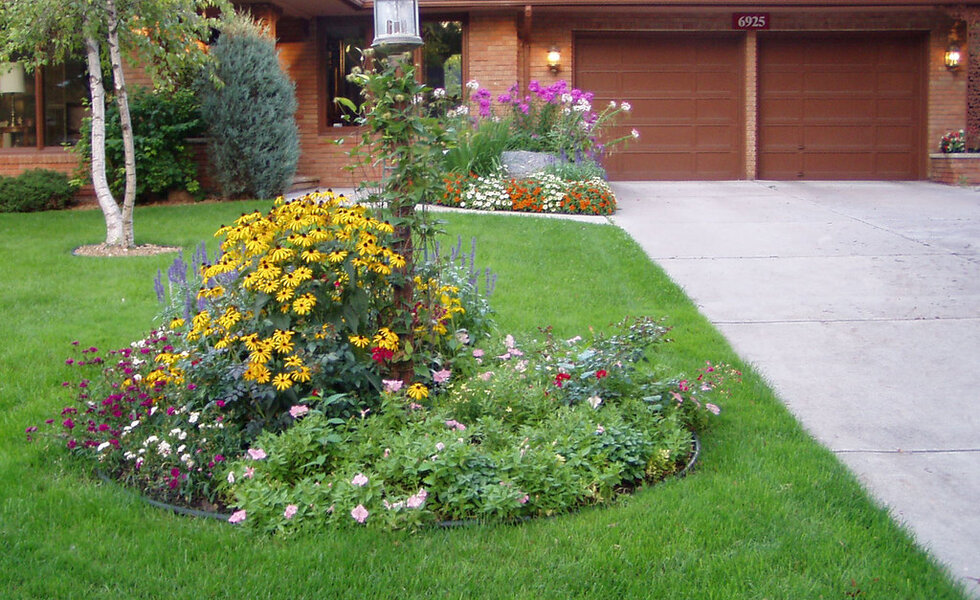
Edge the walk, pull weeds from the front bed, and refresh mulch in a thin, even layer that stays clear of siding. Sweep hardscape, shake out the doormat, and coil the hose so the path feels cared for. Trim shrubs that block windows or house numbers, but leave major pruning for the right season in your zone.

A tidy landscape frames every door and siding upgrade you do this weekend. Bag debris the same day so the street view stays clean when neighbors walk by after dinner.
Wash the Siding and Spot-Repair Before You Paint

Dirt and mildew make even sound siding look tired. Start with a gentle wash using a garden sprayer, a mild cleaner suited to your siding type, and a soft brush for stubborn spots. Avoid blasting water up behind laps or into vents.
After the wall dries, scrape loose paint, sand feathered edges, and seal bare spots with primer. Caulk hairline gaps at trim joints. Spot repairs now keep a full paint weekend from becoming a failure in the first rain. Wear eye protection and keep ladders stable on level ground.
Small Siding and Trim Replacements You Can Handle
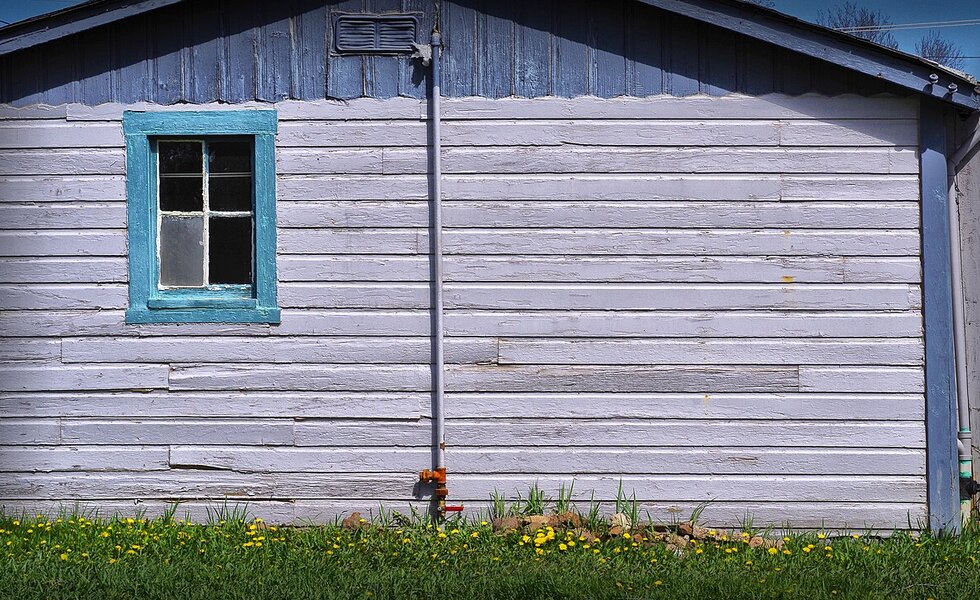
One cracked clapboard, a split corner board, or a rotten sill return can be a Saturday morning job if the damage is localized. Match thickness and profile as closely as you can, flash correctly behind replacements, and fasten per the material guidance. Prime all cut edges on wood before install.
If you find soft sheathing or widespread rot, stop and call a pro rather than hiding a larger problem. Small, honest replacements restore durability and keep the wall looking continuous when you step back to the curb.
Choosing Paint or Stain for Doors and Trim
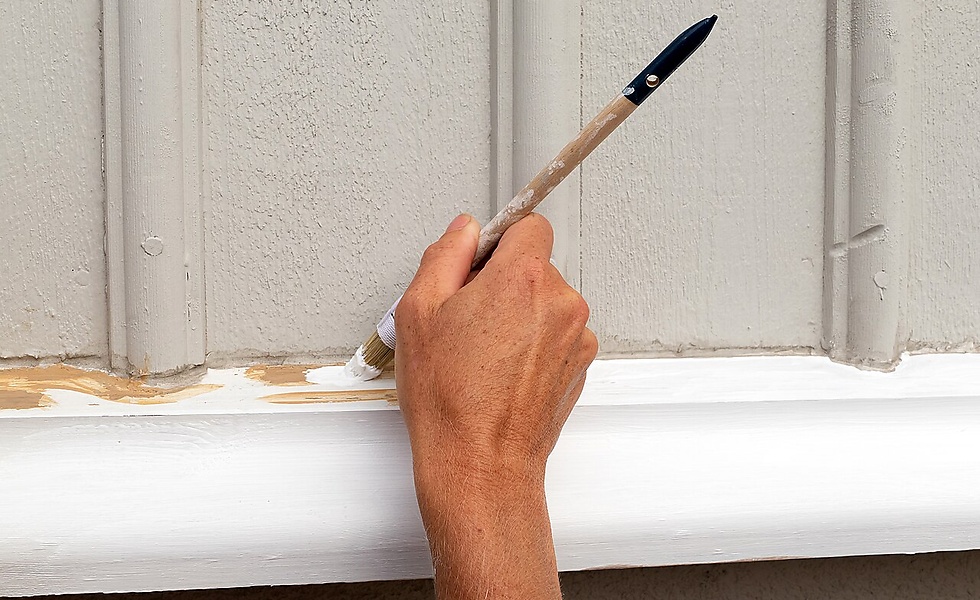
Paint hides and protects. Stain shows grain and needs the right substrate. For most painted doors and trim, a quality exterior enamel in the sheen you prefer wins for cleanability. For natural wood doors or cedar accents, follow a stain system built for UV and moisture, and plan earlier recoat cycles than paint.
Never trap moisture under a film that cannot breathe on a species that needs it. Test a small area, check color in real daylight, and write the product name on tape inside the door jamb for the next owner of the project: you.
Three Budget Tiers for a Weekend Refresh

At about fifty dollars, aim for cleaning supplies, caulk, house numbers, or a hardware polish kit and a thorough wash. Near two hundred dollars, add door paint, a new porch light, or a solid lockset and still stay in weekend territory. A fuller weekend budget might cover a few trim boards, better lighting, mulch, and paint for door plus casing.
Spend first on weather protection and safety, then on color and sparkle. Keep receipts and leftover materials labeled so next season’s touch-up does not restart from zero.
Weather Notes for US and Canadian Homes

Paint and caulk need the temperature and humidity window on the label. In hot, dry regions, work the shady side of the house and avoid midday heat that skins paint too fast. In humid or coastal areas, watch dry times and choose mildew-resistant formulas where mold is common.
Freeze-thaw climates punish open seams and soft wood, so seal and repair before cold nights return. Canadian and northern US winters also mean shorter outdoor paint seasons. Check local forecasts for rain-free days and overnight lows before you open a can.
Your Before-and-After Weekend Checklist

Friday evening, gather walk-up photos, a shopping list, a weather check, and staged tools. Saturday morning, wash, scrape, and repair. Saturday afternoon, prime and lay first coats, set out hardware, and clean up the landscape. Sunday, add second coats, swap the fixture, mount numbers, do a final sweep, and take after photos from the same curb spots.
Note anything you deferred, like a soft sill board, so it does not vanish into next year’s to-do pile. A short checklist turns curb appeal from a vague wish into a finish line you can cross before Monday.
Amazing Builder Partners