
Wood burning for beginners is easier than it looks. The craft, also called pyrography, lets you turn a plain piece of wood into a personal gift with a hot pen and a steady hand. The word pyrography simply means “writing with fire,” and the basics are easier to learn than they look.

If you’re new, it’s normal to worry about scorched lines, blotchy shading or a burned fingertip. Most beginner mistakes come from a few habits that are simple to fix, like moving at a steady speed and choosing the right wood.
This guide walks you through 15 tips, from picking your first tool and sanding the board to staying safe and sealing your work. You’ll also find easy project ideas to try once your lines look smooth. Take it slow, and your first pieces will turn out better than you expect.
Choose Your First Wood Burning Tool: Pen or Pro Unit
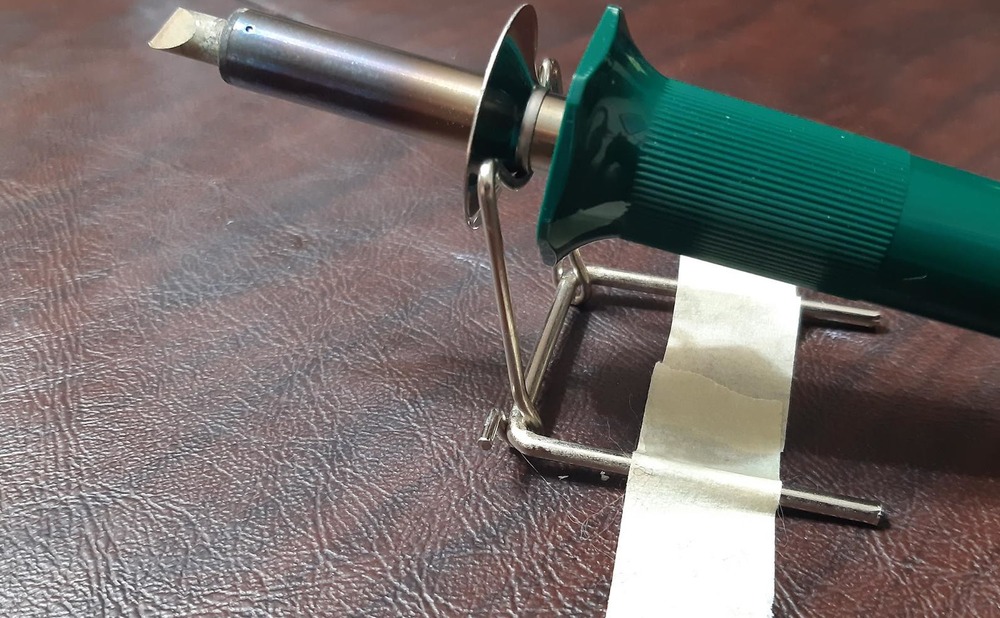
Your first wood burning tool will be either a solid-point pen or a wire-nib pro unit. A solid-point pen looks like a soldering iron with screw-in brass tips, and it rests on a bent wire stand between uses so the hot tip never touches your table. Walnut Hollow’s Creative Versa-Tool, a popular starter pen, has a heat dial and reaches up to 950 degrees Fahrenheit.
A wire-nib unit, often called a pro unit, has a separate power box and light pens with thin wire tips that heat and cool in seconds. Most beginners start with an adjustable solid-point pen. Keep it with the rest of your tools every DIYer can’t live without.
Learn What Each Wood Burning Tip Does
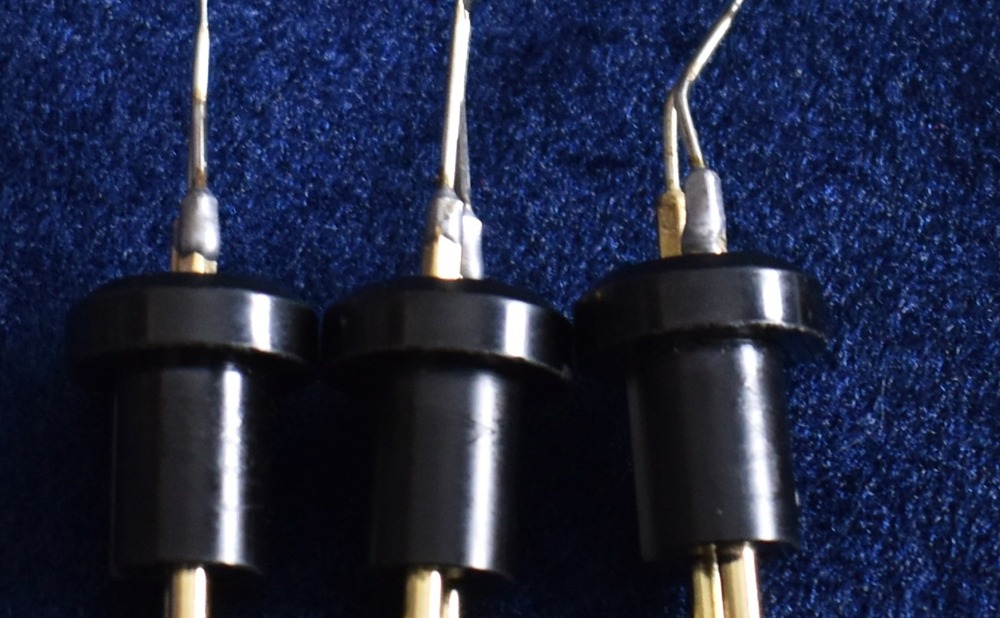
Each wood burning tip has its own job, so learning a few shapes saves you a lot of frustration. On wire-nib pens, the thin wire is bent into different shapes, such as a rounded writer for lines, a flat spoon shader for soft tone and a sharp skew for crisp details like fur or grass.
Solid-point pens use screw-in brass tips with similar shapes. Start with just three: one for lines, one for shading and one for details. Always switch off the tool and let it cool before you swap tips.
What Is the Best Wood for Wood Burning?
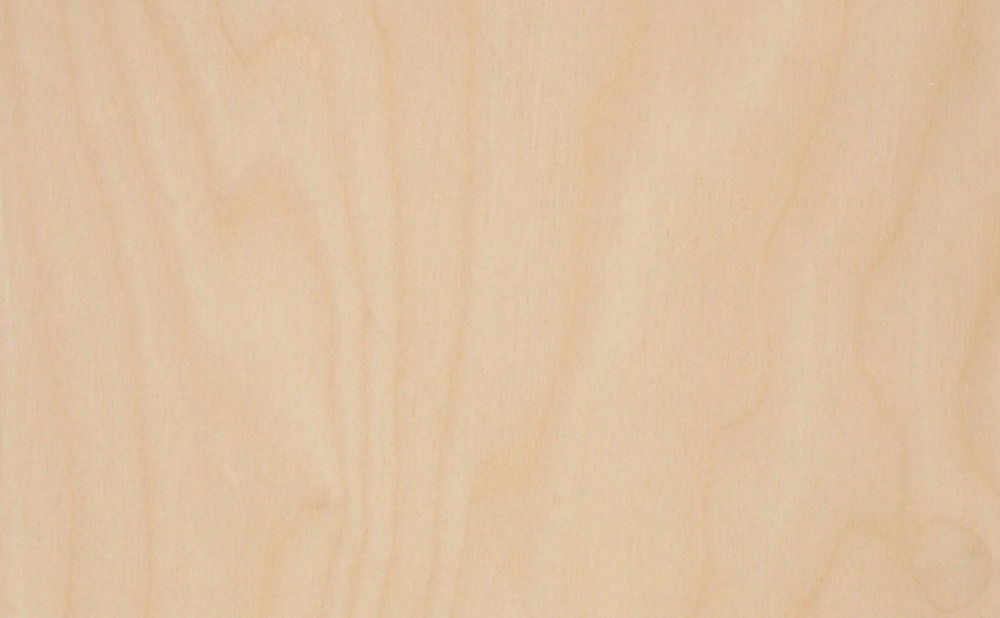
The best wood for wood burning is basswood, a pale, soft and even-grained wood that takes a burn smoothly, with birch and poplar close behind. A smooth, plain basswood panel shows how fine and even that grain looks up close. Light wood shows dark lines clearly, and tight grain lets the pen move without jumping.
Skip sappy pine and red oak at first, since their grain makes lines uneven. For safety, burn only clean, unfinished wood. Our guide to the best wood choices for woodworkers explains more about hardness and grain.
Sand to 220 Grit Before You Burn
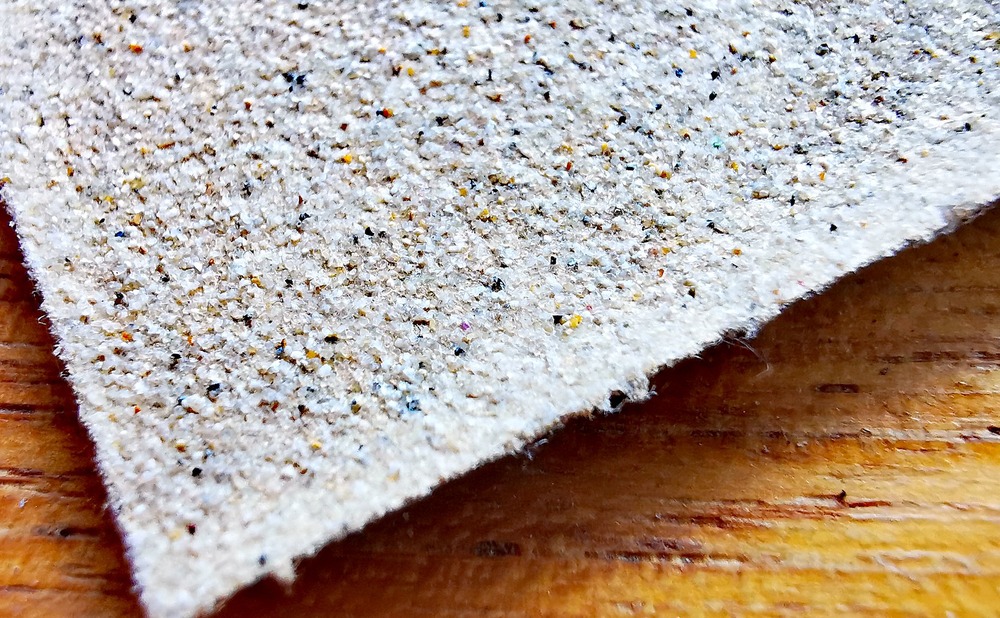
Sanding to 220 grit before you burn gives the pen a smooth, even surface. Grit is the number that tells you how fine sandpaper is, and higher numbers are finer. Start with 150 grit if the board feels rough, then finish with 220, always sanding with the grain.
A smooth board lets the tip glide instead of catching, so lines come out clean and shading looks even. Wipe away the dust with a dry cloth before you transfer your design. Sand outside or near an open window, and wear a dust mask.
Transfer Your Design With Graphite
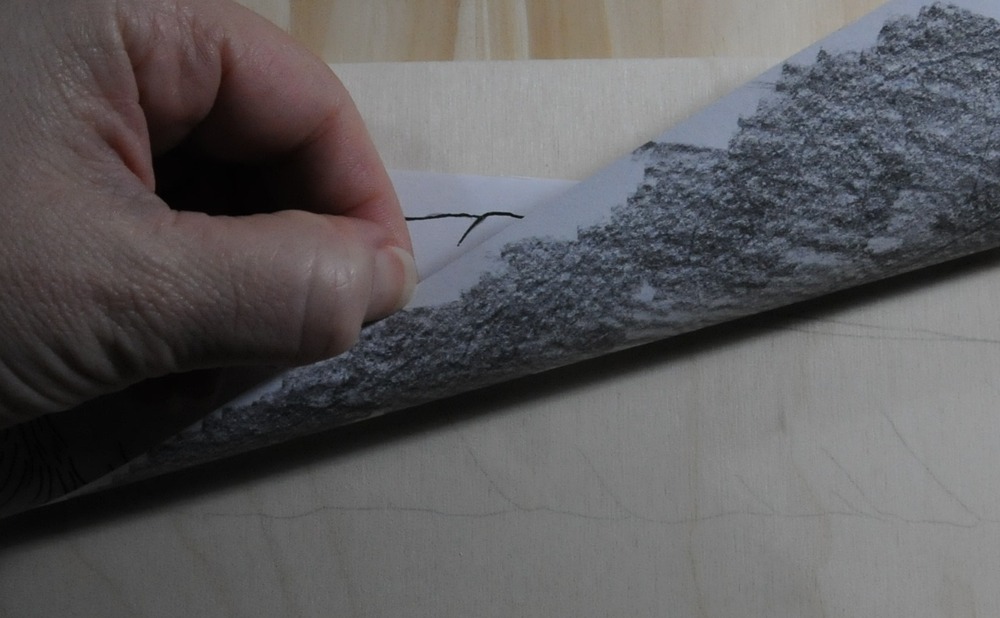
Transferring your design with graphite paper lets you copy a pattern onto wood without drawing it freehand. Lay the graphite sheet on the board, set your printed pattern on top and trace the lines with light, steady pressure. When you peel the sheet back, faint traced lines remain on the wood, ready to burn.
Keep the lines thin, because heavy graphite smears and is hard to erase later. Trace only the main outlines, then follow them slowly with the pen and add shading by eye as you burn.
Practice Lines and Shading on Scrap Wood
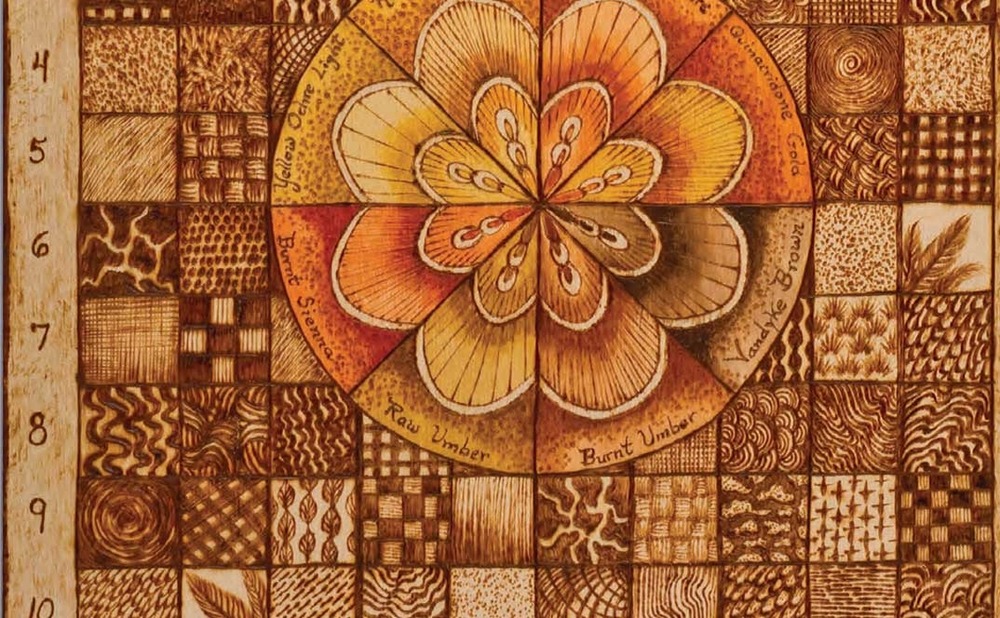
Practicing lines and shading on scrap wood builds control before you touch a real project. Draw rows of straight lines, curves, circles and dots on a spare piece of the same wood. Then make a shading strip that goes from very light to very dark in five or six steps.
Write the heat setting and tip next to each test, so you can repeat the results later. A short warm-up each time you sit down steadies your hand. Keep the board as a handy reference, and you’ll see your progress over time.
Make Light Test Strokes Before You Burn
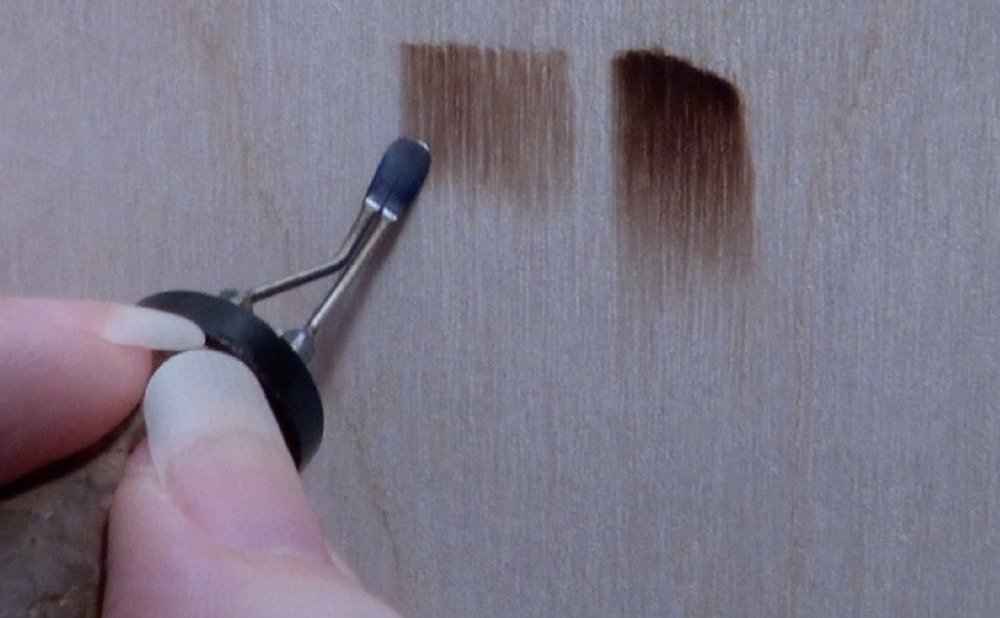
Controlling the heat with speed, not pressure, is the most important skill in wood burning art. Hold the pen like a pencil and let the hot tip rest lightly on the wood. Move slowly for dark lines and faster for light ones. Pressing hard digs grooves, bends tips and leaves dark blobs.
Start each line with the pen already moving, then lift off while it’s still moving, so the ends don’t pool into dots. If lines look pale, slow down before you turn up the heat. Build dark areas in thin layers instead of one heavy pass.
Keep a Brass Brush Handy for Tip Cleaning
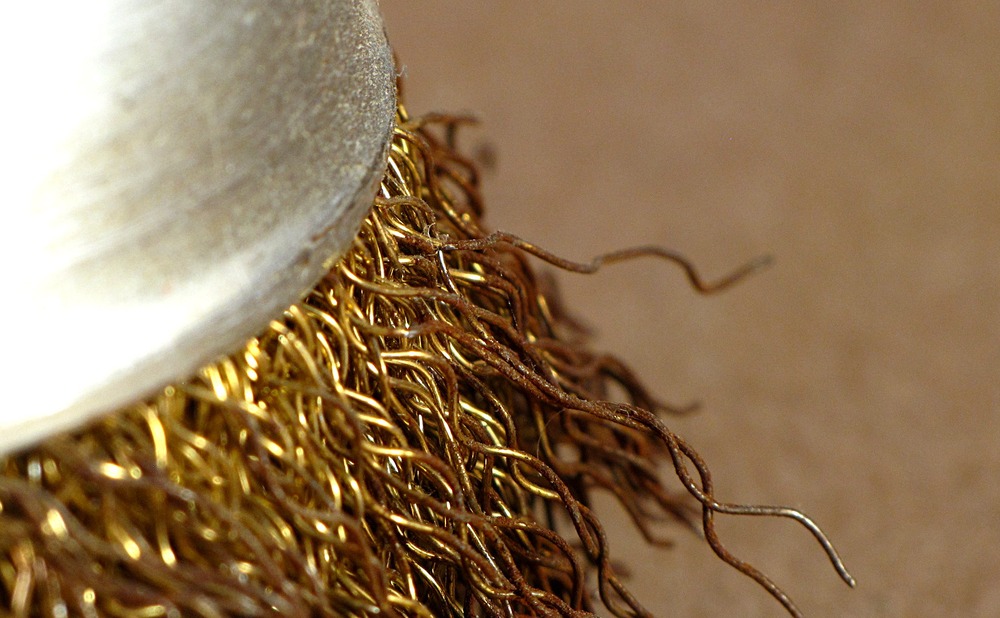
Keeping tips clean with a brass brush helps heat flow evenly into the wood. As you burn, black carbon builds up on the tip and makes lines patchy. Every few minutes, gently brush the warm tip across a brass bristle brush or a fine sharpening stone until it shines again.
Brass is softer than steel, so it removes buildup without scratching the tip. Never touch the tip with your fingers, and use pliers if a tip needs tightening. Set the pen back in its stand each time you clean it.
Keep the Air Moving With a Fan
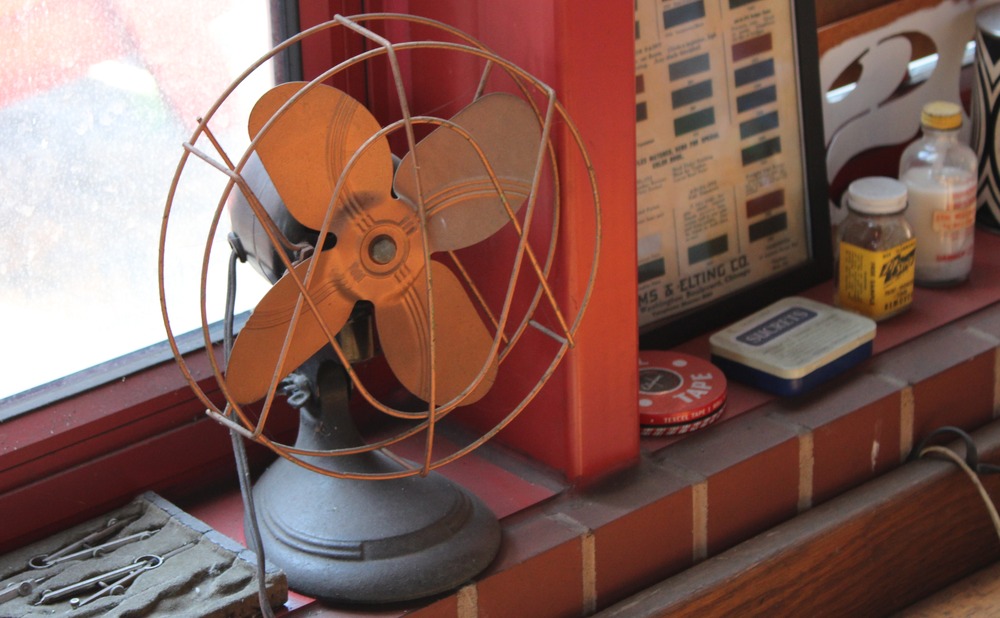
Good airflow and clean, untreated wood keep your lungs safe. Even clean wood makes smoke that can irritate your eyes and throat. Work near an open window, and set a small desk fan or a fume extractor, which is a fan with a carbon filter, to move smoke away from your face and out of the room.
Skip pressure-treated lumber, painted or stained boards, pallet wood, plywood and medium-density fiberboard (MDF). Their glues, preservatives and coatings can release harmful fumes when heated. Keep the hot pen in its stand, away from paper and kids, and unplug it whenever you step away.
Burn a Simple Scene on a Cutting Board
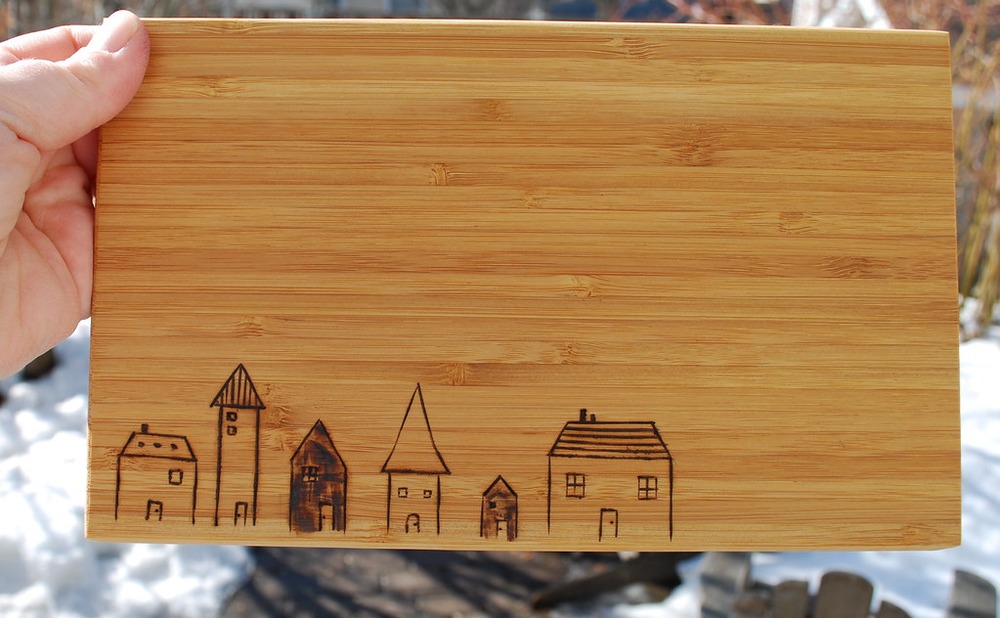
Burning a simple scene on a cutting board turns an everyday kitchen tool into a charming gift. A row of simple wood burned houses along the bottom edge of a bamboo board shows how far a few basic outlines can go. Silhouettes like rooftops, trees or a skyline are easy for beginners to trace and look great with very little shading.
Keep the design away from the main cutting area so knives don’t wear it away. Finish the board with food-safe mineral oil instead of varnish, and wash it by hand. Many makers leave one side plain for chopping and use the burned side for serving.
Wood Burned Spoons and Utensils
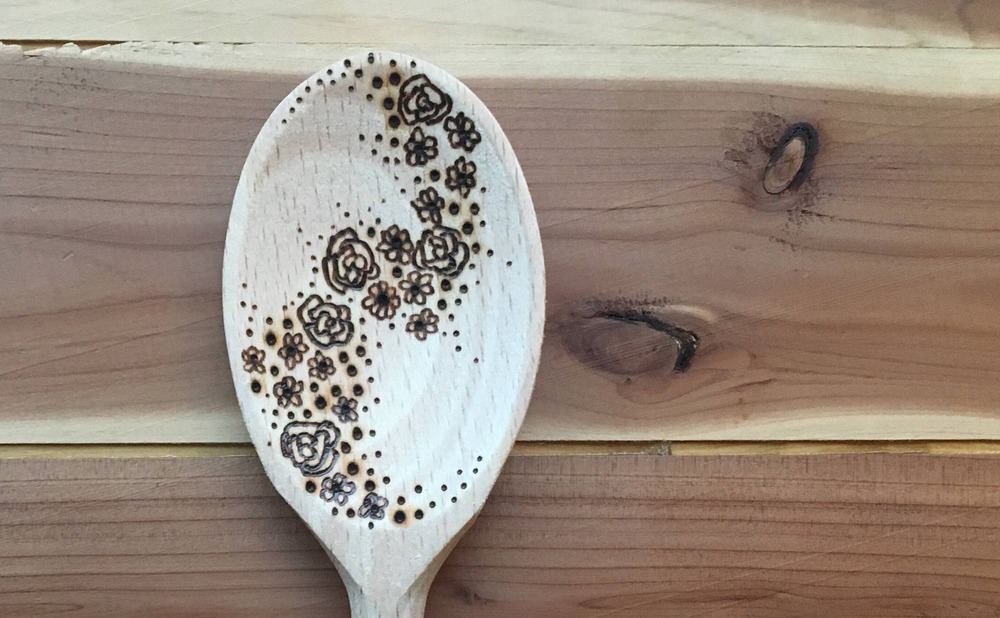
Wood burned spoons and utensils turn simple kitchen tools into handmade keepsakes. One pretty example is a pale wooden spoon whose bowl carries a curving trail of tiny roses, blossoms and dots. Pick plain birch or beech spoons with no finish so the burn stays crisp.
Curved bowls are tricky, so tape the spoon to the table and turn the work instead of your wrist. Use a small tip and short strokes for petals and dots. Rub the finished pieces with food-safe mineral oil or a beeswax blend, and tie a set together with twine for an easy gift.
Wood Burned Signs
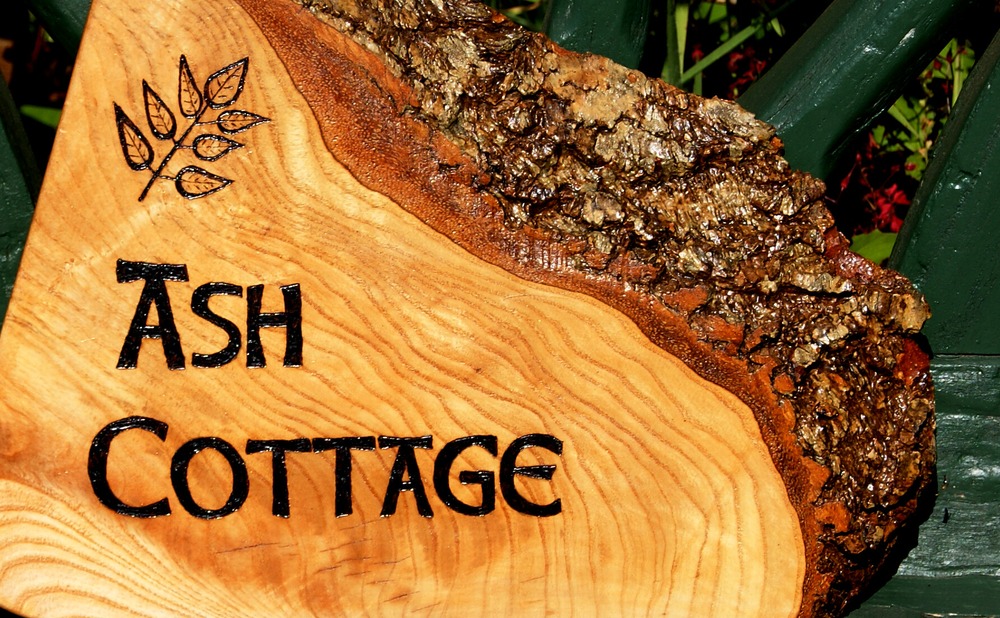
Wood burned signs are a great next step once your lines look steady. A hand-lettered house sign, such as a cottage name like Ash Cottage with a simple leaf design on a live-edge log slice, lets you practice lettering on a larger scale. Print your words in a bold, simple font, transfer them with graphite and burn the outlines first.
Fill thick letters with a shading tip, working in one direction for even tone. Add a small border or vine to frame the words. For smaller gifts like coasters and ornaments, try these scrap wood projects that make great handmade gifts.
Wood Burned Keepsake Box
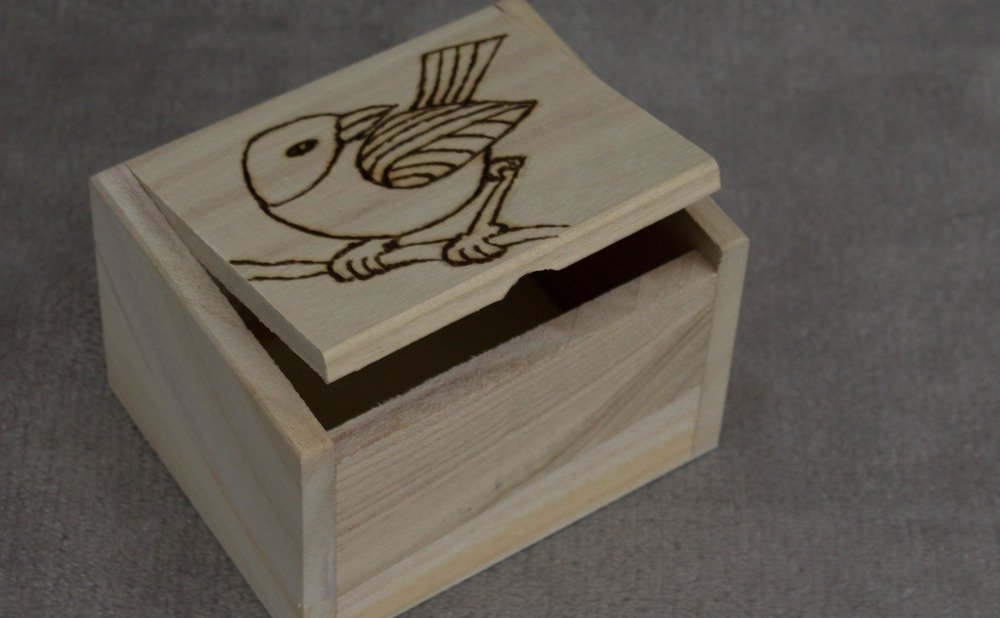
A wood burned keepsake box holds jewelry, letters or baby mementos, and it makes a gift people treasure. Start with an unfinished basswood or birch box from a craft store. A simple bird drawing on the lid looks charming, or try a wreath, a monogram or a floral border, and save the sides for small accents.
Take off the hinges and clasp first if you can, so the pen can reach every edge. Rest your hand on a scrap of paper to keep skin oils off the wood. A soft wax finish gives the box a gentle shine.
Scrape or Sand Away Wood Burning Mistakes
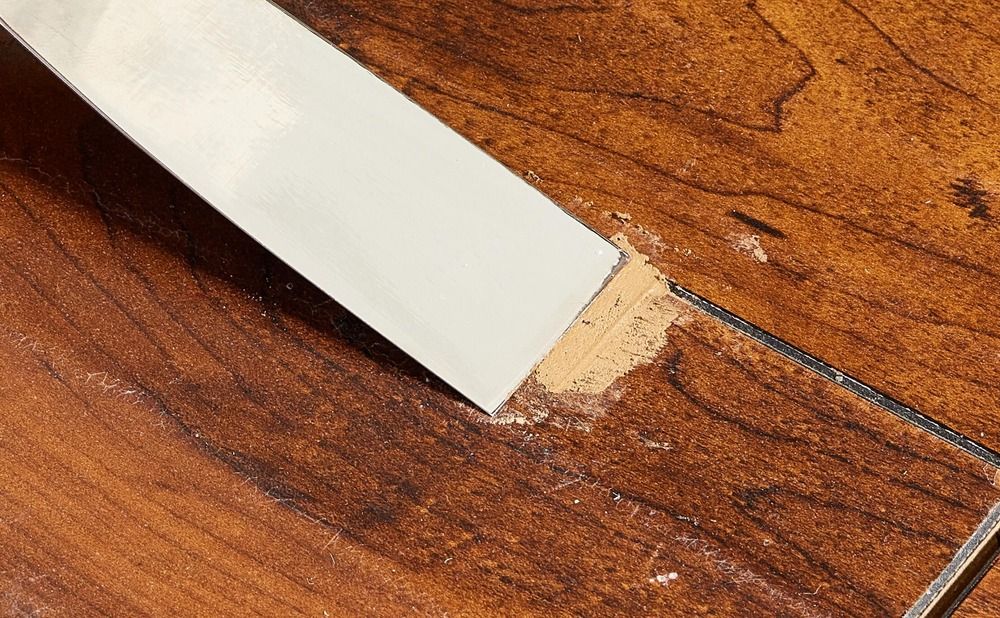
You can fix most wood burning mistakes by scraping or sanding the burn away, as long as it is shallow. A putty knife or craft knife held at a low angle shaves off a flawed spot in thin layers, and light sanding with 220 grit sandpaper smooths the area afterward. Let the wood cool first, and work slowly so you don’t dig a dip into the board.
For deeper marks, turn the mistake into part of the design, such as a leaf, a shadow or a thicker border. Erase leftover graphite lines with a soft white eraser once all burning is done. The best fix is prevention, so test the heat on scrap first.
Seal Your Finished Pyrography Pieces
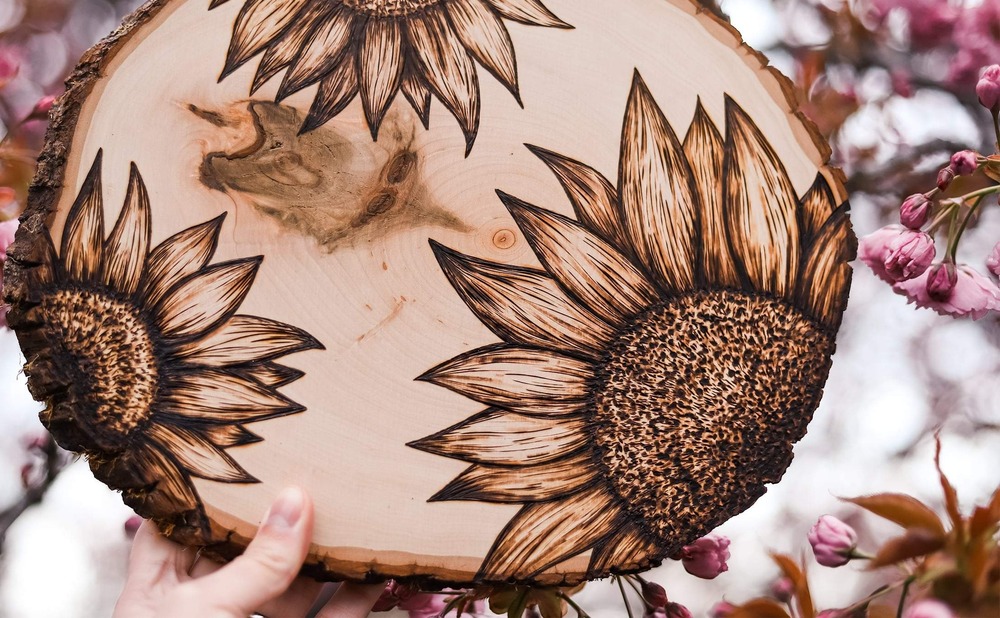
Sealing your finished pyrography pieces protects them from moisture, dirt and fading. A wood slice burned with detailed sunflowers, bark edges and all, deserves a finish that keeps it looking crisp for years. First, erase any pencil lines and brush off the dust, then brush on a thin coat of clear water-based polyurethane or spray a matte sealer.
Let each coat dry fully, sand lightly with a fine pad and add a second coat. For cutting boards and spoons, use food-safe mineral oil instead. Apply finishes outdoors or near an open window, and follow the drying times on the can.
Wood burning for beginners rewards patience more than talent. Start with soft basswood, a steady pace and good airflow, then work your way from practice boards to gifts your family will keep for years.
Amazing Builder Partners