
Installing luxury vinyl plank is one of the more approachable flooring projects for a careful beginner, as long as the subfloor is honest and you respect expansion gaps. This weekend-oriented guide walks through tools, prep, layout, click-lock steps, and the moments when hiring out is the wiser spend.

Expect a full day of prep and at least a day of install for a small room, more if cuts and transitions multiply. Read your specific product instructions alongside this overview, because locking systems and moisture rules vary.
Work clean, measure twice, and stop when a joint will not seat. A patient install lasts longer than a rushed one.
Is Luxury Vinyl Plank Right for Your Room
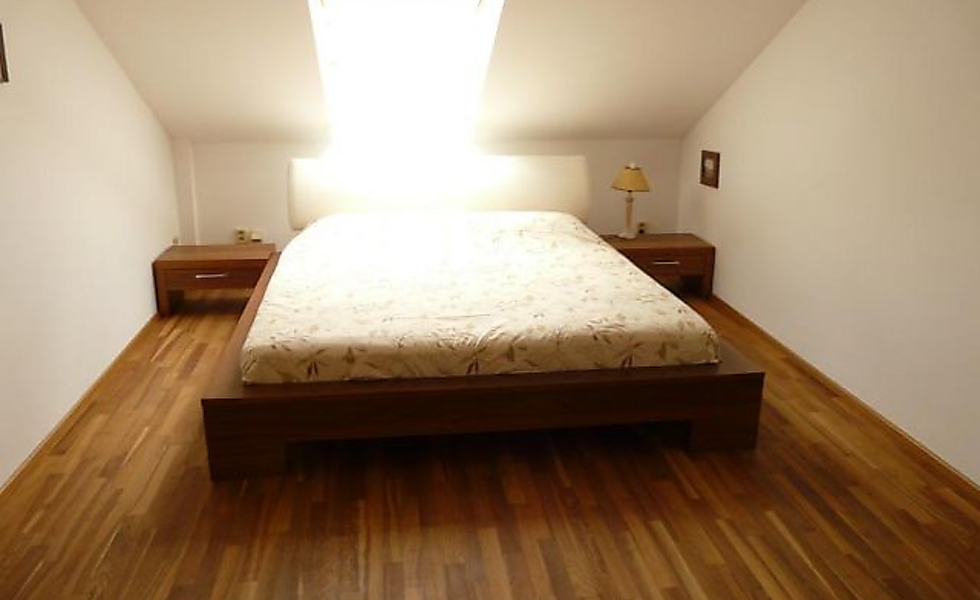
Luxury vinyl plank, often called LVP, suits many kitchens, baths, and living areas because it resists everyday spills better than unfinished wood. It is not a license to ignore standing water, soft subfloors, or sun-baked rooms that can expand and shrink more than you expect. Check the product’s wet-area rating, wear layer, and whether the maker allows install below grade.
If your subfloor is uneven, or the room needs true waterproofing like a shower, LVP alone will not solve the problem. Compare feel underfoot, acoustic comfort, and how the plank handles pet nails. Choose LVP when you want durable, cleanable flooring and you can prep the base properly.
Tools and Materials Checklist for Beginners
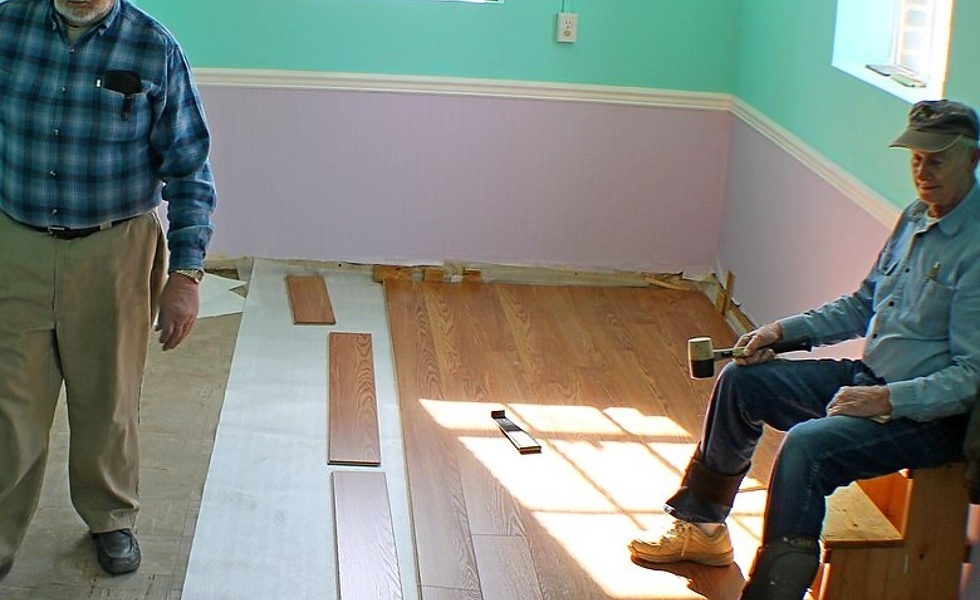
Gather a tape measure, straightedge, utility knife with extra blades, spacers, pull bar, tapping block, rubber mallet, and a handsaw or jigsaw for notches. You will also want a vacuum, leveling compound if the floor dips, underlayment only if the plank does not include it, and transition strips for doorways. Safety glasses and knee pads earn their keep by hour two.
Buy matching trim or shoe molding if existing baseboards will not cover the expansion gap. Keep the installation guide for your exact product in the room, because locking systems differ. A complete kit prevents mid-row runs to the store that break your rhythm.
Measure the Room and Order With a Waste Factor
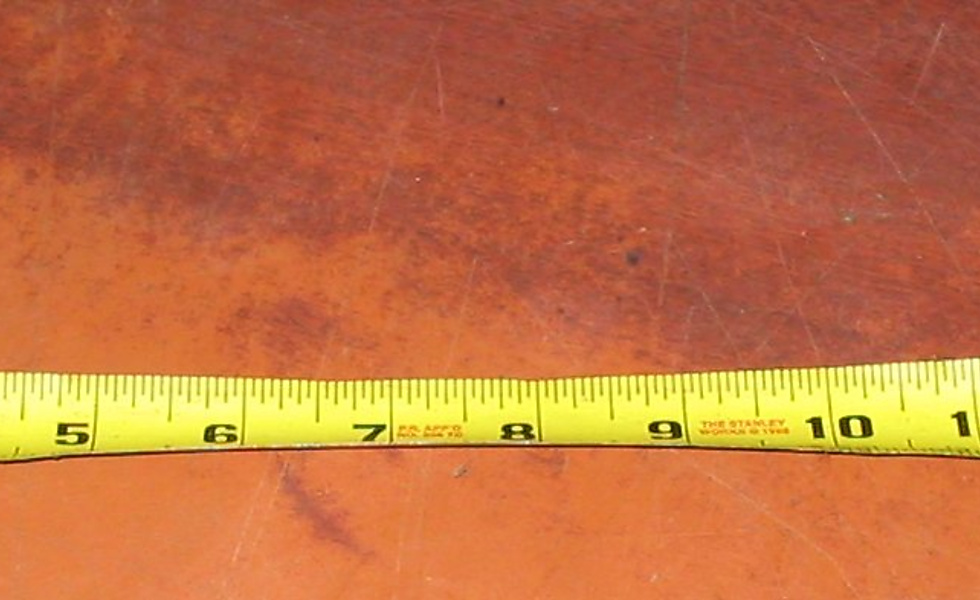
Measure length and width, then calculate square footage and add a waste factor, commonly around ten percent for simple rooms and more for diagonal layouts or many cuts. Round up to full cartons so dye lots match. Sketch doorways, vents, and cabinets that stay so you know where transitions land.
Confirm plank width and length so your layout does not leave skinny slivers at the far wall. Order transitions, reducers, and moisture barrier products the maker requires at the same time. Accurate ordering is cheaper than matching a discontinued carton three weeks later.
Subfloor Prep That Makes or Breaks the Install
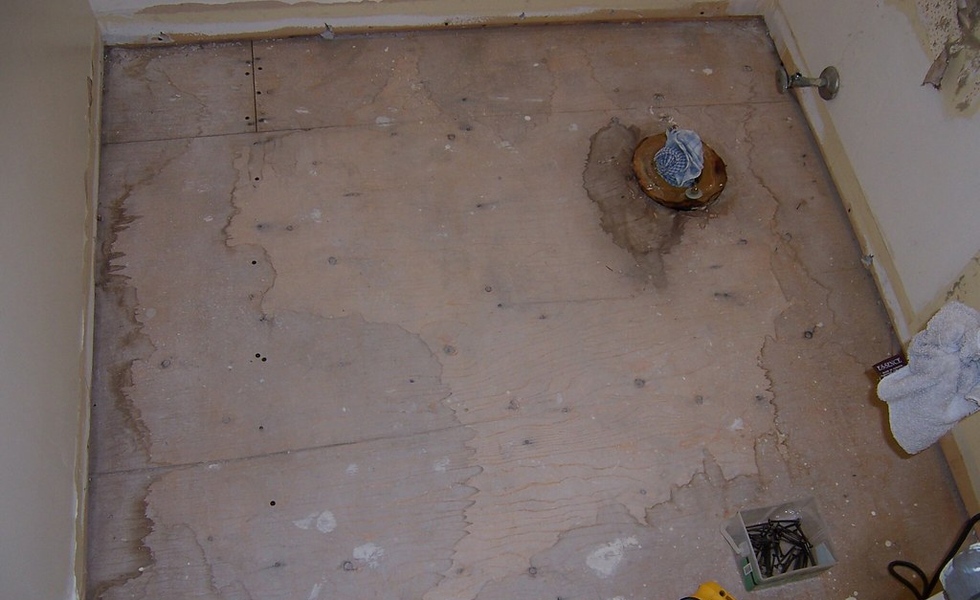
LVP needs a clean, dry, flat base. Remove old staples, repair soft spots, and fill low areas with a compatible leveling product. Check flatness with a long straightedge and follow the maker’s maximum variation over a given span.
Sweep and vacuum until dust is gone, then address moisture if you are over concrete. A wavy subfloor will telegraph through thin planks and stress click joints. Prep is unglamorous and non-negotiable for a floor that stays quiet and locked together.
Acclimate the Planks Before You Start
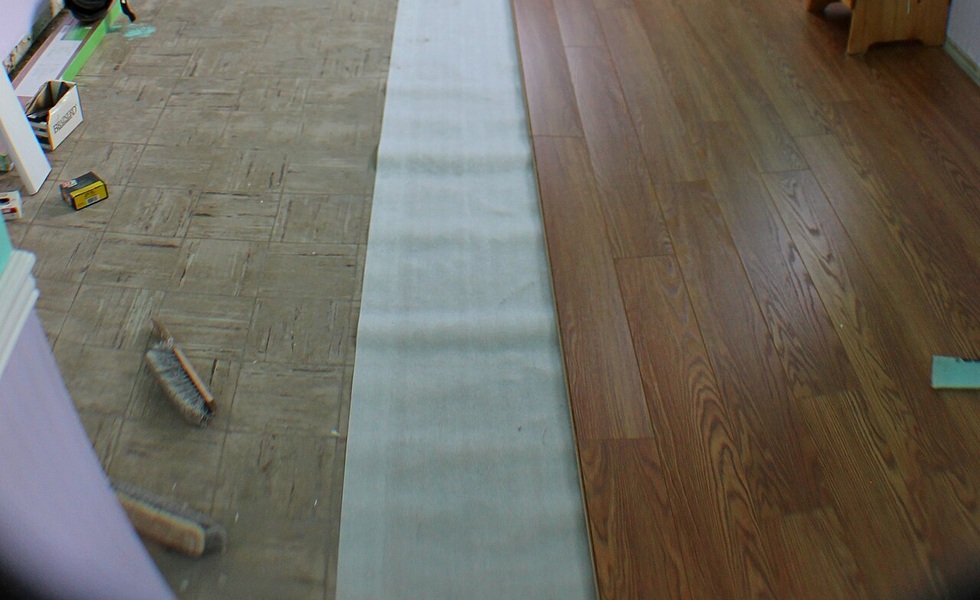
Bring cartons into the install rooms and let them sit flat for the time the manufacturer specifies, often a day or more depending on product and climate. Keep HVAC running at normal living temperatures so the vinyl is not shocked on day one. Do not store boxes in a hot garage or cold porch overnight and expect a clean fit.
Open a few cartons to mix shades as you go so color clusters do not form. Acclimation reduces gapping and peaking after the floor settles into the home. Skipping it is a common beginner shortcut that shows up weeks later.

Plan the Layout and Set a Strong First Row
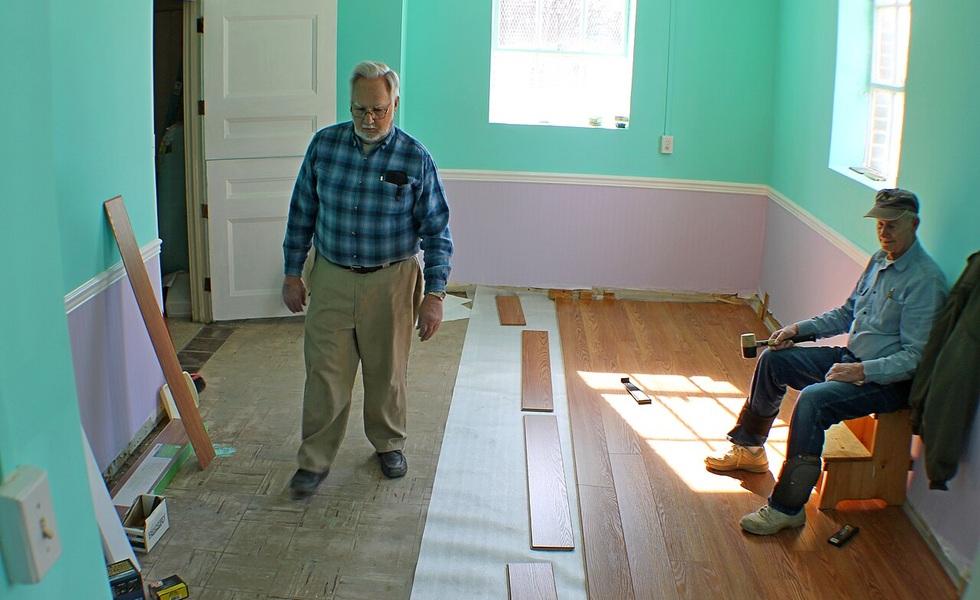
Dry-lay a few rows to see joint stagger and end-cut sizes. Aim for end joints offset by the distance your guide recommends, and avoid tiny starter pieces. Snap a chalk line if walls are out of square so the first row stays straight even when the wall is not.
Use spacers along the starting wall for the expansion gap. A crooked first row fights you for every row after. Take the extra half hour here. It is the difference between a floor that looks intentional and one that drifts.
Click-Lock Install Steps Row by Row
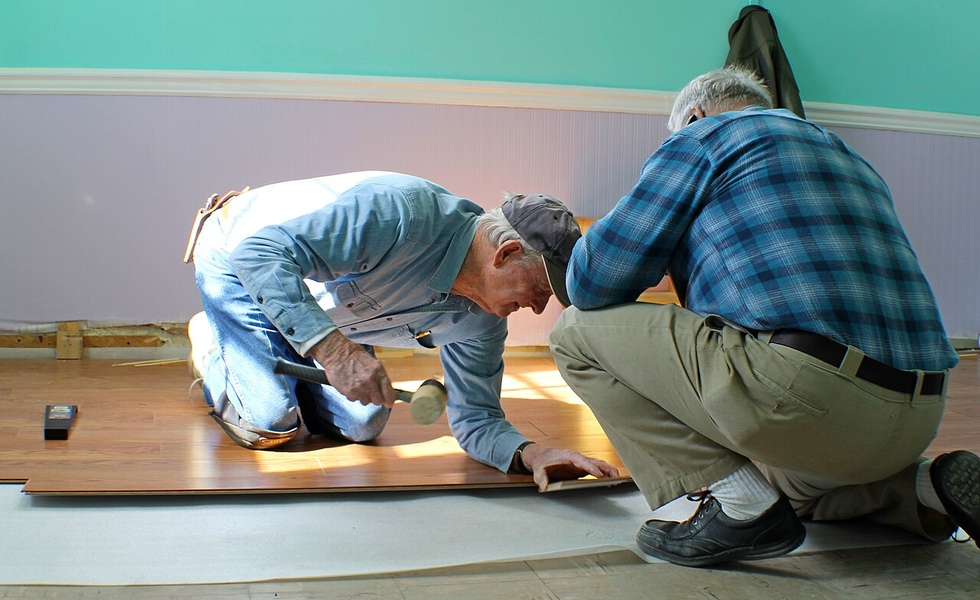
Angle each plank into the long joint, seat it, then tap gently on the short end with a block so locks engage without crushing edges. Work left to right or as your product diagram shows, keeping spacers in place. Stagger end joints and mix planks from several cartons as you go.
If a joint will not close, stop and check for debris in the groove rather than forcing it. Cut the last plank in each row to leave the expansion gap. Steady rhythm and clean locks matter more than speed on a weekend install.
Doorways, Vents, and Edges Without Gaps That Show
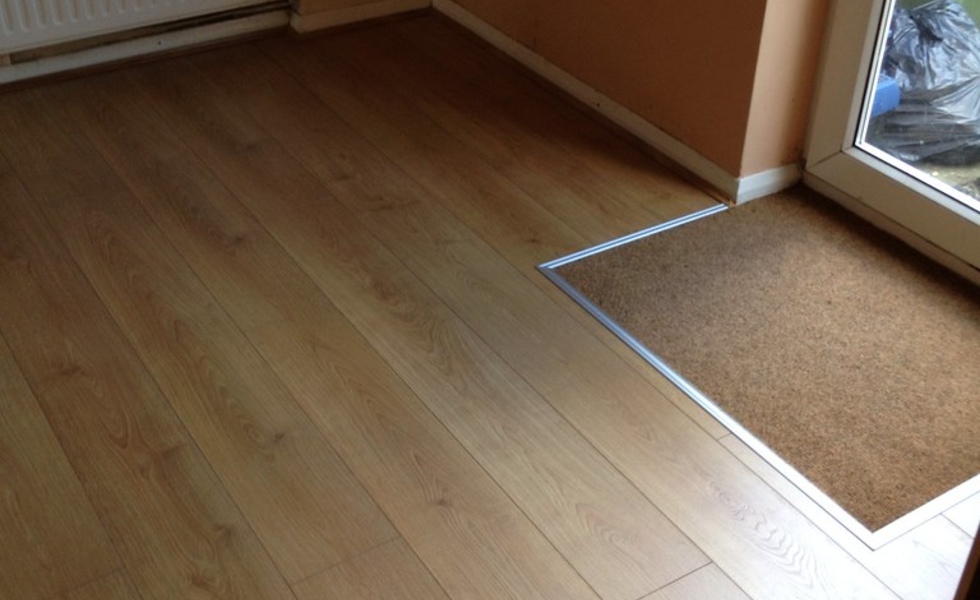
Undercut door casings so planks slide underneath for a clean look, using a scrap plank as a height guide for your saw. Around vents, cut neat openings and use the original or matching registers. At edges, maintain the expansion gap and cover it with baseboard or shoe molding. Never caulk the vinyl tight to the wall.
Transitions between rooms need the right T-mold or reducer for height changes. Do not pin the floating floor with nails through the planks. Thoughtful edges are what make a DIY floor look finished.
Common Beginner Mistakes to Avoid
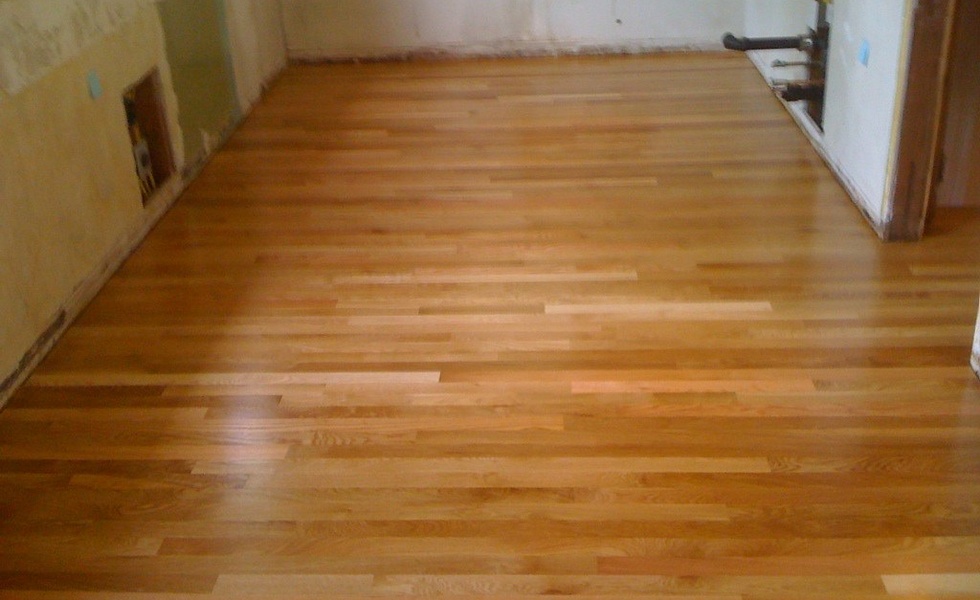
Skipping flatness checks, starving the expansion gap, and hammering directly on click edges are the usual failure modes. Another is forgetting to stagger joints, which creates weak lines and a ladder look. Installing over dirt, damp concrete, or curled existing vinyl also shortens the floor’s life.
Read the warranty sheet for approved underlayments and wet rooms. If a row fights you, reverse and clear the joint instead of bruising the tongue. Slow corrections beat a full room of stressed locks.
When to Call a Professional Instead
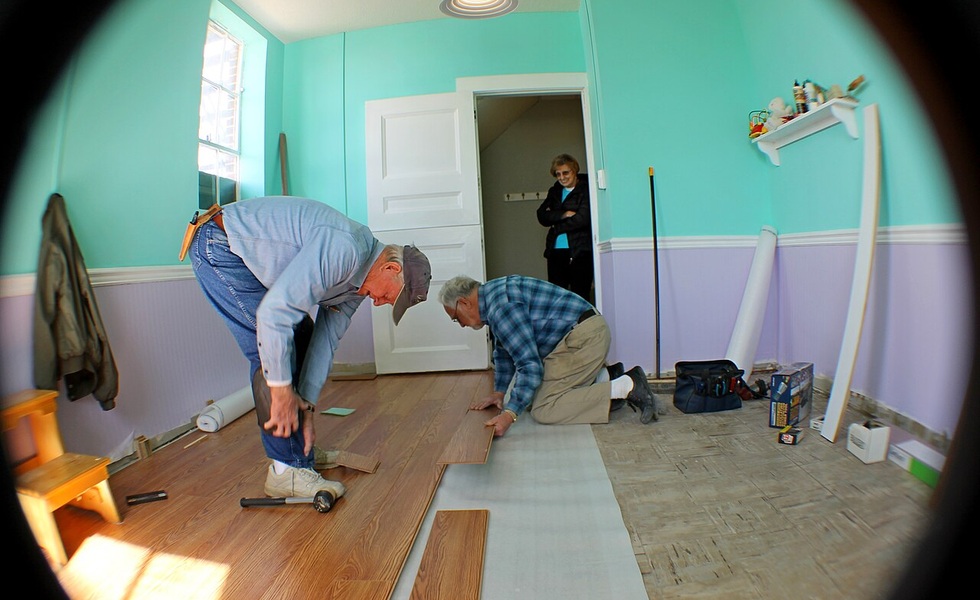
Hire help when the subfloor needs structural repair, when moisture readings fail, when stairs or complex patterns are involved, or when your time budget cannot absorb a learning curve. Large diagonal layouts and radiant-heat floors also deserve experienced hands. A pro can still leave you the simpler rectangular rooms if you want a hybrid plan.
Get written scope for prep, materials, and transitions so change orders stay clear. Calling early costs less than fixing a buckled floor after furniture is back. Know your limits before the first carton is open.
Care and Maintenance After the Floor Is Down
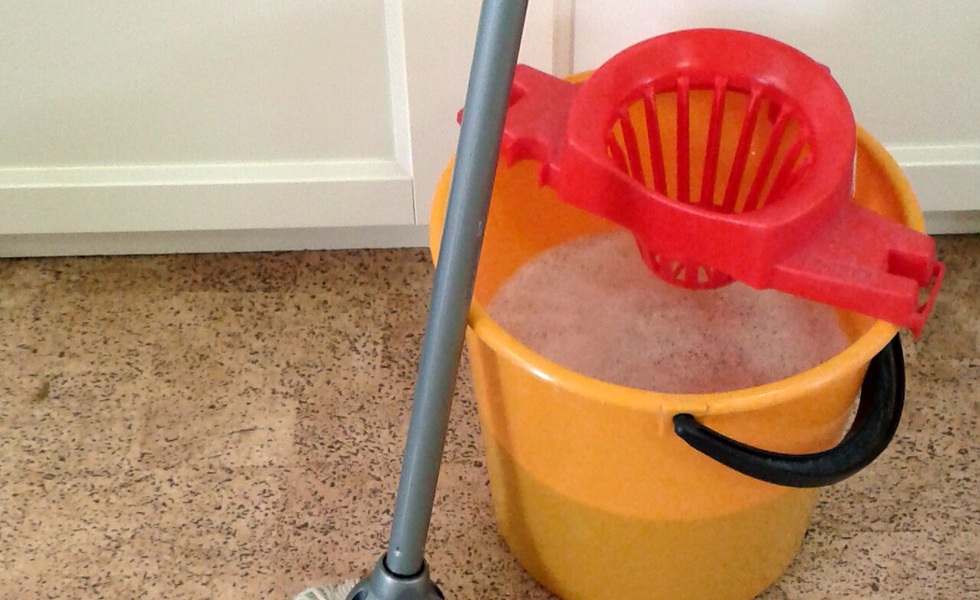
Wait to heavy-wash until the maker says joints have settled, then use cleaners approved for vinyl, not abrasive powders or steam that can stress edges. Felt pads under chairs, walk-off mats at exterior doors, and prompt wipe-ups of oil and dyes keep the wear layer happier. Avoid rubber-backed mats that stain some vinyl surfaces.
Reattach baseboards without nailing into the floating planks. Keep spare planks for future repairs from the same lot. Steady care preserves the weekend you spent and the money you saved on labor.
Amazing Builder Partners