

Fresh paint can turn tired interior doors into one of the cleanest upgrades in a home. Scratched faces, yellowed enamel, and sticky latches make rooms feel older than they are, even when the rest of the house looks ready for an update.

This weekend guide walks US and Canada homeowners through a budget DIY door painting process that holds up to daily use. You will learn how to choose the right sheen, prep for adhesion, paint panels and frames in a reliable sequence, and rehang hardware without scuffs.
Plan on one full day for prep and first coats, then drying time before a second coat and reassembly. The steps below keep the work practical, safe, and evergreen, whether you are refreshing one bedroom door or a whole hallway run.
What You Need Before You Start
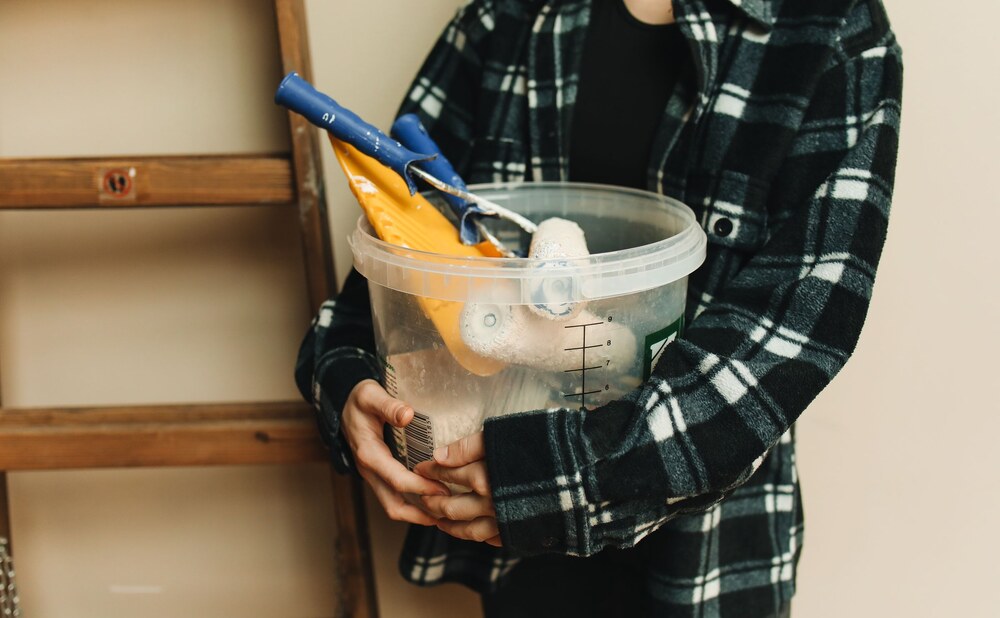
Gather tools and materials before you pop the first hinge pin so you are not hunting mid-project. A solid checklist includes a quality acrylic-latex enamel or cabinet-grade door paint, bonding primer, 220-grit sandpaper, a sanding sponge, wood filler, a liquid deglosser, painter’s tape, drop cloths, a 2-inch angled sash brush, a small foam or microfiber roller, a paint tray, screwdrivers, and a magnetic parts tray for hinges and knobs.
Add disposable gloves, a respirator rated for paint vapors if you spray, and a step stool for tall doors. Having everything staged keeps the weekend moving and reduces the chance you skip a prep step that affects the finish.
Pick the Right Sheen and Primer for Doors
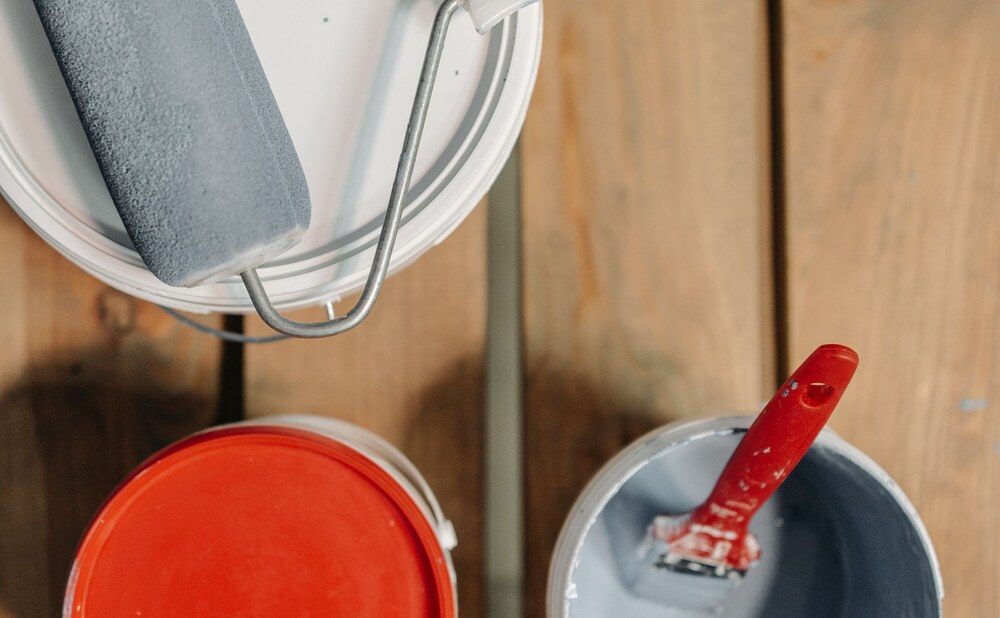
Interior doors take fingerprints, bumps from bags, and frequent wiping, so sheen matters as much as color. Semi-gloss is the classic choice because it cleans well and sheds light across rails and panels. Satin works if you want a softer look that still scrubs clean easily.
Flat and matte finishes mark easily and are usually a poor match for door faces. Pair your topcoat with a primer that matches the surface: bonding primer for slick factory finishes, stain-blocking primer for tannins or water marks, and a tinted primer close to your final color to cut the number of finish coats. Choosing both products up front saves return trips and helps the paint level instead of flashing.
Clear Hardware and Protect Floors First
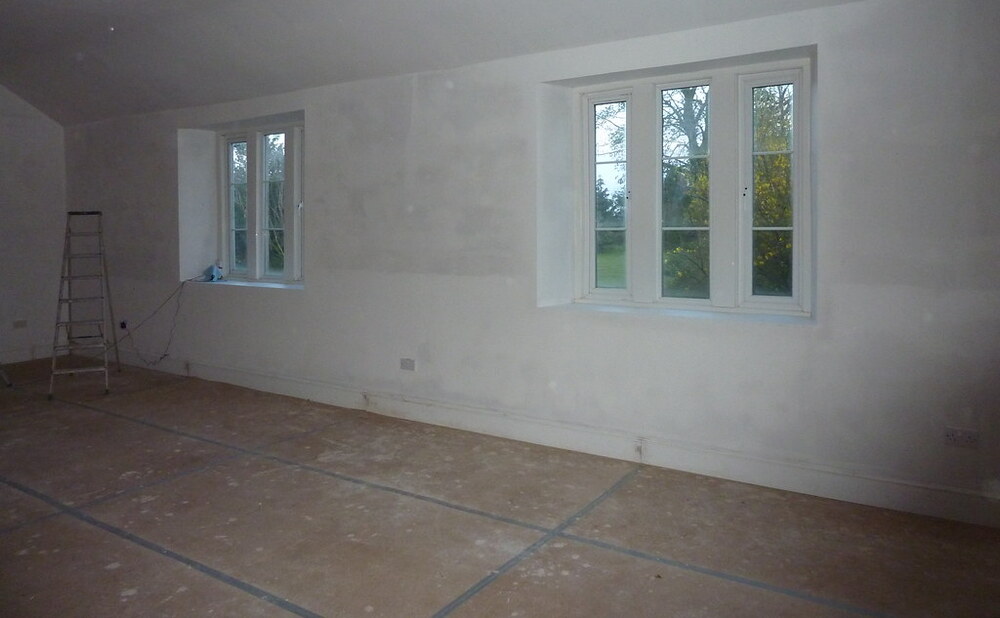
Remove knobs, latch plates, strike plates, and hinges when you can, and bag each set of screws with a labeled note for that door. Painting around hardware leaves ridges and makes future replacements harder. Lay canvas or plastic drop cloths under the work area, then tape off floors, casings you are not painting, and any glass.
If the door stays on the hinges for touch-ups, wedge it open and slip cardboard under the bottom edge. Work in a well-ventilated room, keep kids and pets out while solvents or spray are in use, and store leftover paint sealed and upright. Clean protection now prevents the kind of drips that take longer to fix than the paint job itself.
Clean and Degloss So Paint Can Stick
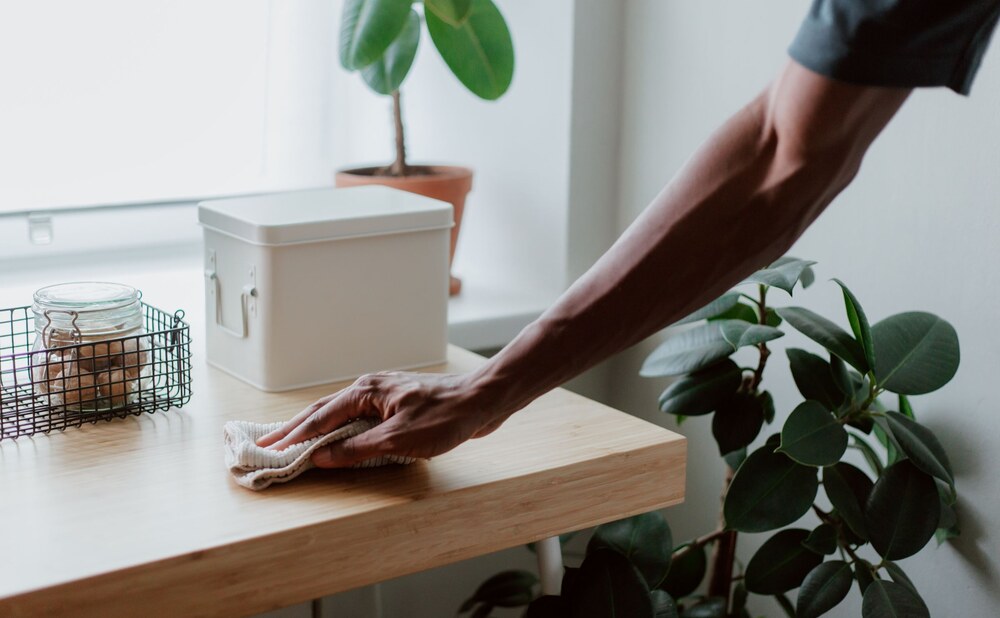
Doors collect kitchen grease, hand oils, and aerosol residue that keep new paint from bonding. Wipe the entire face, edges, and hinge side with a mild degreasing cleaner, then rinse with a damp cloth and let the surface dry fully. On glossy or previously enameled doors, follow with a liquid deglosser applied per the label, or lightly scuff sand so the sheen dulls evenly.
Skip this step and you risk peeling in high-touch zones within months. Wear gloves, open windows, and avoid mixing strong cleaners with bleach. A clean, dulled surface is the foundation of a finish that looks sprayed even when you brush and roll by hand.
Sand and Fill for a Smooth Door Face
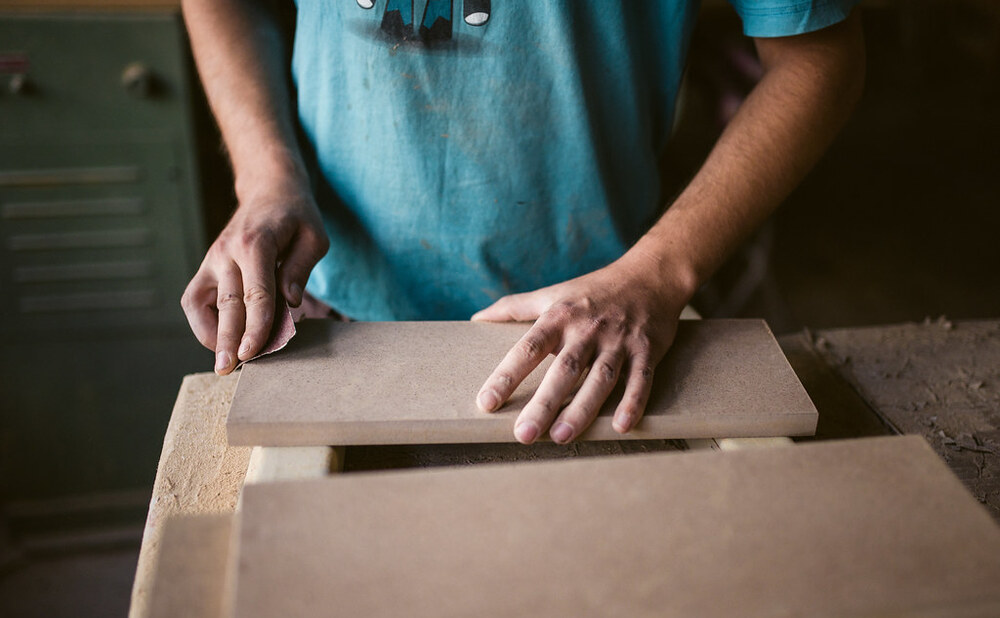
Inspect for dents, screw holes from old hardware, and raised grain. Fill shallow damage with a quick-dry wood filler, let it cure, then sand flush with 180- to 220-grit paper. Feather old runs and brush marks so light does not catch ridges after the new coat.
Vacuum dust, then wipe with a tack cloth or slightly damp microfiber so grit does not embed in primer. Do not oversand veneers or thin hollow-core skins. Aim for a surface that feels even under your palm. Extra minutes here pay off when the topcoat levels cleanly across panels and stiles instead of highlighting every old nick.
Prime for Coverage and Long Adhesion
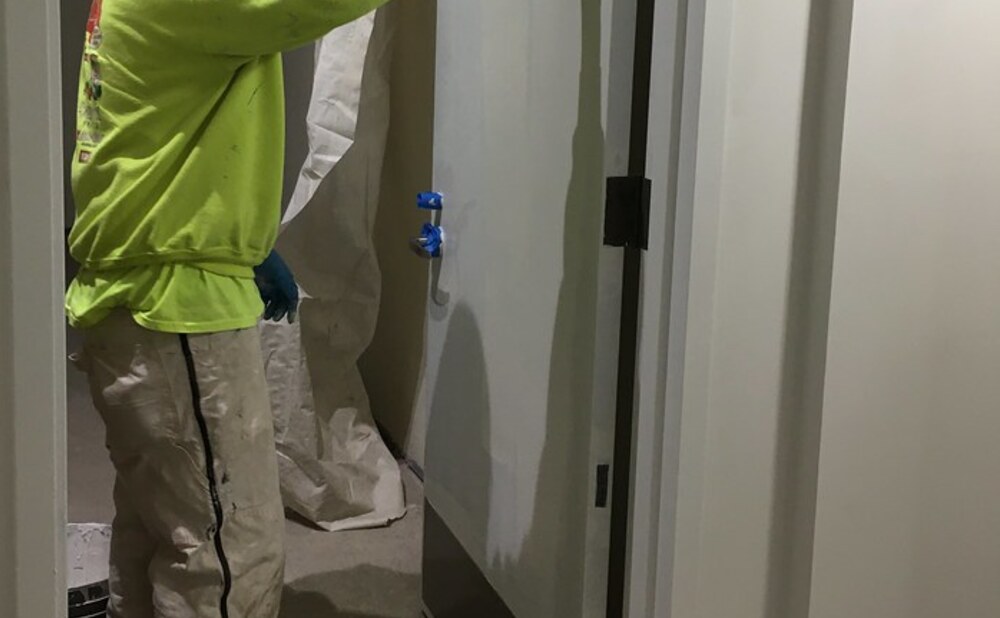
Apply primer in thin, even coats rather than one heavy pass that sags in the panel corners. Brush into recessed profiles first, then roll the flat fields so the film stays consistent. Cover all six sides if the door is off the hinges, including the top and bottom edges, which helps block moisture movement.
Follow the primer label for recoat windows, often one to four hours at room temperature in a dry space. If stains bleed through, spot-prime again before finish paint. Good priming also shows you where sanding still needs attention. Treat primer as a working coat, not a cosmetic one, and the color coats will look richer with fewer layers.
Choose Brush, Roller, Spray, or a Hybrid Method
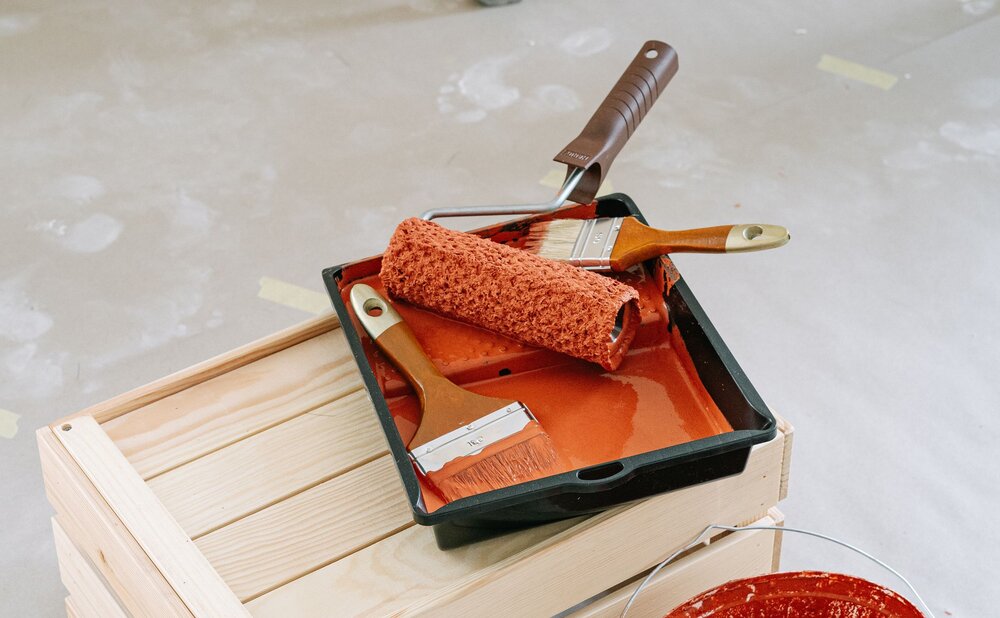
A quality angled brush controls edges and profiles. A small dense roller lays paint fast on flat panels and reduces brush texture. Spraying can give the smoothest factory look, but it needs masking, ventilation, and practice to avoid overspray on floors and trim.
Many weekend painters get pro-looking results with a hybrid approach: brush the grooves and edges, then immediately roll the flats while the paint is still wet so the coats melt together. Thin only if the manufacturer allows it. Whatever tool you choose, keep a wet edge and avoid overworking drying paint. Match the method to your space, skill, and how many doors you need to finish this weekend.
Paint Panels, Rails, and Stiles in Order
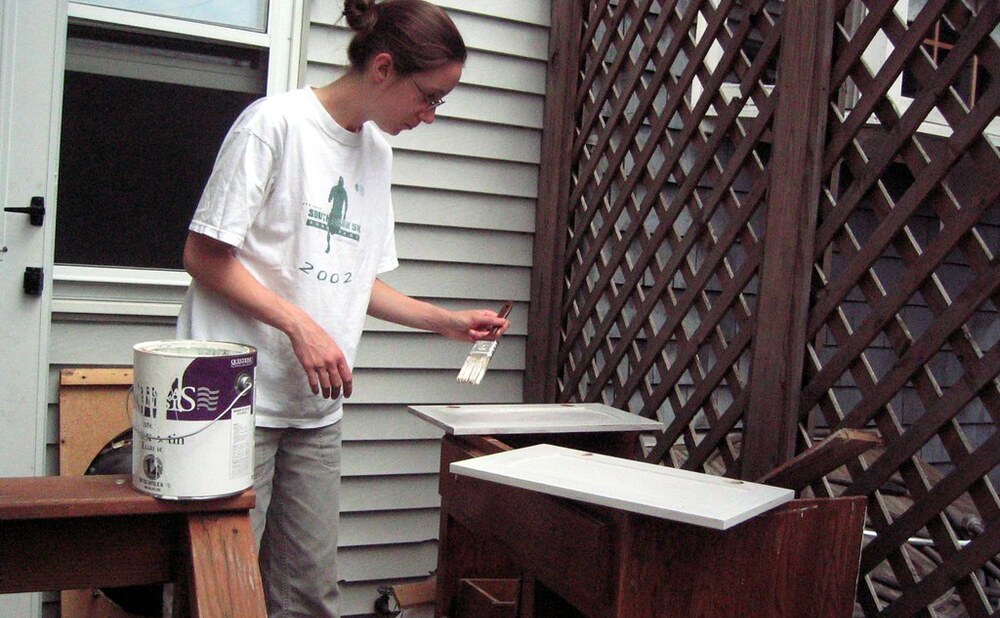
On paneled doors, start inside the recesses, then move across the horizontal members, and finish with the vertical members so overlaps stay wet and blend. On flush doors, work top to bottom in light vertical passes. Coat the hinge edge and latch edge carefully so film build does not make the door stick later.
Keep coats thin. Heavy paint in corners traps drips that show after curing. Step back under good light after each section and tip off any ridges with a nearly dry brush. Consistent sequence across every door makes a hallway set look intentional instead of patched together.
Respect Dry Time, Second Coats, and Full Cure
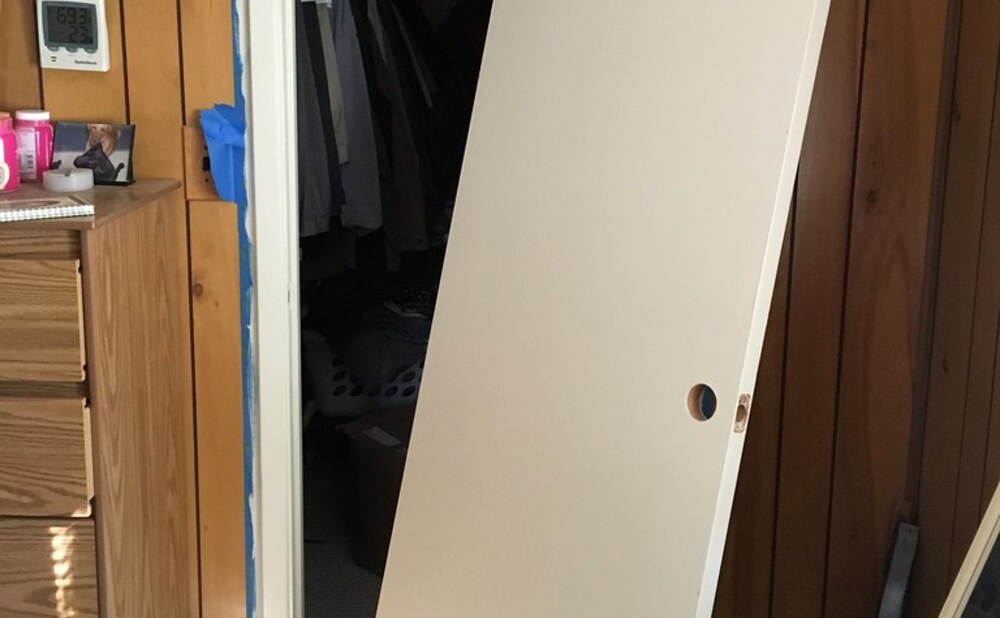
Dry to the touch is not the same as ready for a second coat or for hard use. Most waterborne door enamels want several hours between coats in average indoor conditions, and cooler or humid weather stretches that window. Lightly sand between coats with fine grit if the first coat feels rough, then wipe clean.
Two finish coats usually beat one thick coat for durability and color depth. Full cure can take days to a week or more, so go easy on cleaning and hanging towels over the knob during that period. Rushing reassembly is a common way to imprint cloth texture or chip soft paint at the latch.
Rehang Hardware and Fine-Tune the Latch
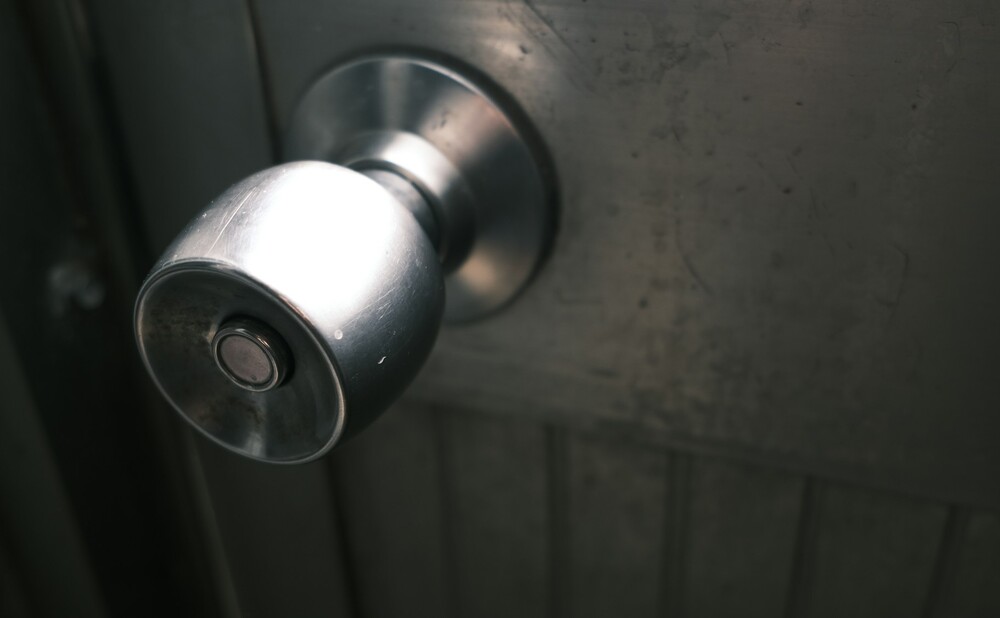
Once the paint is firm enough to handle without marking, reinstall hinges with the original screws and support the door while you seat the pins. Reattach knobs and latch plates, then close the door slowly to check swing and reveal. If the latch catches, check for paint build on the edge or strike plate before forcing the door.
A light sanding on a high spot, or a slight strike-plate adjustment, often fixes the rub without another full coat. Wipe fingerprints from polished hardware before you call the job done. Clean rehanging protects your finish and restores the quiet, solid close homeowners expect.
Avoid Common Mistakes and Know When to Call a Pro
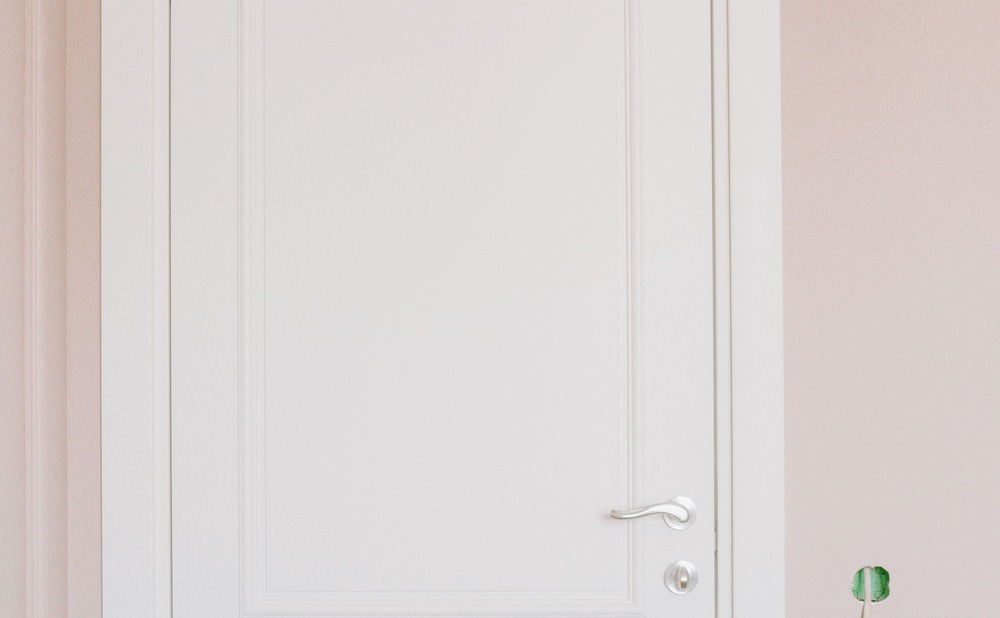
Skipping deglossing, painting dirty doors, using wall paint instead of a durable enamel, and closing doors before the film has set are the shortcuts that create sticking, peeling, and uneven sheen. Lead-based paint may still exist in older homes, so test before sanding if your house predates modern paint rules and follow local safety guidance.
Call a professional painter when you have dozens of doors, high stair landings that need scaffolding, factory-smooth spray results, or damage that needs carpentry beyond filler. Hiring help is the smart call when the scope, height, or hazardous coatings outrun a safe weekend DIY.
A carefully prepped door, the right primer and sheen, and patient coats will look crisp for years of daily use. Work section by section, respect drying and curing times, and rehang hardware only when the finish can take it. That rhythm turns a budget DIY project into a finish that reads like a pro weekend upgrade.
Amazing Builder Partners